How It Works
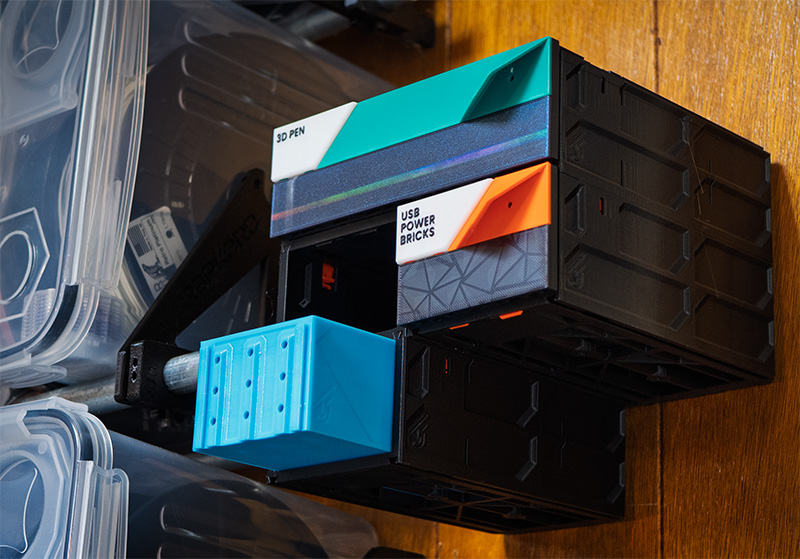
formerly GEN2MODULITH is a 3D-printable storage system: printed cases that click together into drawer units. Print the sizes you need, click them together, and rearrange later - a part you print today still fits a build you expand next year.
In a hurry? Start with a proven build or design your own.
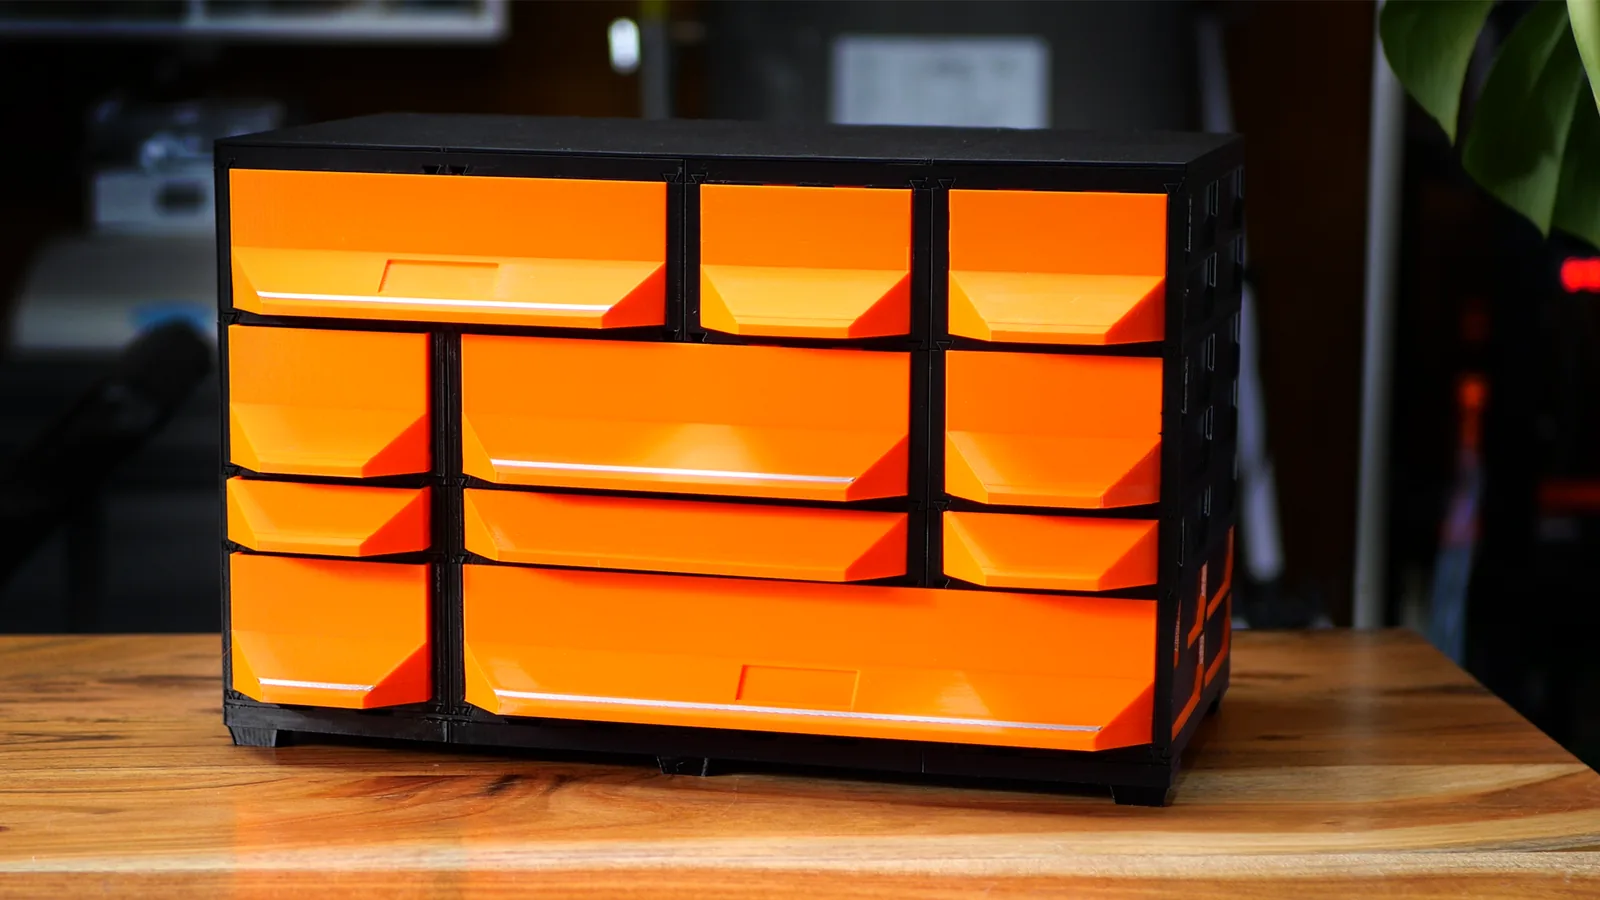
From printed parts to a drawer unit
A Case is the printed structural shell; its opening is a bay. Four moments from the real assembly guide for the 185 Tabletop Kit:
-
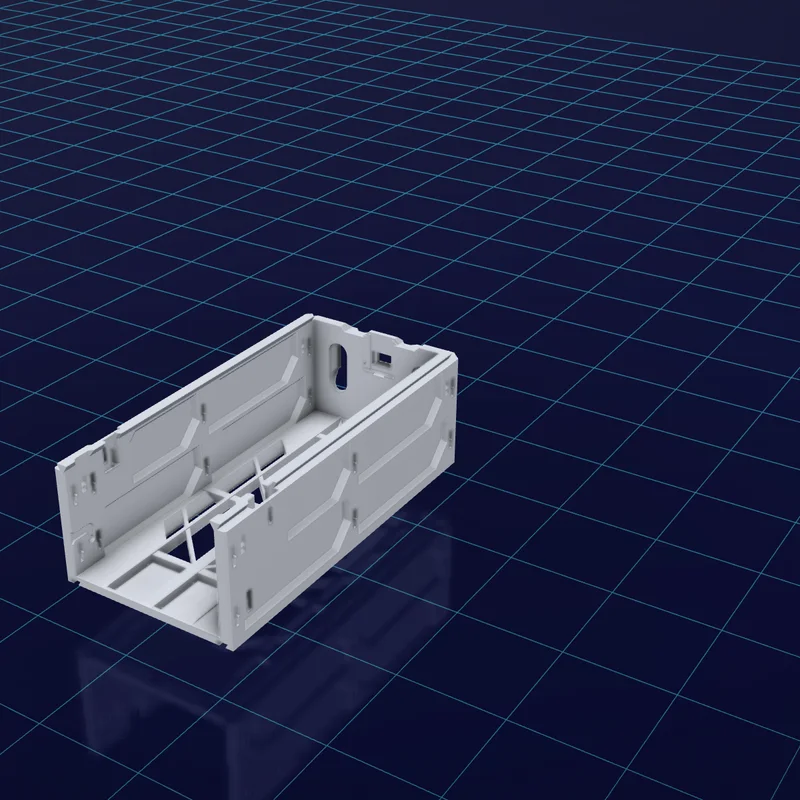
1 Print a Case - the structural shell that makes one storage opening, a bay.
-
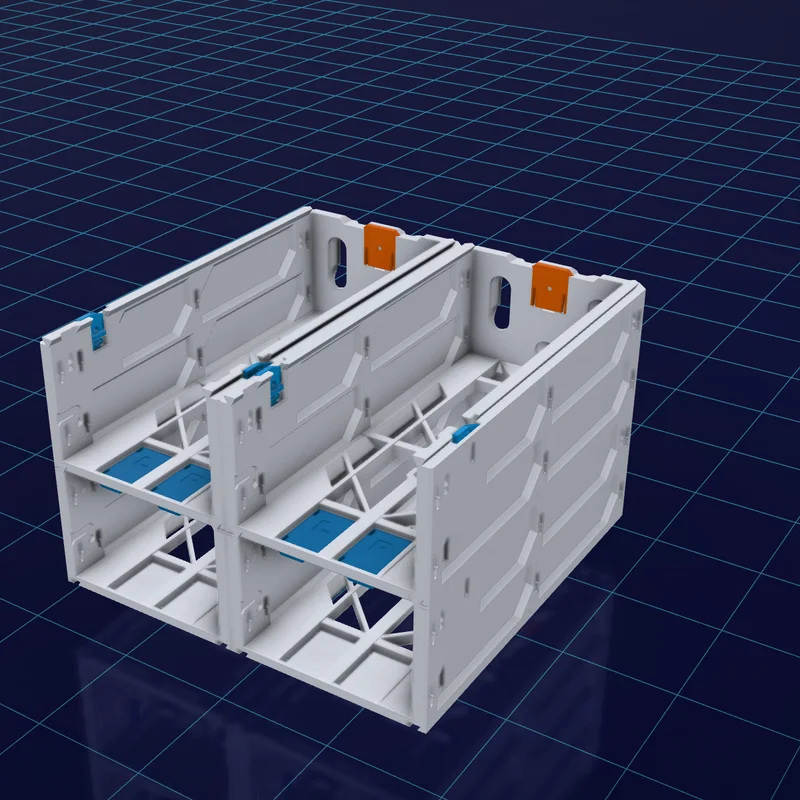
2 Click cases together with QuickLocks - side by side and stacked. No screws between cases.
-
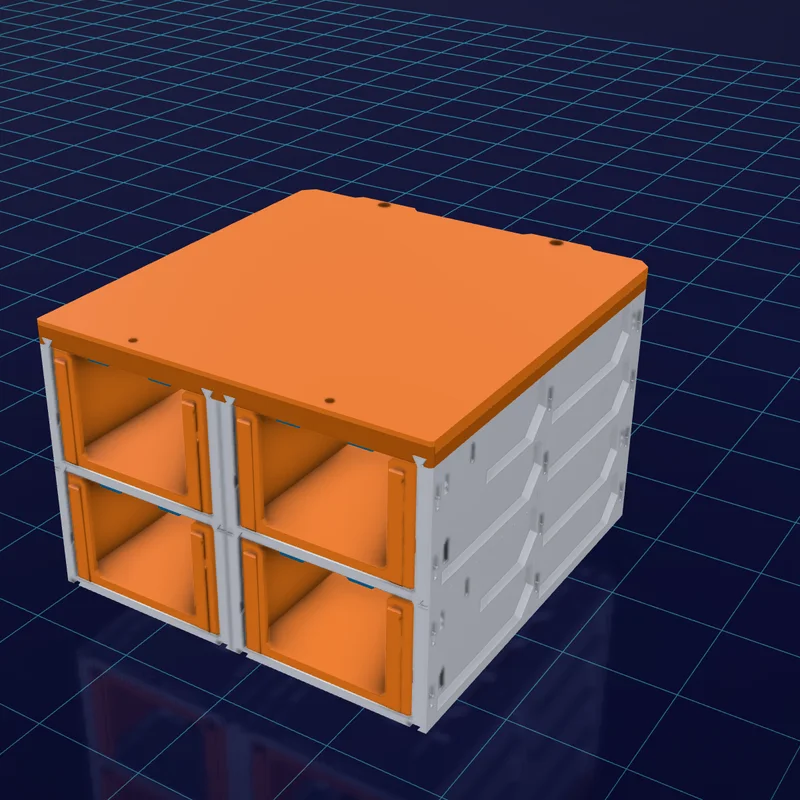
3 Slide drawers into the bays - or deck a bay as an open shelf instead.
-
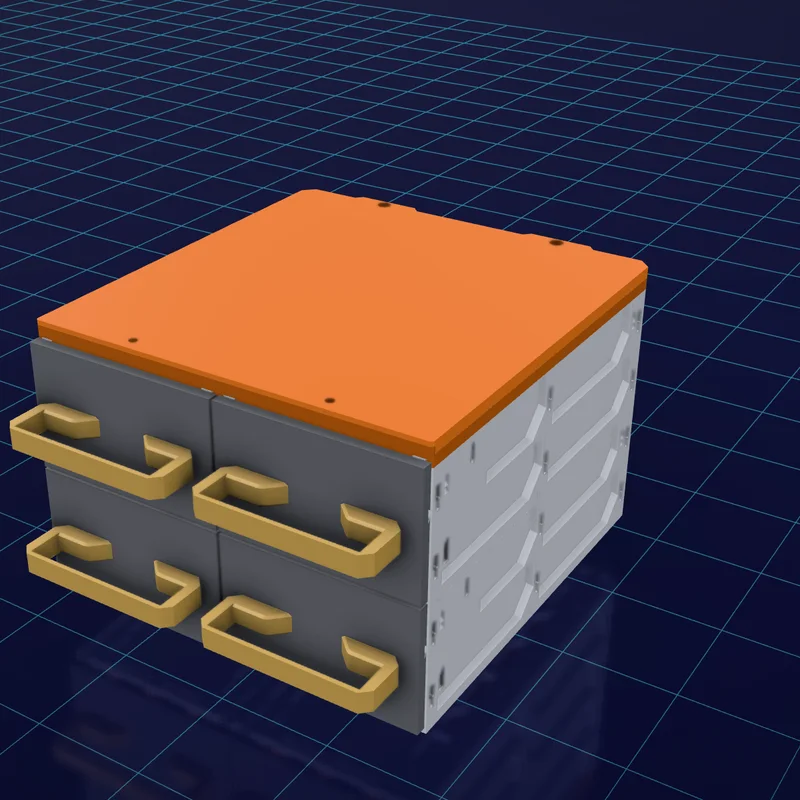
4 Finish the front - Decor faceplates and handles finish this version. Classic drawers print their grip in and need neither.
How cases connect
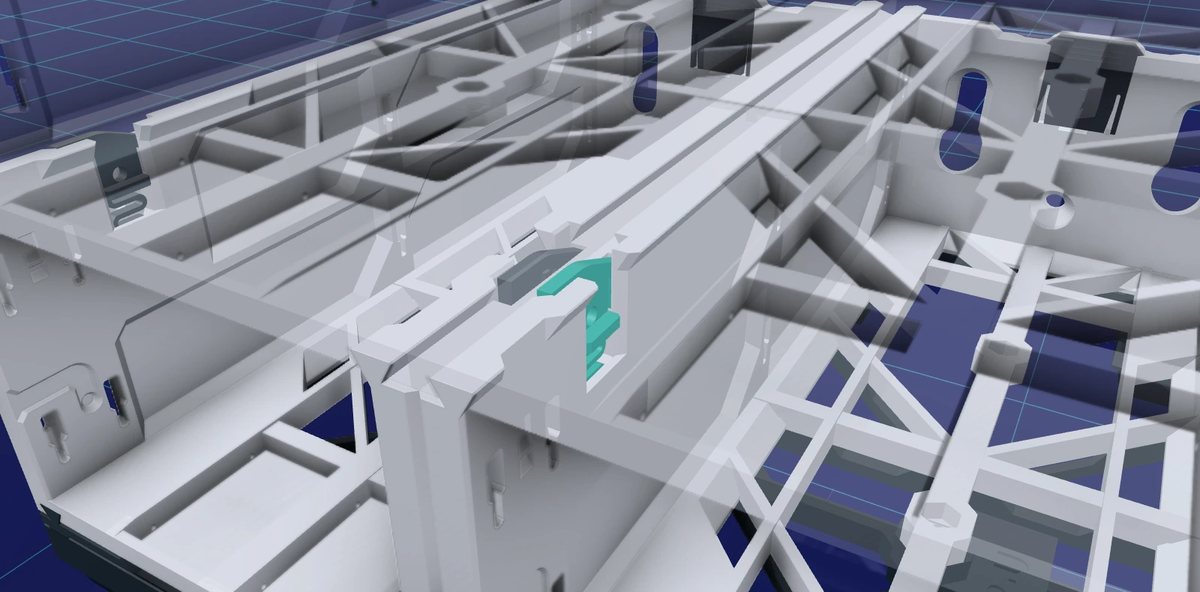
Each case takes a matched Left and Right QuickLock. Slide a case on and the sprung tab clicks into its neighbor; press to release, and the build comes apart the same way it went together - so a layout is never final.
Where will it live?
The same case system mounts three ways. Choose where yours will live:
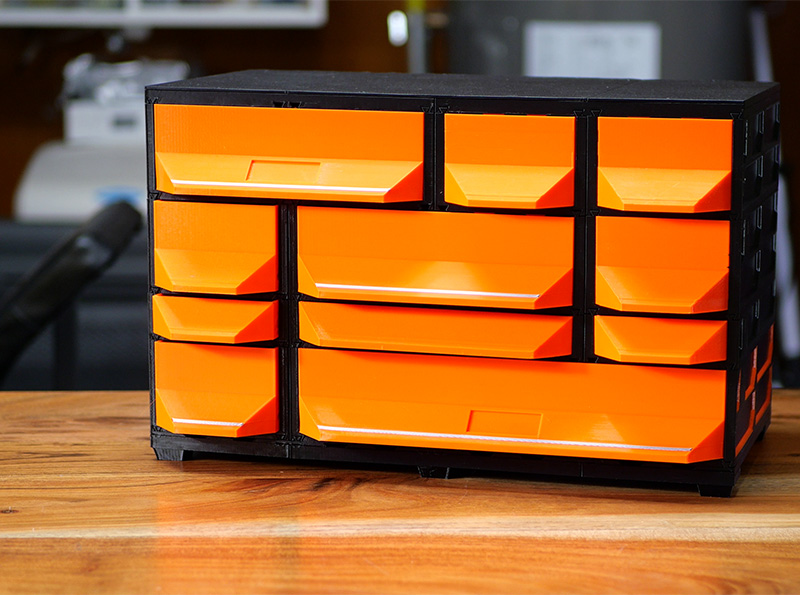
A freestanding, self-contained unit on its own feet.
Adds foot rails, feet, top covers
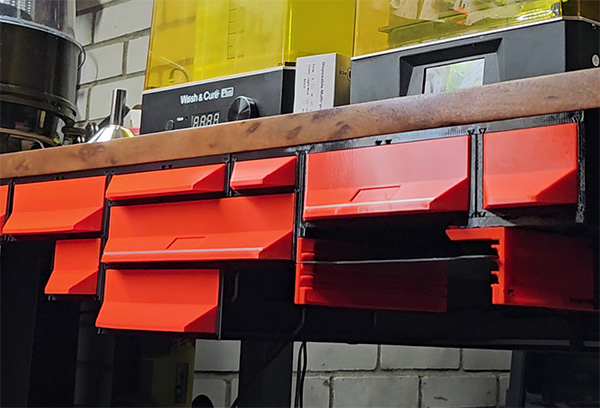
Hung beneath a desk, shelf or work surface.
Adds under-table rail, wood screws
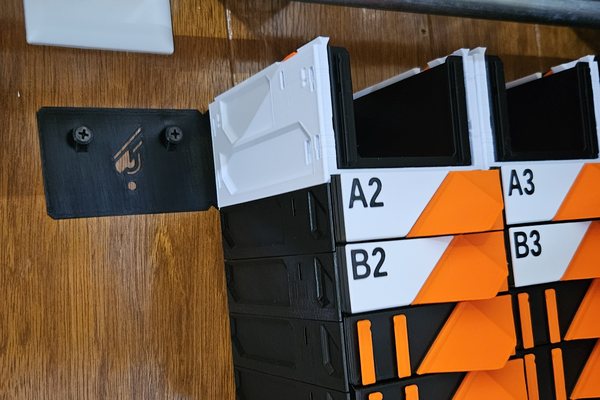
Fixed to a wall on a bracket, with rows hanging below.
Adds wall bracket, wood screws, top covers
Depth decides which foundations a build can use - the table below compares them.
Pick a depth - that's a Collection
Cases come in six depths, and a Collection groups the cases and the other depth-sized parts for one depth, named by it in millimeters. Choose by what you want to store; the 185 is the Standard all-rounder most builds start from.
Most builds use one depth throughout. Under-table builds can mix depths, tabletop pairs join with released adapters, and wall builds never mix - the exact rules:
| Collection | Best for | Mounts |
|---|---|---|
| 59 | Ultra-shallow · 45mm inside · cards, bits, screws, small flat parts | Under-table · wall (too shallow for feet) |
| 115 | Medium · 101mm inside · pens, cables, tape, small parts & tins | Tabletop · under-table · wall |
| 165 | Mini Edition · 151mm inside · sockets, calipers, small tools, hobby bits | Tabletop · under-table · wall |
| 185 | Standard · 171mm inside · the versatile all-rounder for everyday gear | Tabletop · under-table · wall |
| 240 | Deep · 226mm inside · power tools, spray cans, boxed sets, tall bottles | Tabletop · under-table · wall |
| 270 | Large · 256mm inside · long tools, cordless kits, big spools | Tabletop · under-table · wall |
Can one build mix depths?
The rule is per mount. Tabletop: Normally one depth; Size Adapter Covers join the released depth pairs. Under-table: Can mix depths - a shallower case hangs beneath a deeper one on Bi-Directional QuickLocks. Wall: One depth throughout, always.
Read any size
Case and drawer names list depth, width and height, in that order. Other parts use only the dimensions that apply.
185 2W-1H
- Depththe Collection - how far back it goes
- Width2 x 88 mm = 176 mm
- Height1 x 56 mm of installed height
Widths and heights combine freely in one build; depth comes from the Collection.
Now decode one yourself - the menus offer only the sizes each collection really makes, with links to the parts:
185 2W-1H decoded: 185 = collection (depth class) · 2W = 176mm wide · 1H = 56mm installed height
A 2W-1H drawer in the 185 collection holds 159 × 48 × 171 mm inside (W × H × D).
Why does a 1H case print 59 mm tall, not 56?
What fills a bay
The case sets the outside size. What you fit inside decides how you use the space.
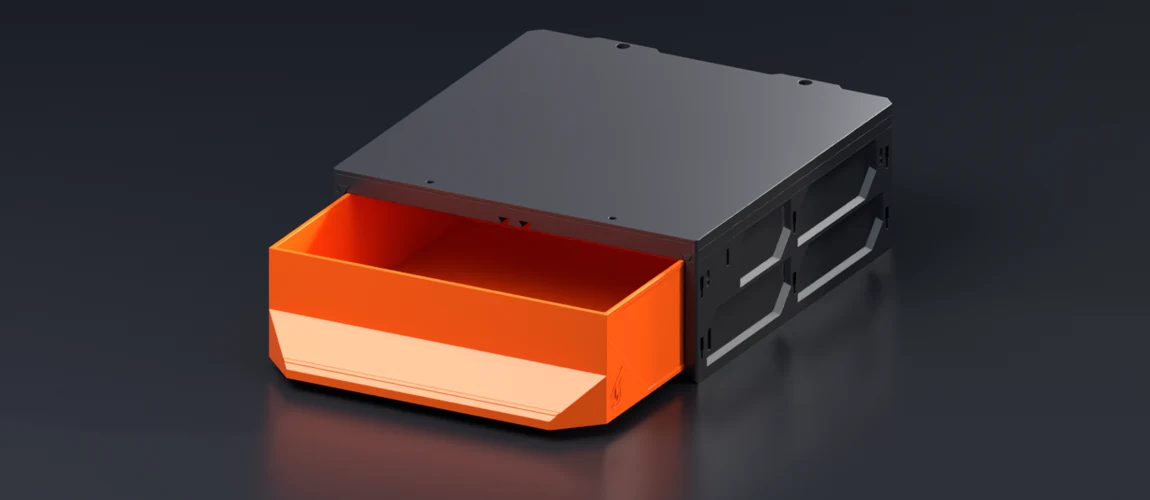 Classic drawer
Look at the front: the grip is part of the print.
Prints in one piece and needs neither a faceplate nor a handle. Free.
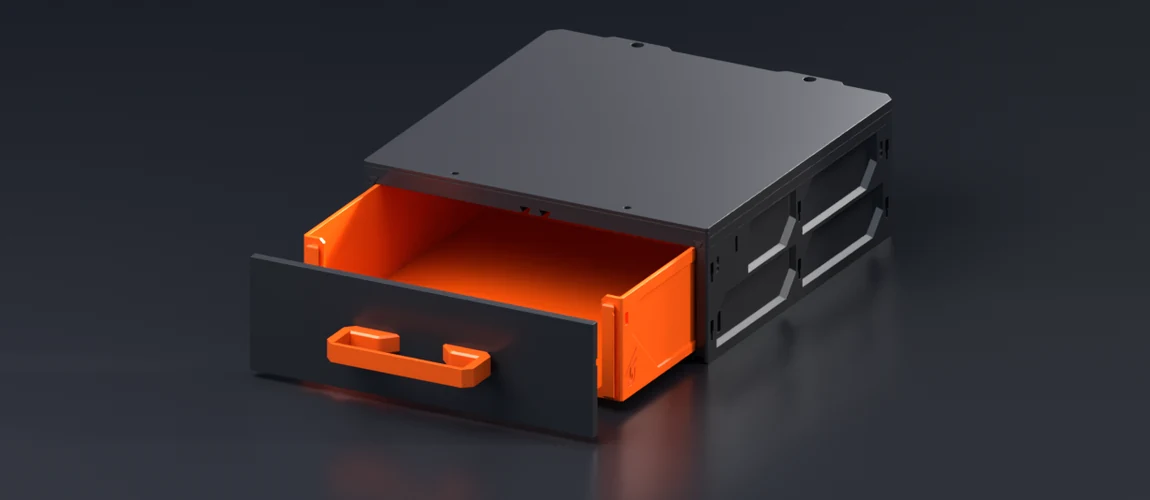 Decor drawer
Look at the front: flat, with clips. The faceplate goes there.
Swap the faceplate to change the front without reprinting the drawer.
Faceplate and handle sizing
Faceplates and back covers are sized by width and height, not by collection: a 2W-1H faceplate fits a 2W-1H Decor drawer in any collection from 59 to 270. A back cover fits the open-front Decor drawer; a legacy closed-front drawer takes the plate without one.
Handles share one 44 mm two-hole mount, so any handle fits any faceplate that takes one. Essential and Chevron take a handle; the other series print their grip in.
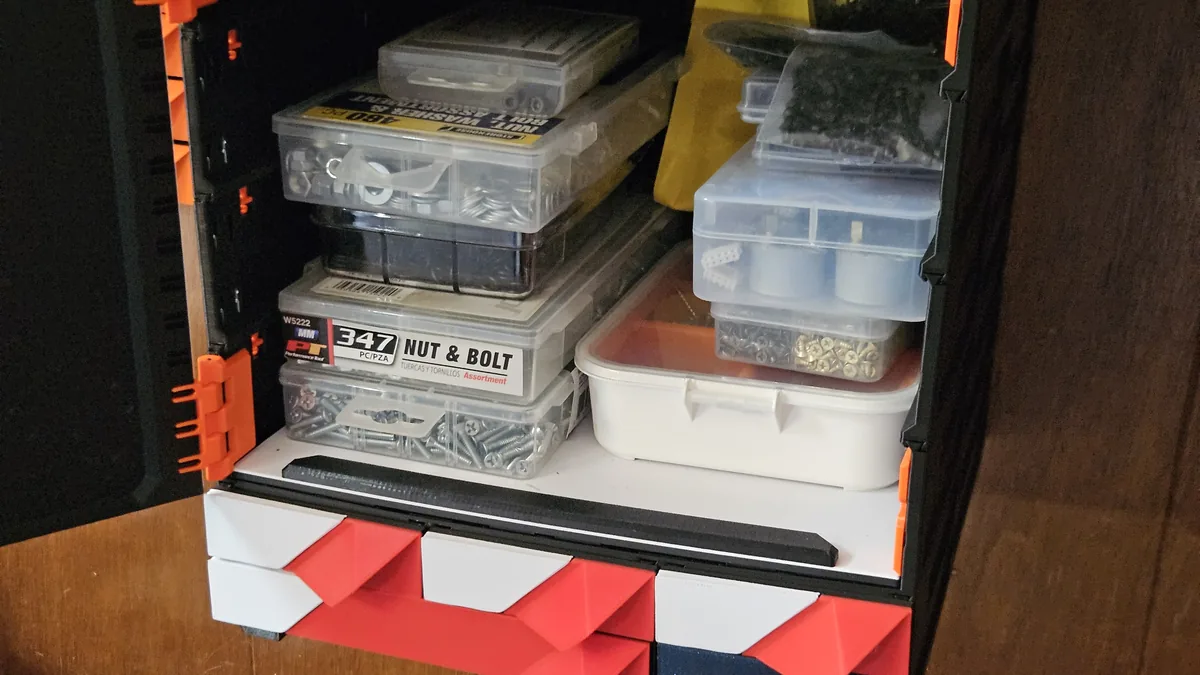 Or skip the drawer: shelves
A Shelf Insert replaces the drawer in a bay, and the bay becomes an open shelf. The black rail at its front edge is the optional Shelf Lip, keeping contents in.
Cases, drawers, shelves and the Planner are free. 2 of the 5 faceplate series are free too; the other 3 are Club releases, also sold on their own, that fund the design work.
Where to start
Start with a proven build
Every file listed, the hardware counted, and a guided 3D assembly. The shortest path to a finished thing on your desk.
 Design your own
The Planner lays your build out on your printer's bed and lists every file it needs.
Every part's files, sizes and 3D preview live in the catalog. Building now? Assembly instructions cover all three foundations step by step.