Home / Instructions
Instructions
Everything you need to put your build together - and make it yours.
Building an official kit?Open it in Build Studio for guided 3D assembly
New here, or holding printed parts?
Building from an official kit? Open its step-by-step build.
Already planned a build? Reopen your saved plan for the exact parts and 3D assembly.
Not sure what this part is? Identify it by shape.
Search by task, symptom, or part.
No guide matches that. Try a part name, or clear the box to see them all.
Install your build
Where will it live?
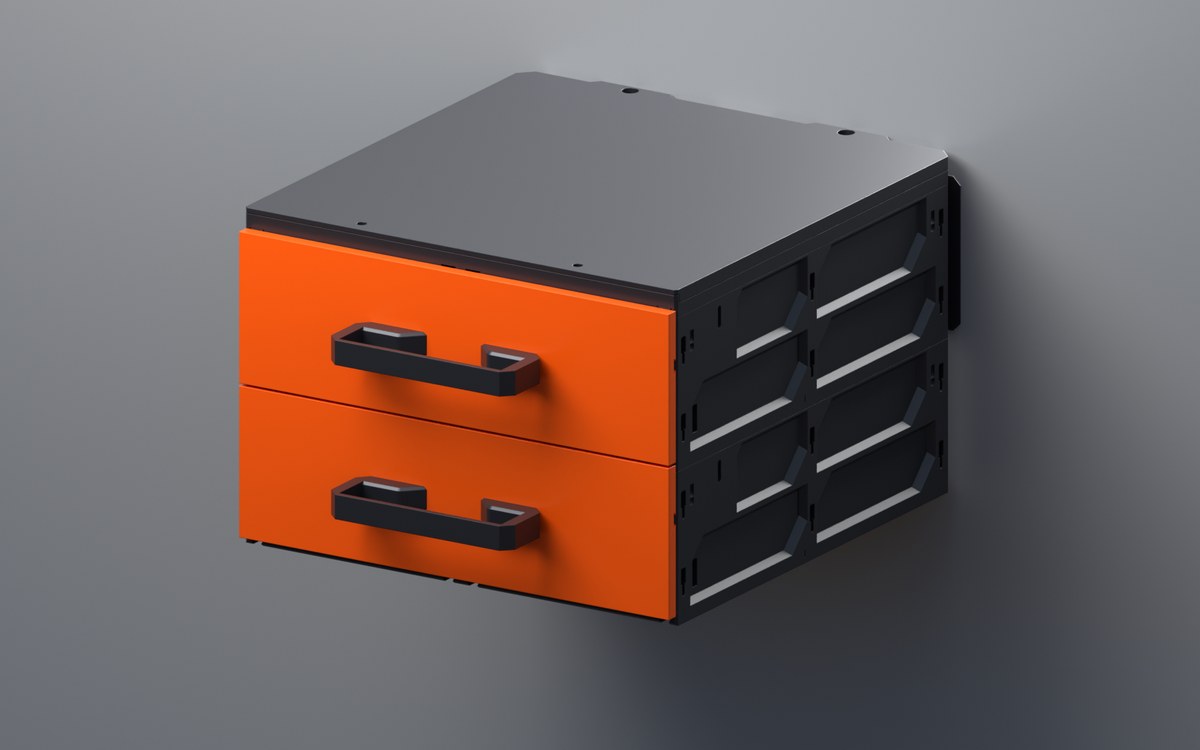 On the wallWall Mount LiteOne drill, five steps - every row below hangs from the top row.
5 stepsOpen the guide →
On the wallWall Mount LiteOne drill, five steps - every row below hangs from the top row.
5 stepsOpen the guide →
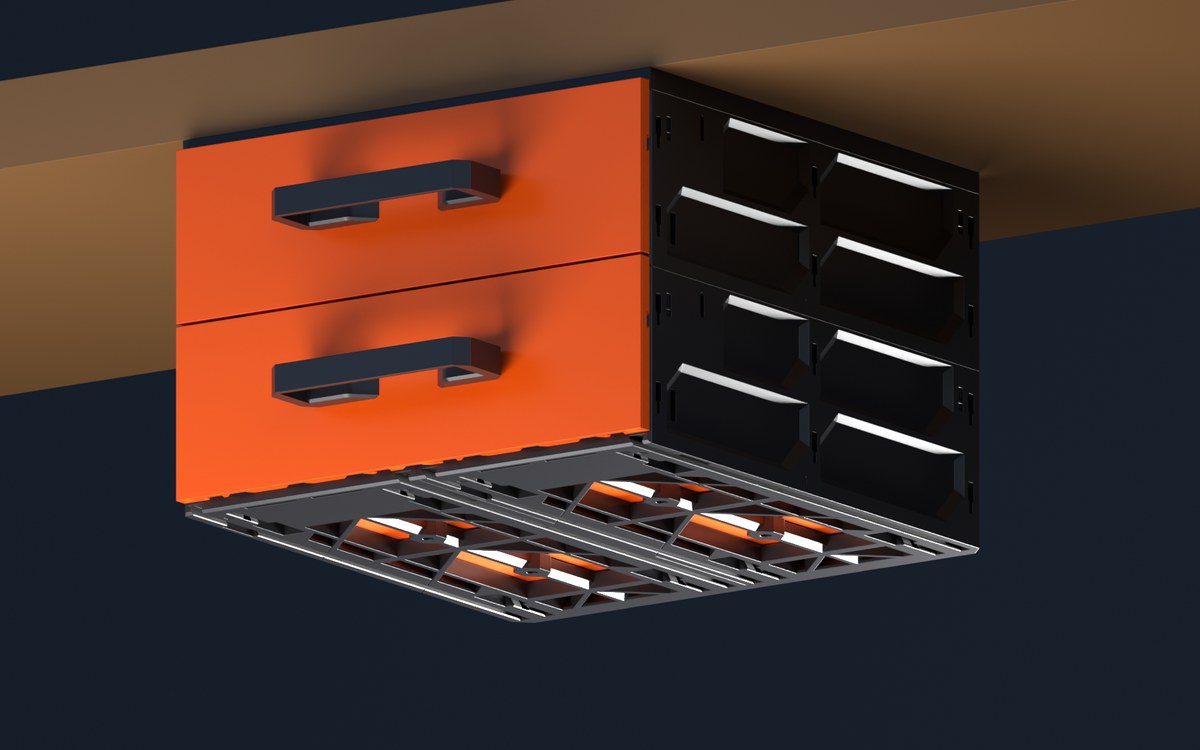 Under a table or deskUnder-Table RailsScrew the rails up once - everything else clicks into them.
5 stepsOpen the guide →
Under a table or deskUnder-Table RailsScrew the rails up once - everything else clicks into them.
5 stepsOpen the guide →
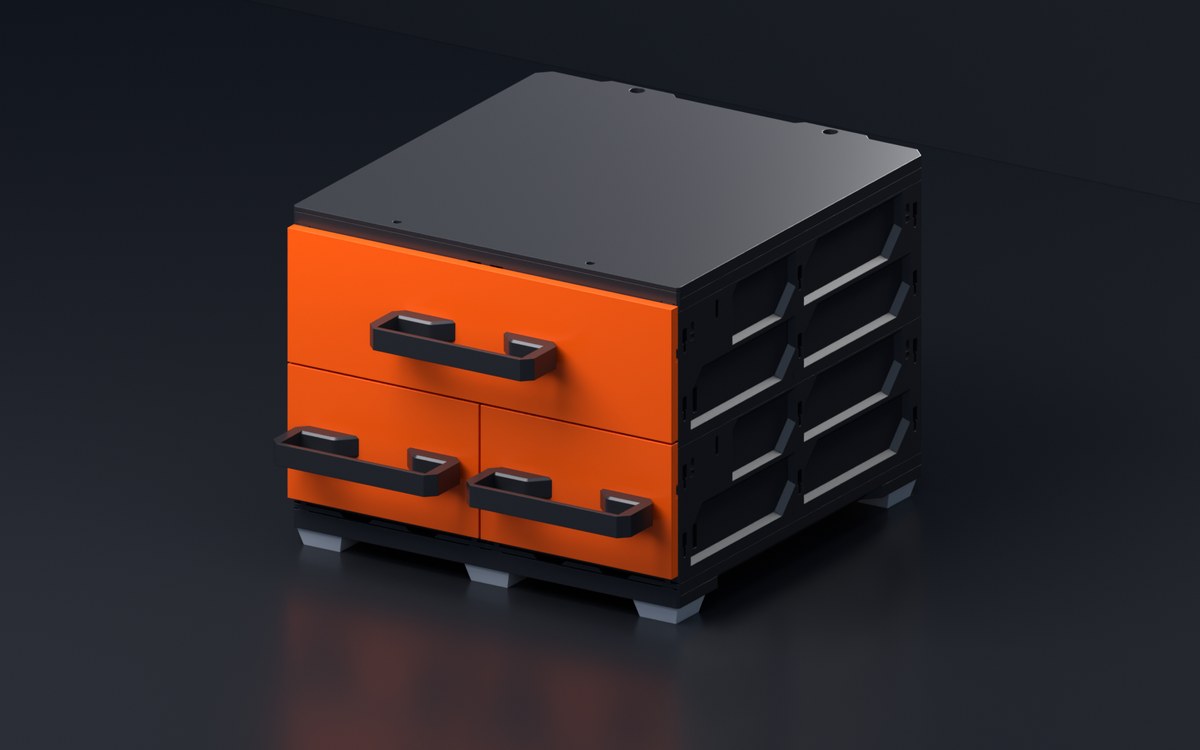 On a desk or benchTabletop BuildsRails and feet under, covers on top - no drilling at all.
5 stepsOpen the guide →
On a desk or benchTabletop BuildsRails and feet under, covers on top - no drilling at all.
5 stepsOpen the guide →
 Rules for wall and under-table buildsHow a hanging build carries its weight - and how to arrange it when strength matters.
Using individual parts
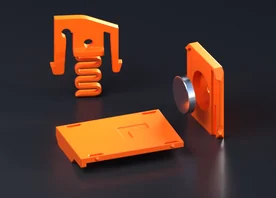 Connect cases and drawersQuickLocks, stoppers, and magnets - the hardware every build shares, one page.
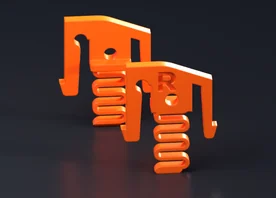 How QuickLock workson the QuickLock pageThe spring, the click, the release - the animated explainer.
Set up drawers and shelves
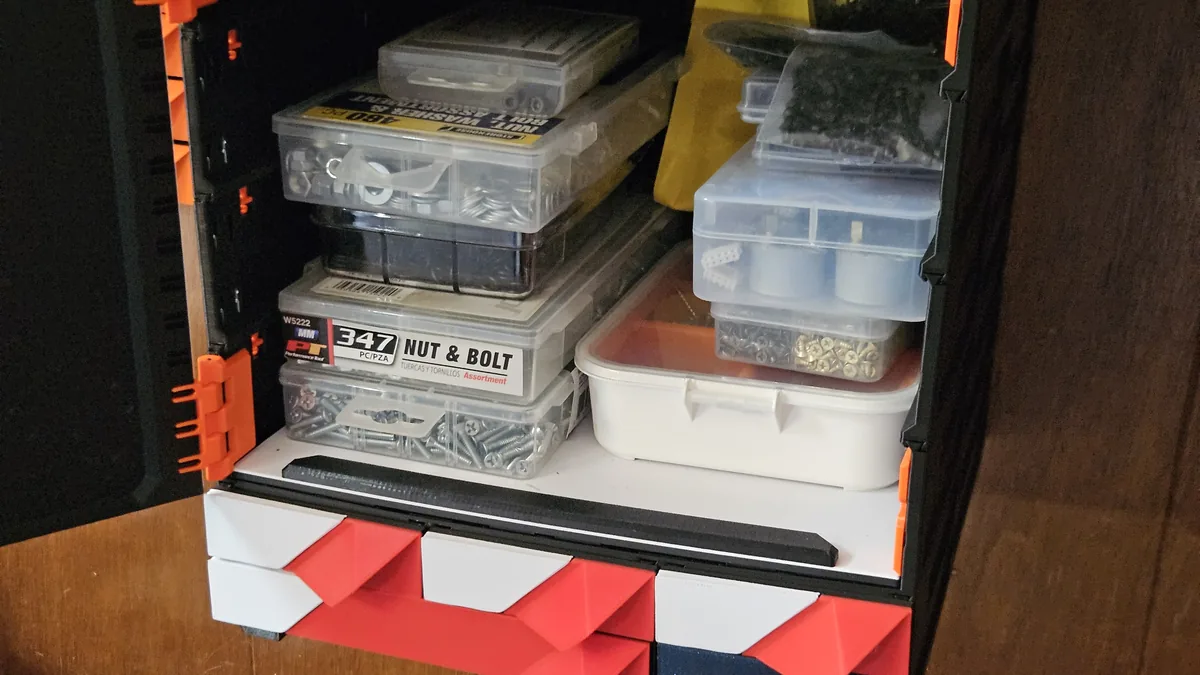 Shelves and case extendersTurn a bay into an open shelf, and raise it as tall as the things it holds.
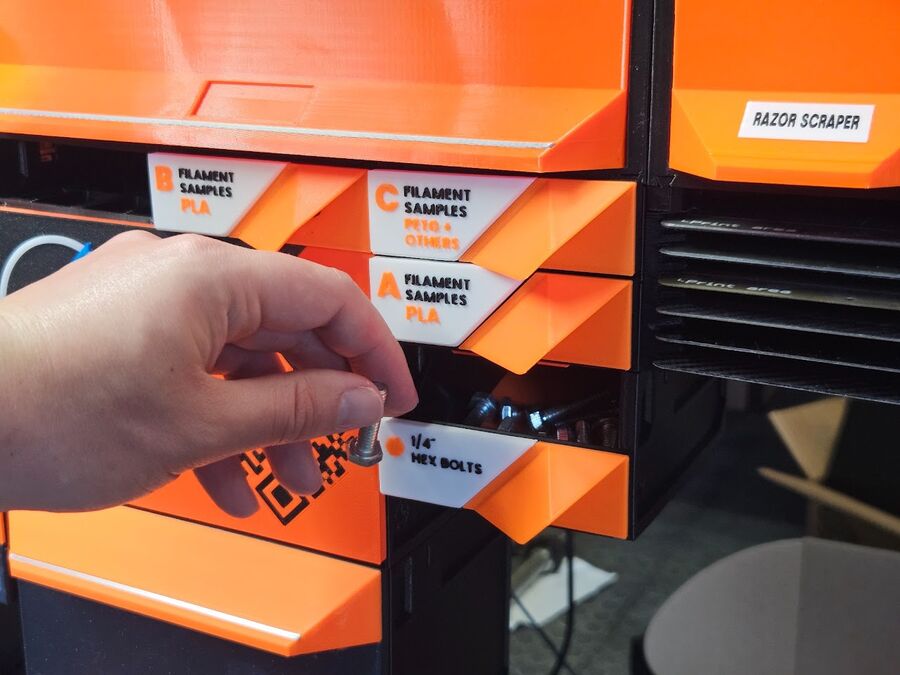 Open Bin DrawerThe quick-access drawer with an open front - assembly and options.
Labels and appearance
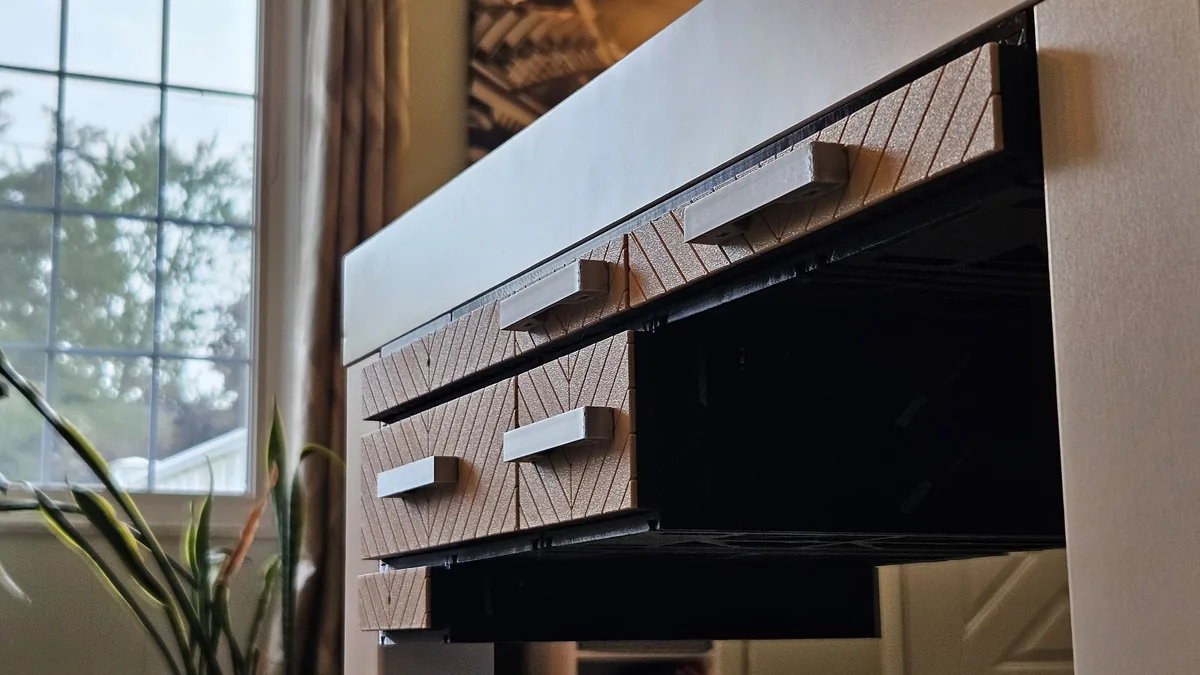 Decor fronts and handlesAttach, swap, and dress a Decor drawer front - plates, handles, labels, back covers.
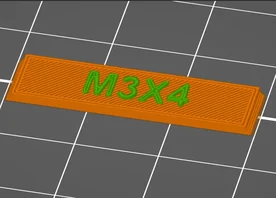 Creating labelsGenerate a label in a minute, or make your own in the slicer - and keep it readable.
Add to or change your build
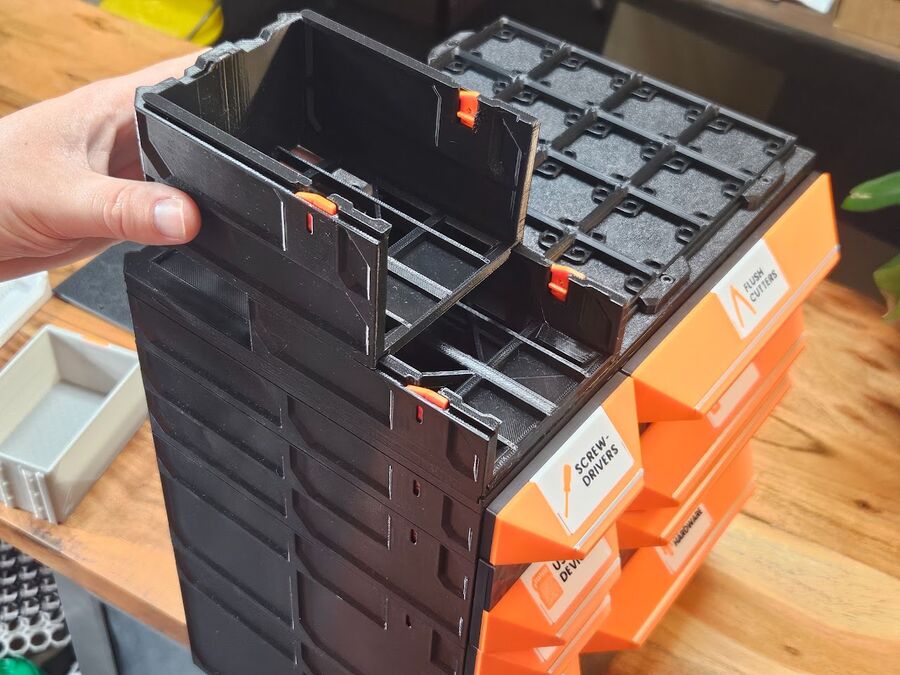
Printing and hardware
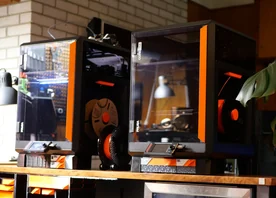 Printing MODULITHMaterials, slicer settings, and orientation - one page before you commit printer-hours.
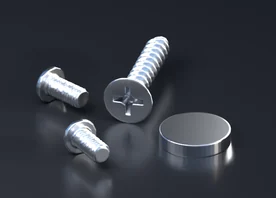 Magnets, screws, and other hardwareproduct pageEverything the printer cannot make - what to buy and where each piece goes.
Which part is this?
Holding a part and not sure what it is called? Find the picture that matches it: each card gives the part's name and links to its page. The pictures show the 185 Collection, and every part also comes in other sizes.
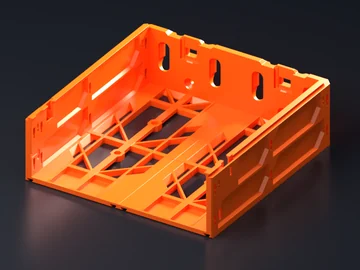 CaseAn open box with dovetail channels - the structural shell.
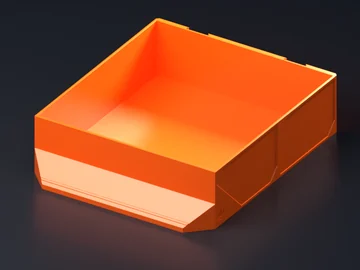 Classic drawerA drawer with its grip printed into the front.
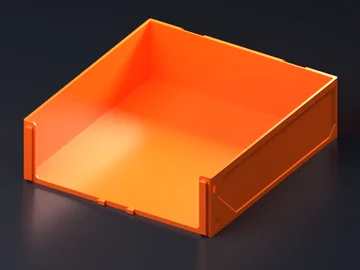 Decor drawerA drawer with a flat clip-on front - the faceplate goes there.
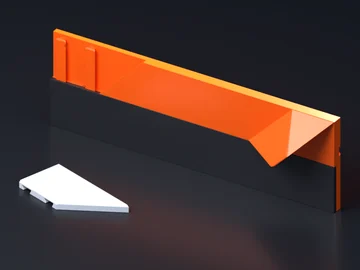 Faceplate, handle, labelA flat front panel that clips onto a Decor drawer - handles and labels ride on it.
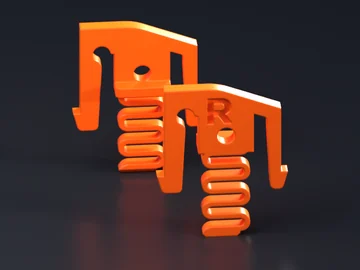 QuickLockA small sprung clip, one Left and one Right per case.
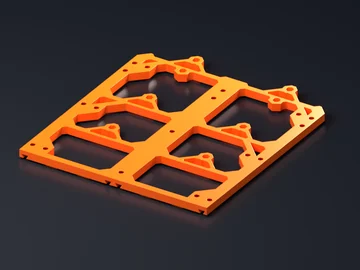 Under-table railA long flat plate with screw holes and dovetail channels.
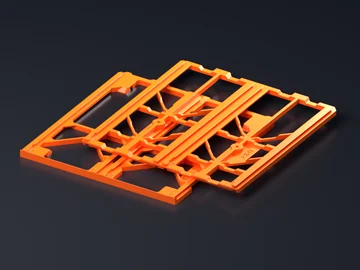 Foot railA slim frame that goes under the bottom row of a tabletop build.
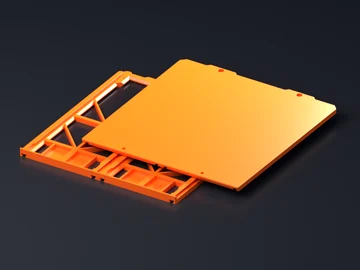 CoversTwo stacking lids that close the top of a build.
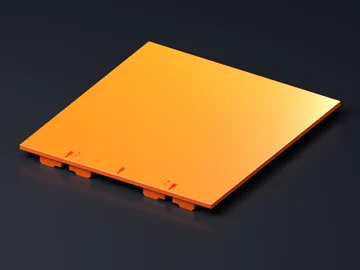 Shelf insertA flat deck with clip tabs - turns a bay into an open shelf.
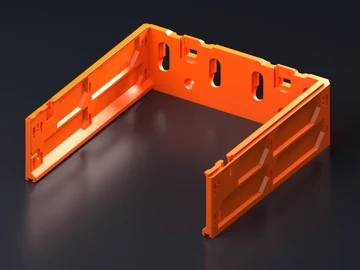 Case extenderA three-sided collar that raises a case for taller openings.
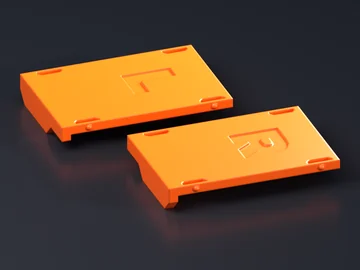 Drawer stopperA small wedge, Left or Right - keeps a drawer from pulling all the way out.
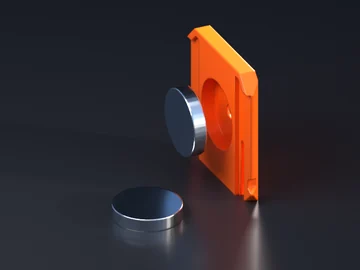 Magnet insertA small clip with a round pocket - a purchased magnet seats in it.
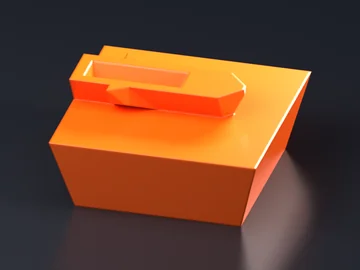 FootA small flexible pad that slides into a slot under a tabletop build.
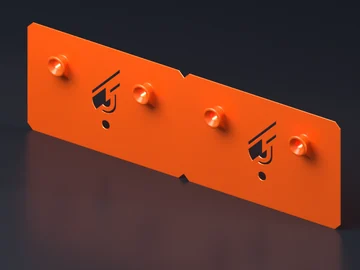 Wall bracketA flat plate with countersunk screw holes - the wall build hangs on it.