Cover Size Adapter
Mount a shallower collection's case on top of a deeper tabletop build.
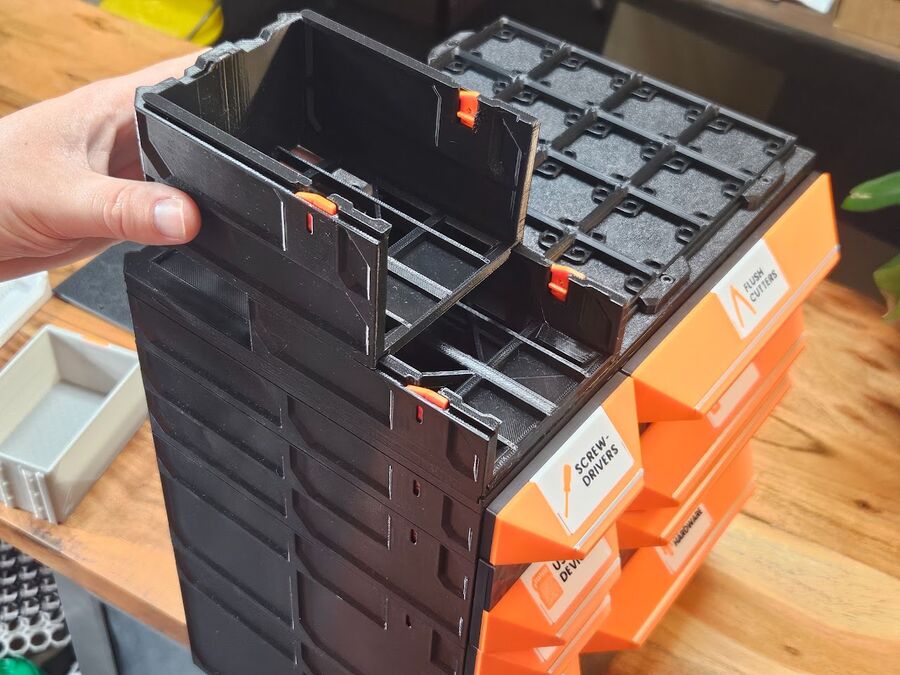
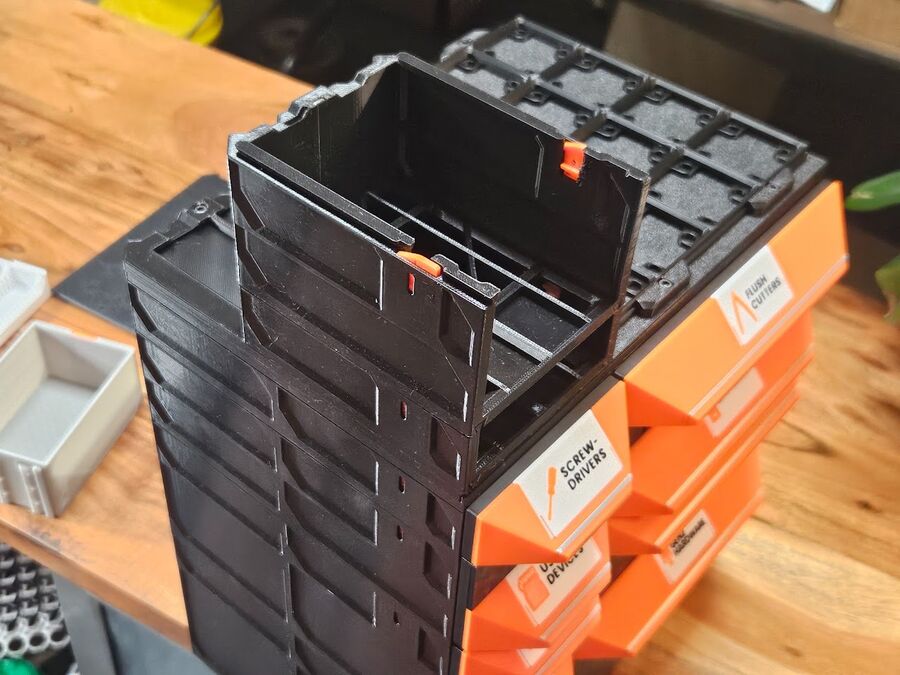
The Size Adapter Cover lets a shorter-depth case ride on top of a longer build - a 115 case on a 240 tabletop, for example. It replaces the standard Cover Upper on a tabletop build, and the shorter case slides onto it like it would onto its own rails. It is not needed often, but it is the way to combine cases of different depths in one tabletop build.
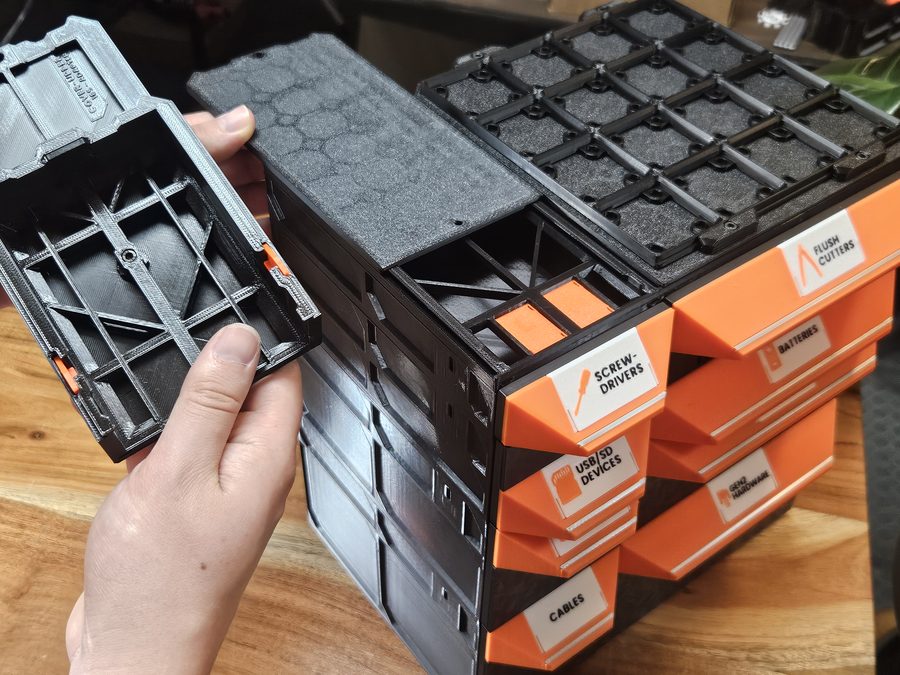
Step 1 - Pull the nuts into the adapter
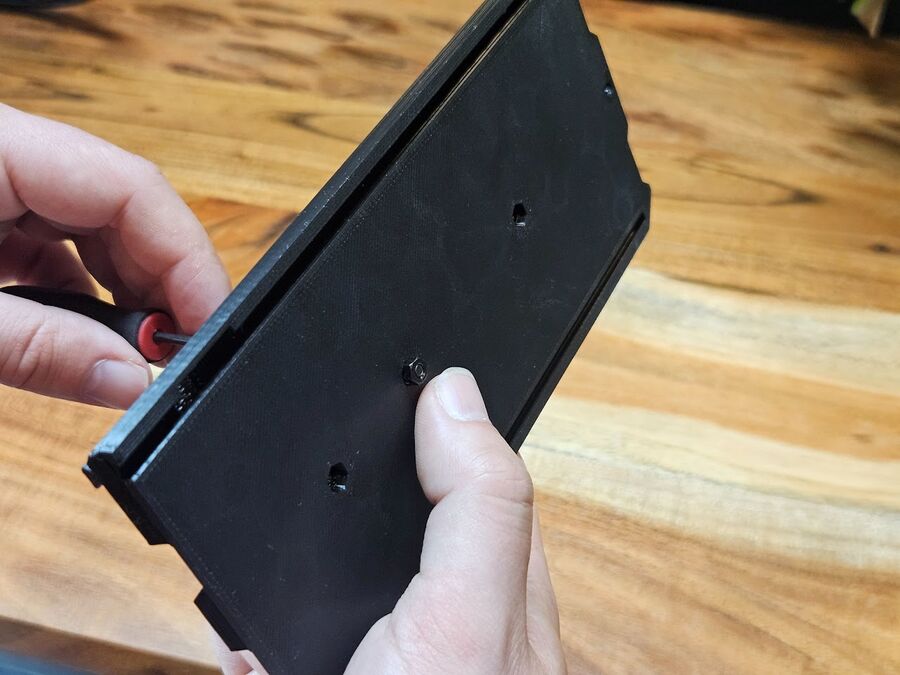
The securing screw is not self-tapping: an M3 nut in the adapter is the only thing it can thread into. One nut is enough. Look inside the bottom of the case you are mounting, find its rear-most screw hole, and seat the nut in the adapter slot that lines up with it - the slot varies with the depth of the case. To seat a nut, put it in the slot on the underside of the adapter and draw it in tight with an M3×8mm screw, then take the screw out.
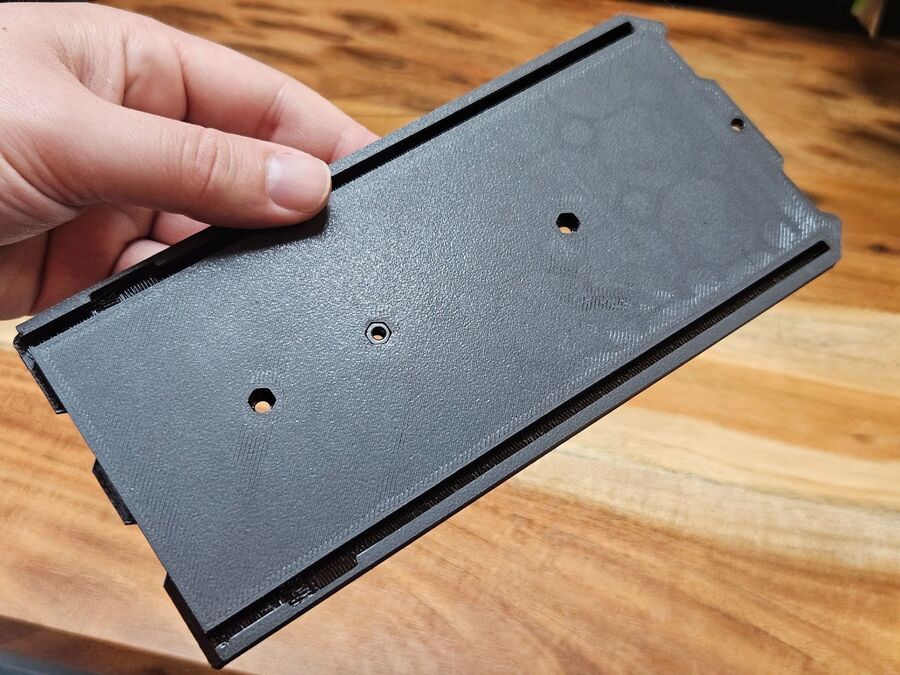
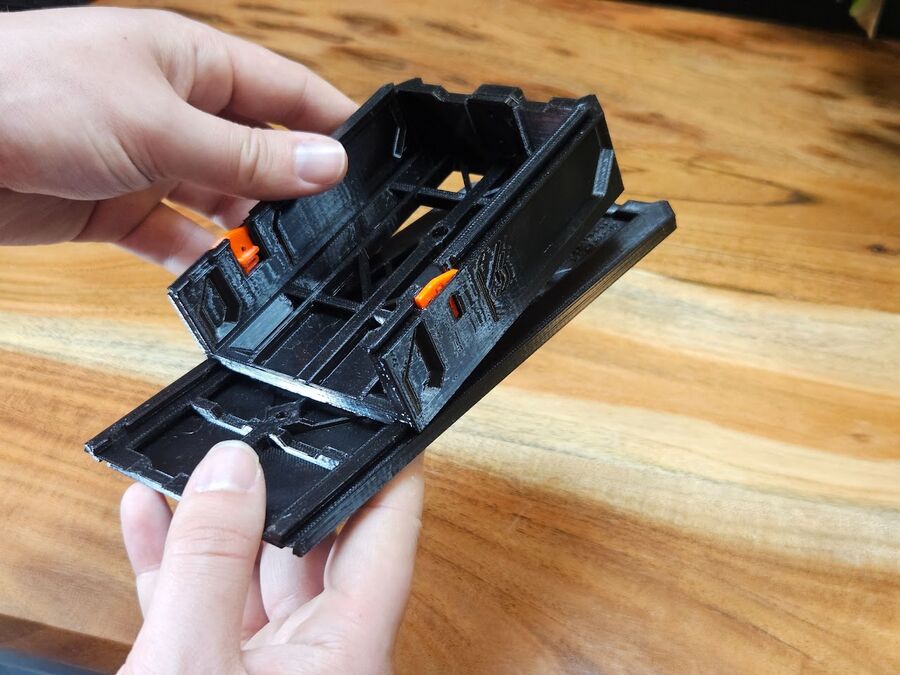
Step 2 - Mount the shorter case
Slide the shorter case onto the adapter cover and secure it with an M3×6mm screw. Make certain the case slides fully onto the rails before you drive the screw.
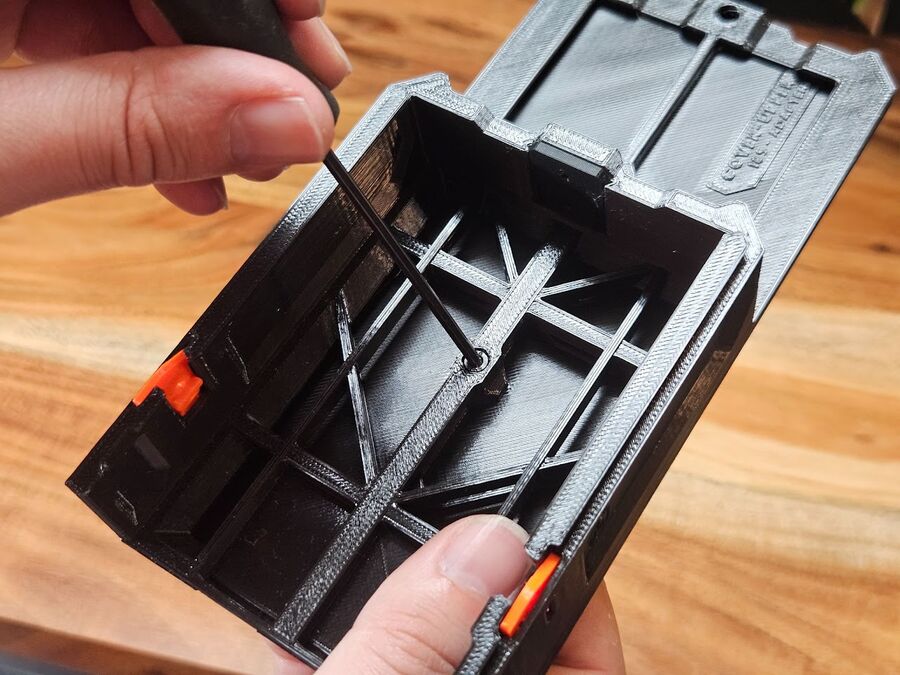
Step 3 - Swap it onto the Tabletop Kit
On the build, slide the original Cover Upper off and slide the Size Adapter Cover into the vacant position. Current covers snap onto the Cover Lower on their own. Older covers are locked by an M3×6mm screw near the top back: if yours has one, take it out first and use it to secure the adapter the same way. The screw is still an option on any cover if you want it locked.
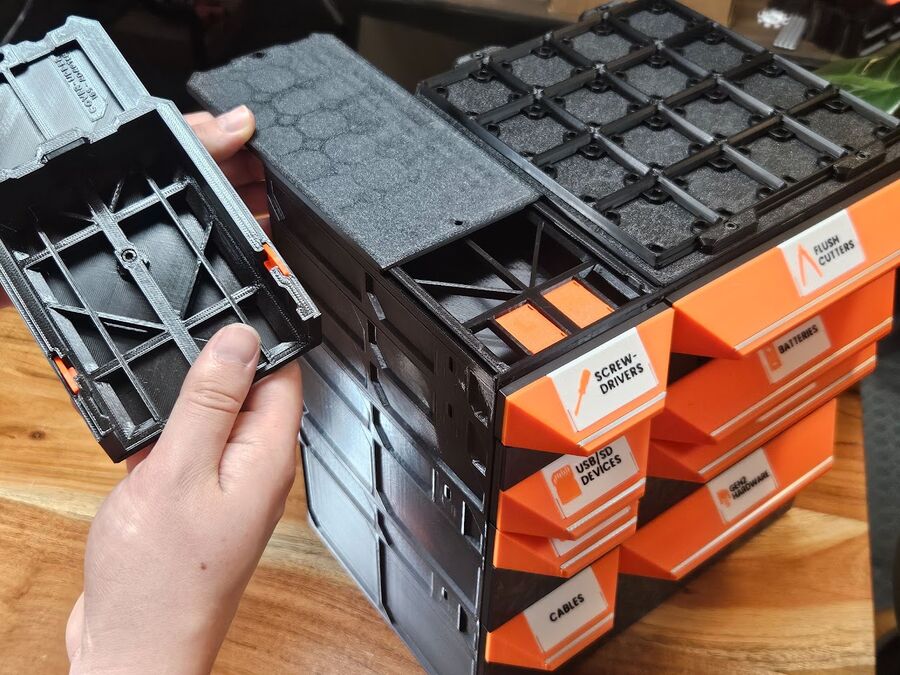
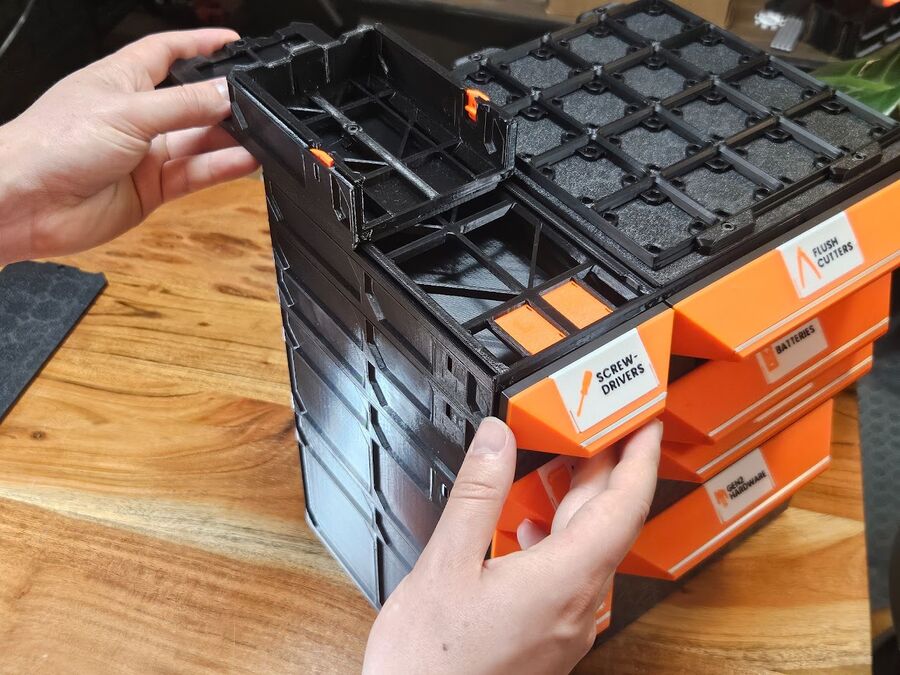
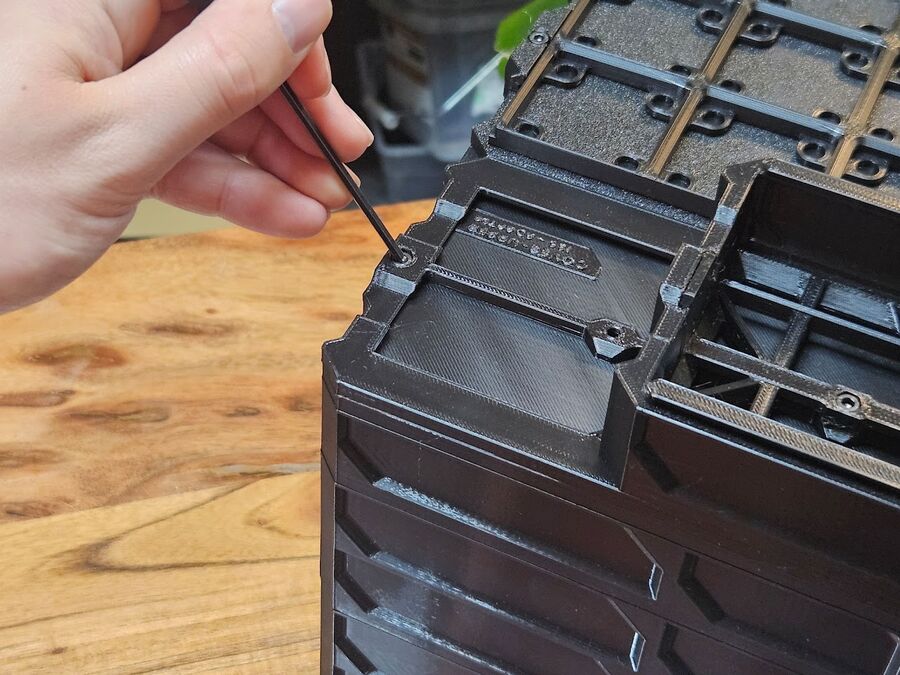
Step 4 - Expand from there
Keep adding covers for the shorter size to grow the configuration horizontally - 1W and 2W Size Adapter Covers combine like ordinary covers.
Hardware for this guide (M3×6mm, M3×8mm, M3 nuts) is on the purchased-hardware list.