Creating labels
Every EdgeLabel and Classic Pro drawer front takes a swappable printed label. The generators are the fast path; the slicer path makes anything you can type or draw.
Sizes: W is width (1W = 88 mm) and H is height (1H = 56 mm, 0.5H is half of that). The collection number - 115, 185, 240 - is the case depth in mm.
No printer time to spare?
A label maker works too - the label area is a flat face on both series. The printed label is the option that matches the front and swaps with the contents.
What you'll need
Quantities depend on your layout - the Planner works them out for your build, and every official kit lists them exactly.
- EdgeLabel FaceplatesA faceplate with a label window
- Classic Pro FaceplatesOr one with a label slope and accent
- Decor Drawerschoose your collectionThe drawer either plate mounts on
The fast path: the generators
Open the generator that matches your faceplate series, type the label, download, print. Both run in the browser and give print-ready files sized for their window.
EdgeLabel generator · Classic Pro generator - label blanks also ship inside each faceplate series download.
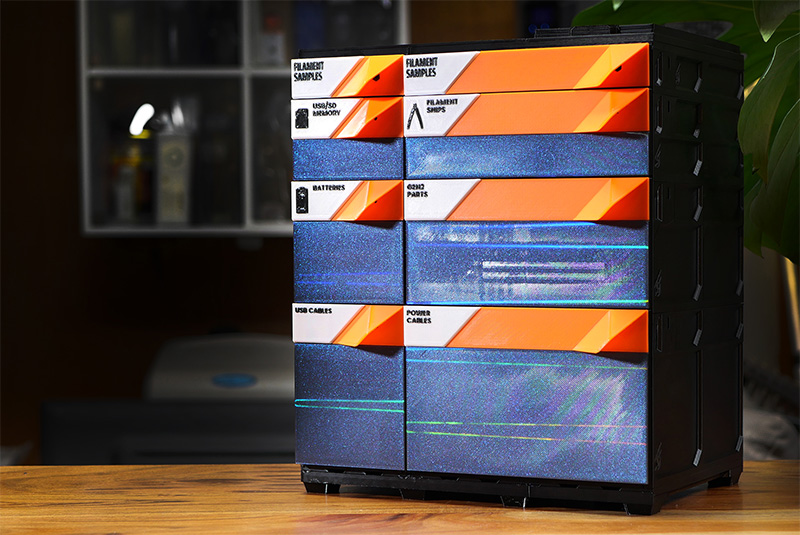 EdgeLabel - the label rides in its angled window
Make your own: add text in the slicer
Load a label blank, then add a text object on its face. PrusaSlicer: right-click the label in the object list (Advanced mode) and choose Add part, then Text. Bambu Studio: select the label and use the Text tool at the top of the screen.
The text object sits on the raised face of the blank.
One color or several
Multi-material printer (MMU, AMS): assign the text its own color and print. Single-color printer: slice the label, drag the layer slider down to the first layer where the text begins, and add a color change there - PrusaSlicer with the +, Bambu Studio by right-clicking the + to add a pause. Swap filament when the printer stops.
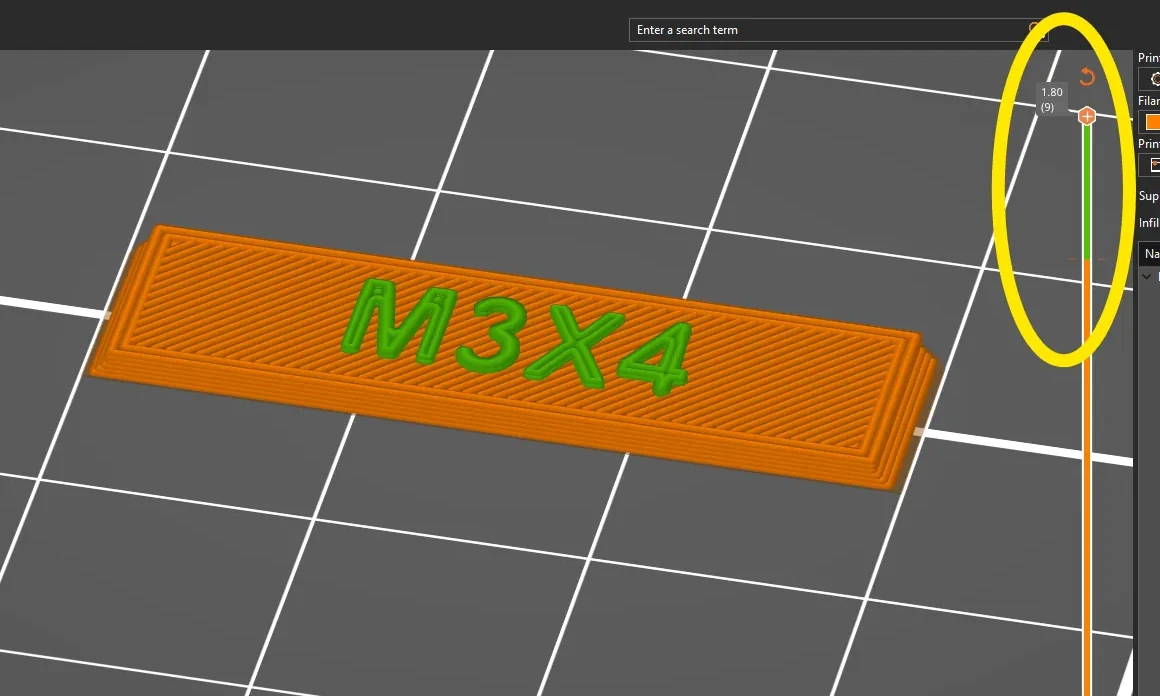 Slicer preview · the color change sits at the first text layer
Keep it readable
Bold beats thin: if strokes print broken or faint, switch to a bolder variant of the font. Turning on Arachne in the slicer helps thin font sections print.
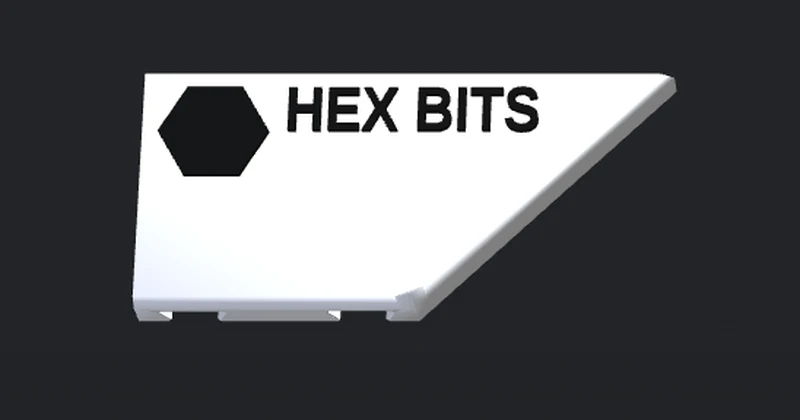
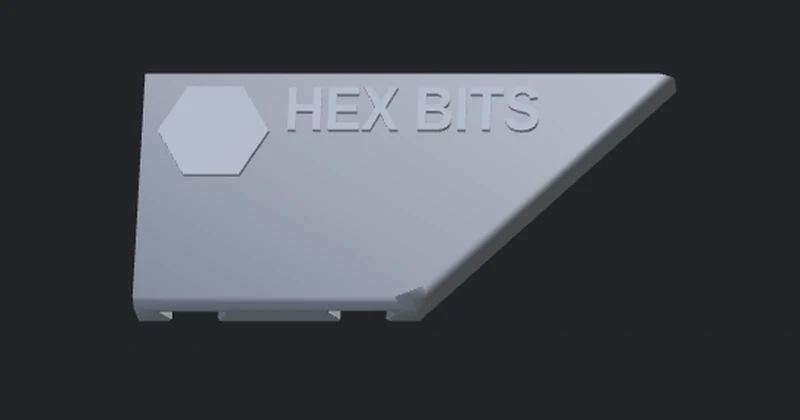
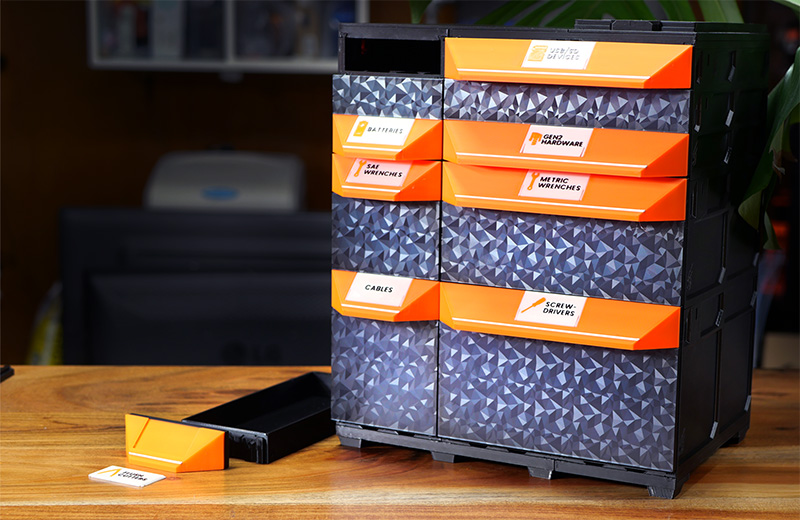 Photo · Classic Pro, the label lies on the grip slope
Fit it, swap it
EdgeLabel: slide the label into its window. Classic Pro: press the accent panel into the face and lay the label onto the grip slope. Both come out again the same way, so a relabel is a minute, not a reprint.
Attaching the plates themselves is Decor fronts and handles.
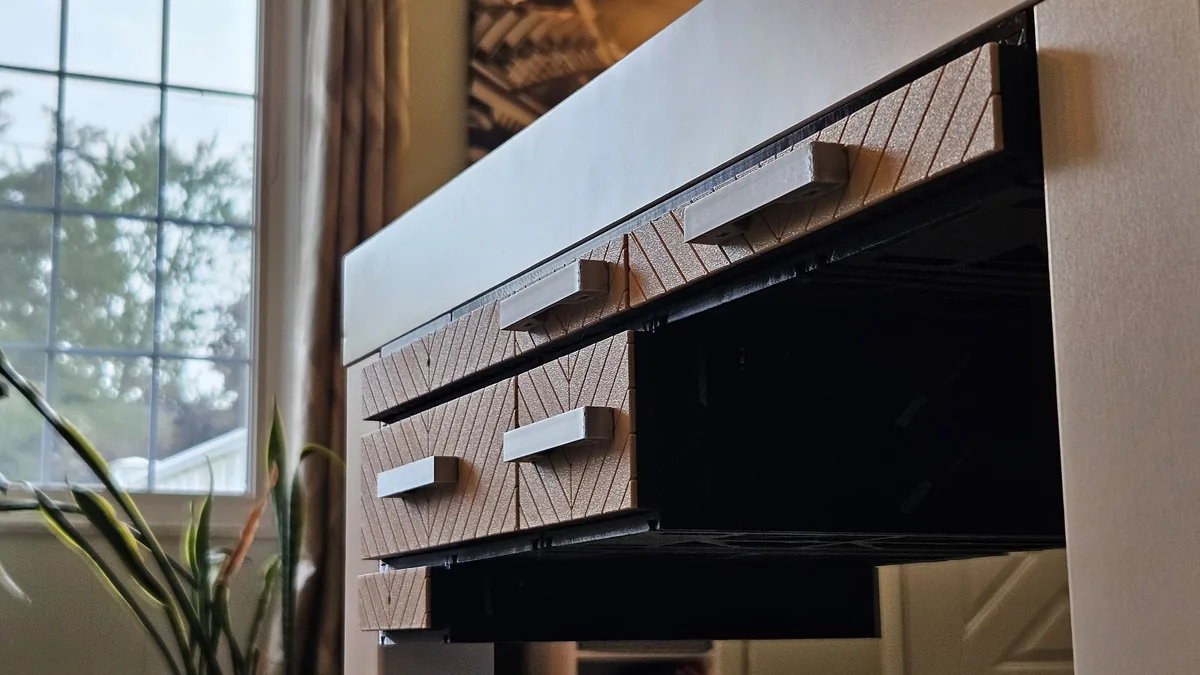 Photo · labeled fronts in a build