Decor fronts and handles
A Decor drawer changes its whole look without reprinting the box: the plate slides on, the handle bolts on where one is needed, and the labels swap in seconds.
Sizes: W is width (1W = 88 mm) and H is height (1H = 56 mm, 0.5H is half of that). The collection number - 115, 185, 240 - is the case depth in mm.
Which sizes fit which drawers?
Faceplates and back covers are sized by width and height, not by collection: a 2W-1H plate fits a 2W-1H Decor drawer in every collection. Depth never enters the question.

What you'll need
Quantities depend on your layout - the Planner works them out for your build, and every official kit lists them exactly.
- Decor Drawerschoose your collectionThe drawer that takes a swappable front
- Essential FaceplatesOr any faceplate series - one plate per drawer
- Deco HandlesoptionalOnly for faceplates without a printed grip
- Faceplate Back CoversoptionalOptional matching back cover
- Purchased HardwareTwo M3x6mm button head screws per bolt-on handle
Start from a Decor drawer
Only Decor drawers take a swappable front - the flat face with clips is the interface. A Classic drawer prints its grip in and is already finished.
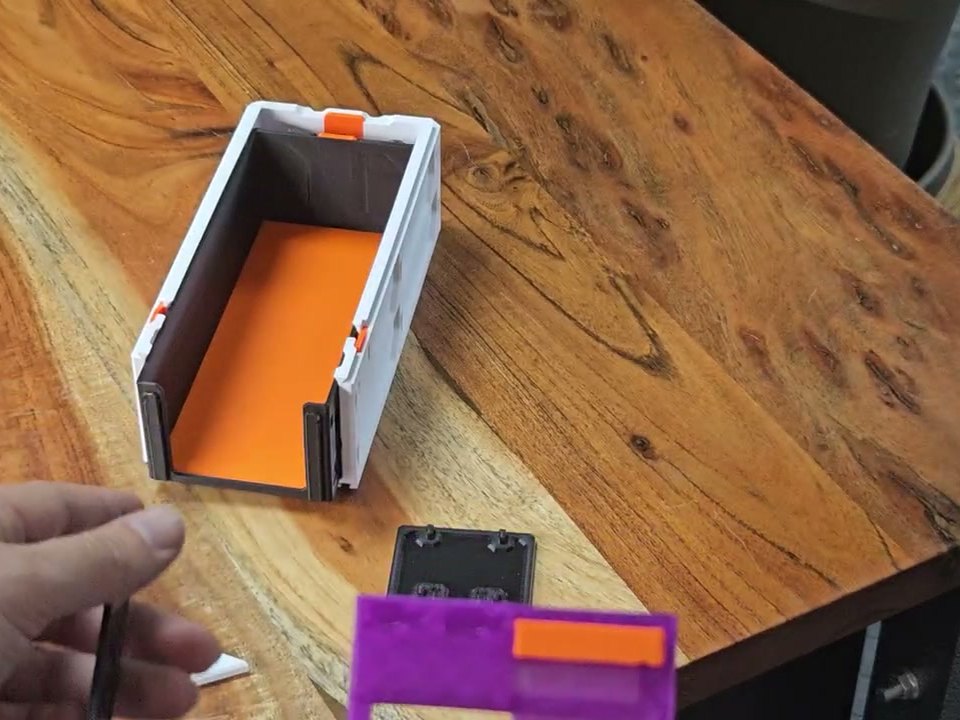 Photo · a current Decor drawer: the front is open
Slide the faceplate on
Pull the drawer out about 40 mm so the front is clear, slide the assembled faceplate DOWN onto the drawer front until it snaps into its clips, then push the drawer home.
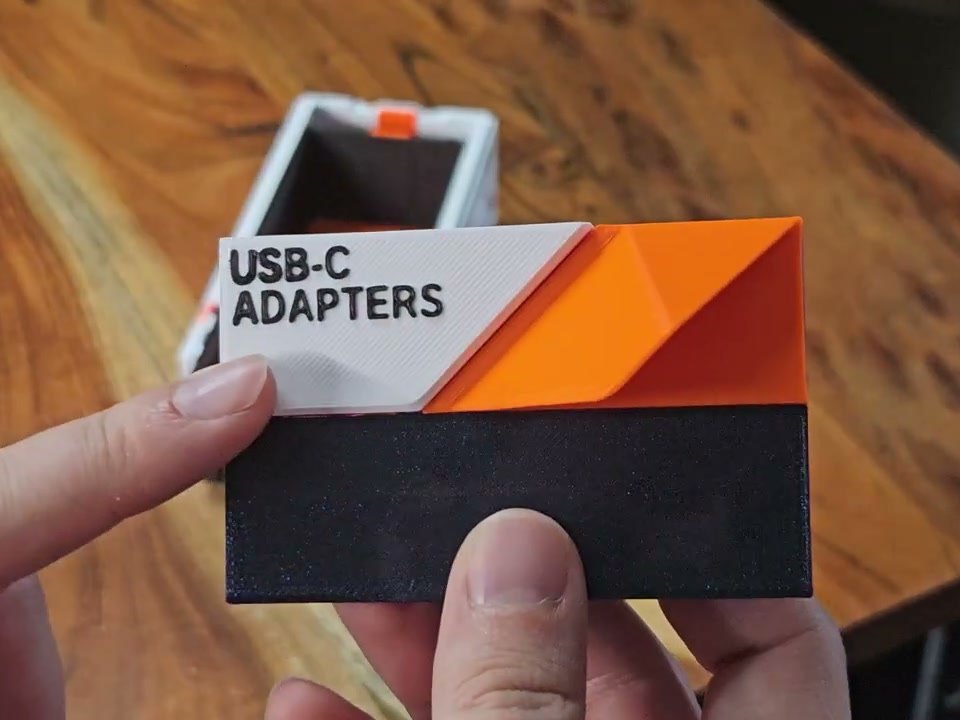 Photo · a finished plate going onto the drawer front
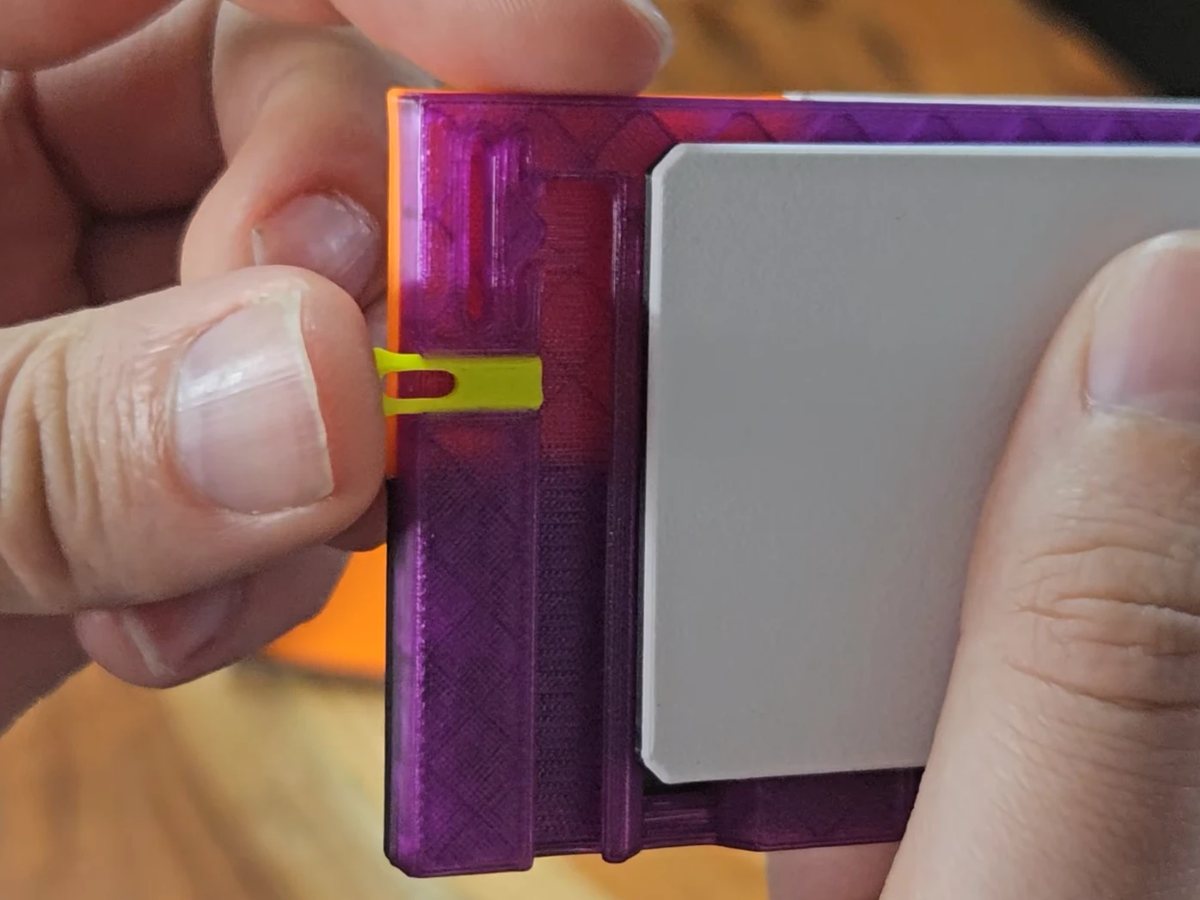 Photo · a Faceplate Pin going in at the side of the plate
Labels and accents
EdgeLabel: slide the label into its window. Classic Pro: press the accent panel into the face and lay the label onto the grip slope. Both swap whenever the contents change.
Label workflows live in Creating labels.
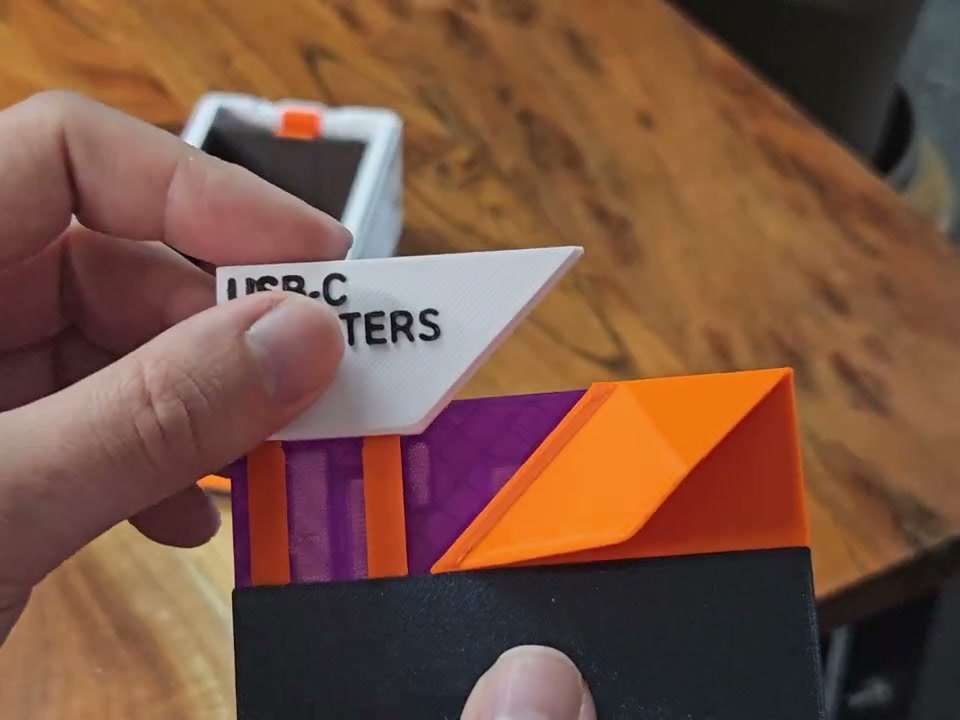 Photo · an EdgeLabel label sliding into its angled window
The back cover, if you want one
A back cover matching the plate's W and H closes the open back of a current Decor drawer - the same cover fits every faceplate series of that size.
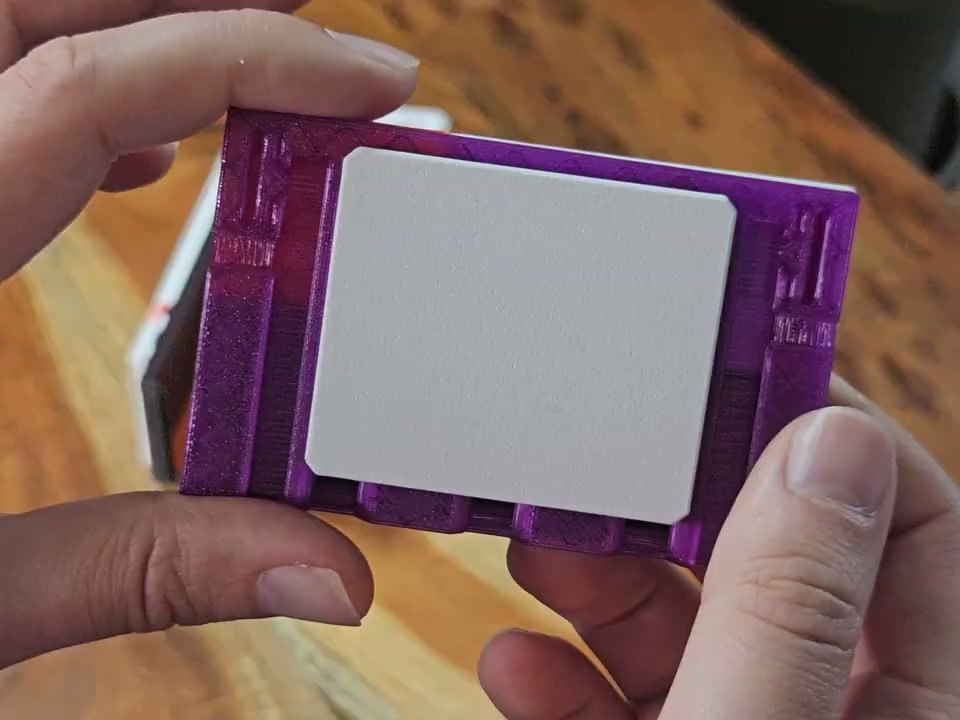 Photo · a back cover seated in the back of a plate