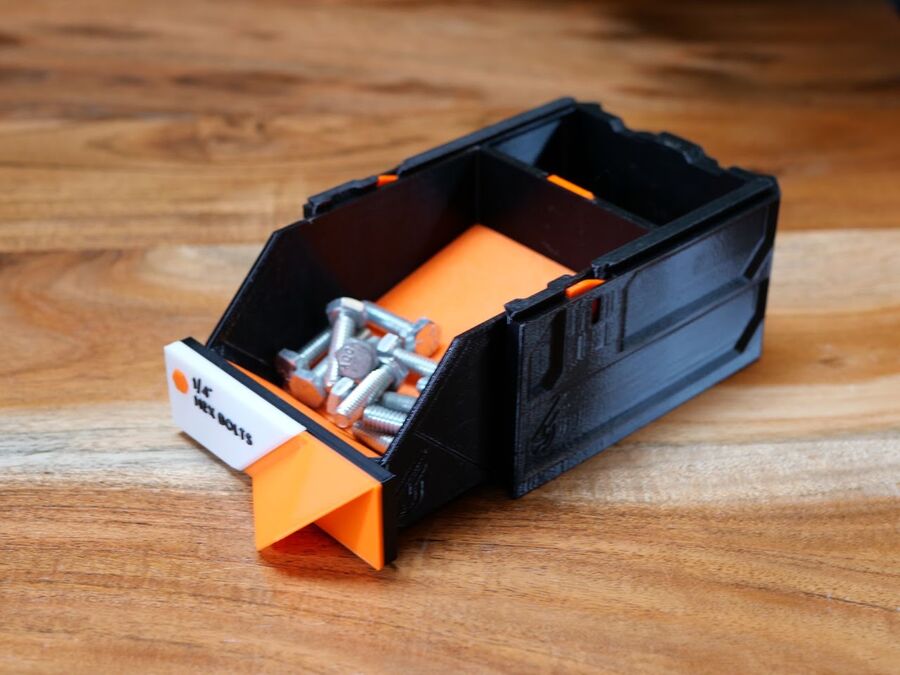
Open Bin Drawer
The quick-access drawer with an open front - assembly and options.
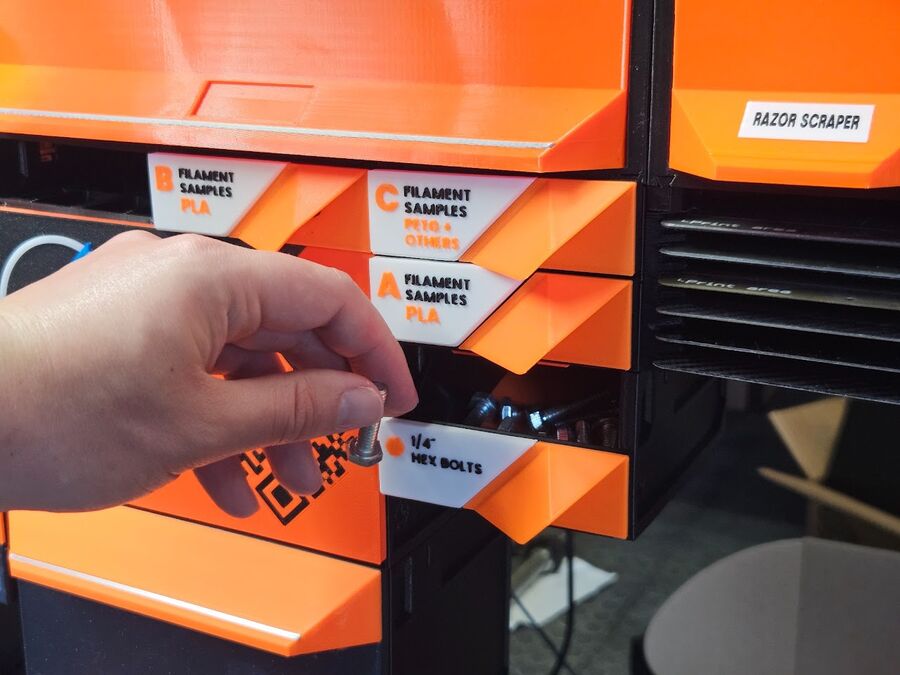
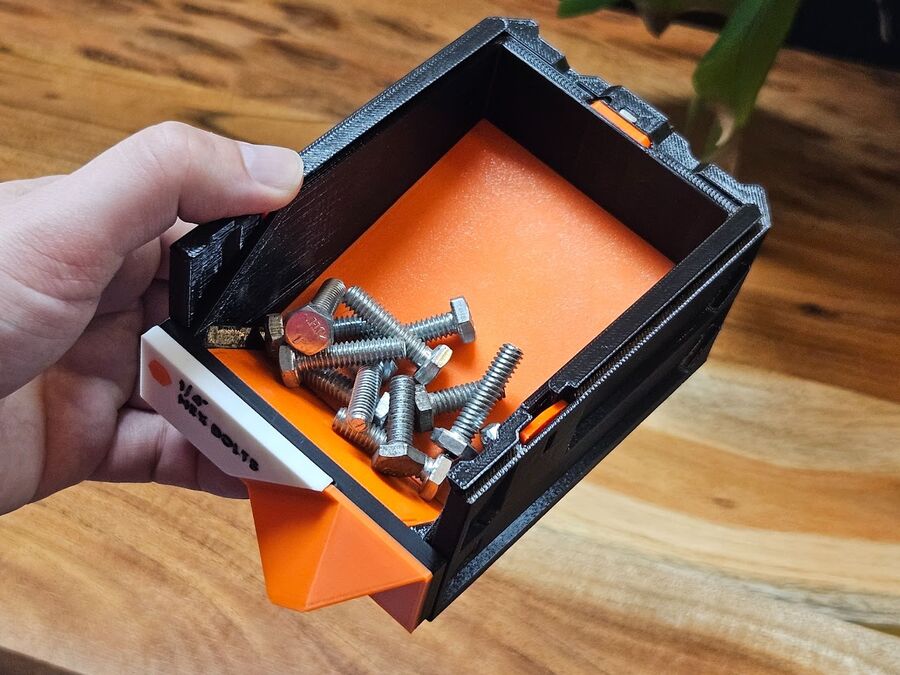
The Decor Open Bin Drawer has an opening at the front so you can grab bolts, nuts, or screws without pulling the drawer out. An optional Gravity Wedge insert angles the contents toward the opening.
What you need
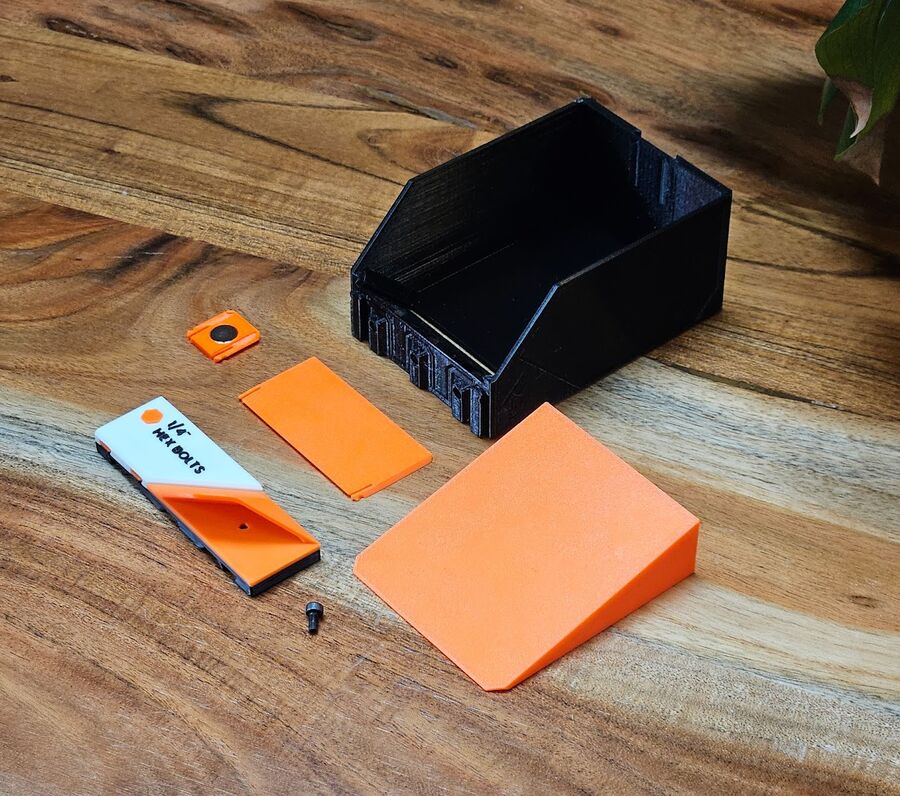
- The bin drawer body, its screw-hole cover, and the optional Gravity Wedge insert (all in the bin listing)
- A 1W-0.5H Decor faceplate - EdgeLabel or Classic Pro
- A drawer case, QuickLocks, and optionally magnet inserts + magnets for the magnetic closure
- Optional: one M3×6mm screw and a hex wrench - the purchased-hardware list. Current faceplates snap on and need no screw.
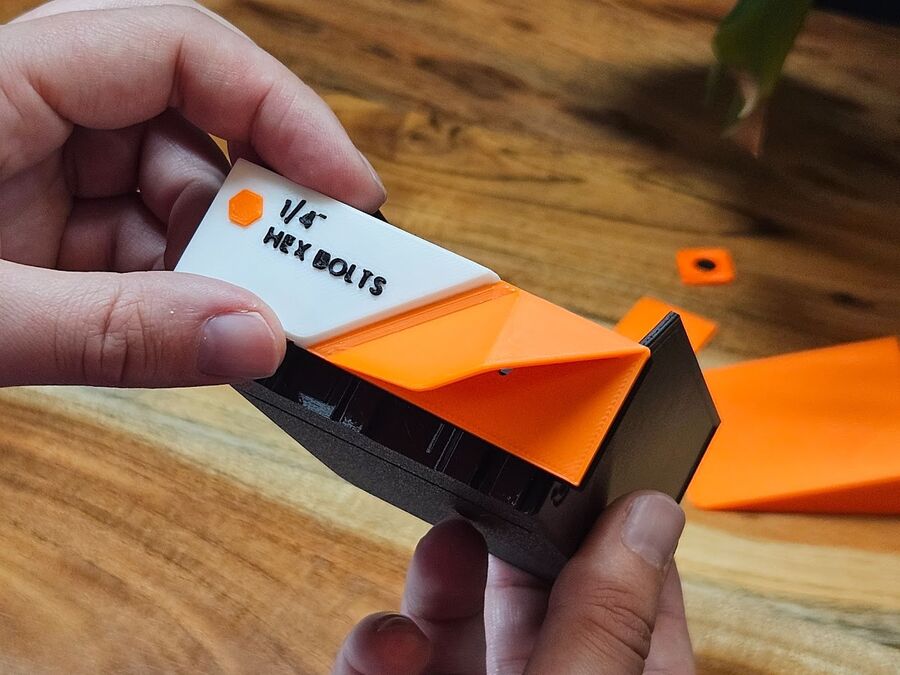
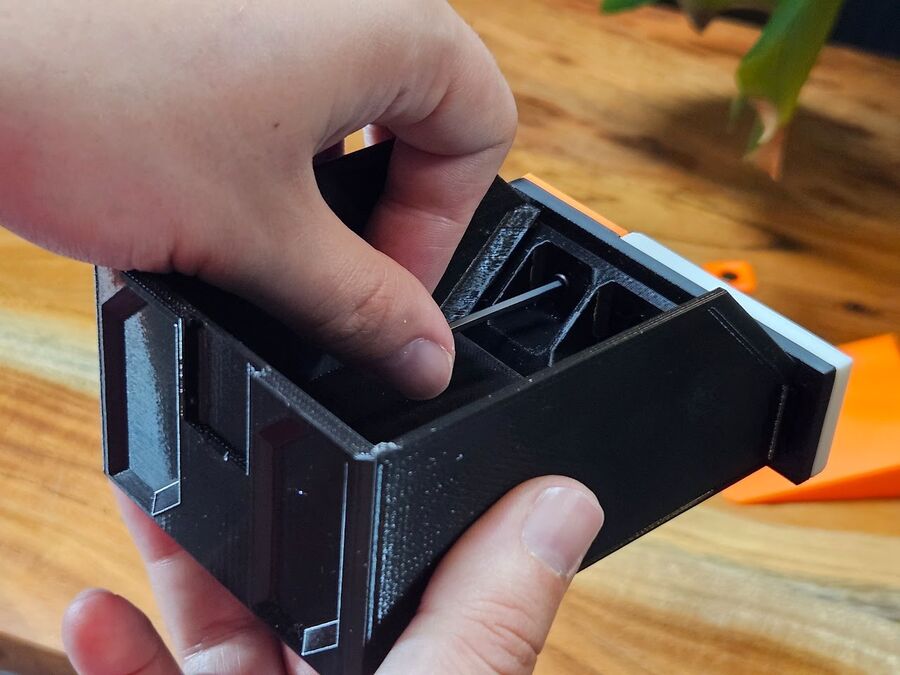
Step 1 - Attach the faceplate
Slide the faceplate onto the front of the bin body until it snaps on. A current faceplate grips hard and needs nothing else. With an older faceplate, or if you want it locked, drive one M3×6mm screw through the back with a hex wrench - it cuts its own thread in the plate, so there is no nut.
Step 2 - Install the screw-hole cover
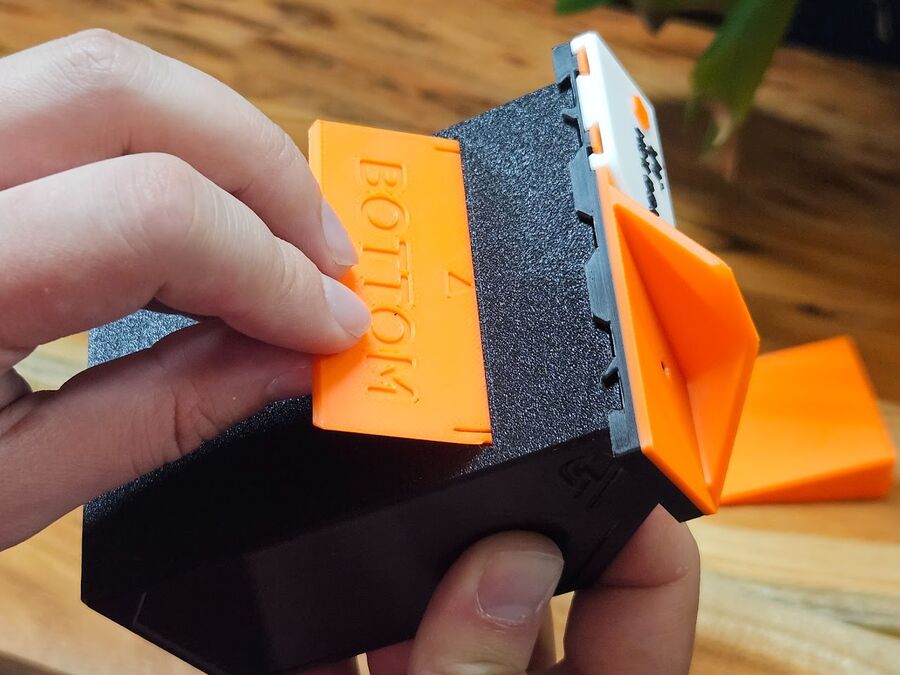
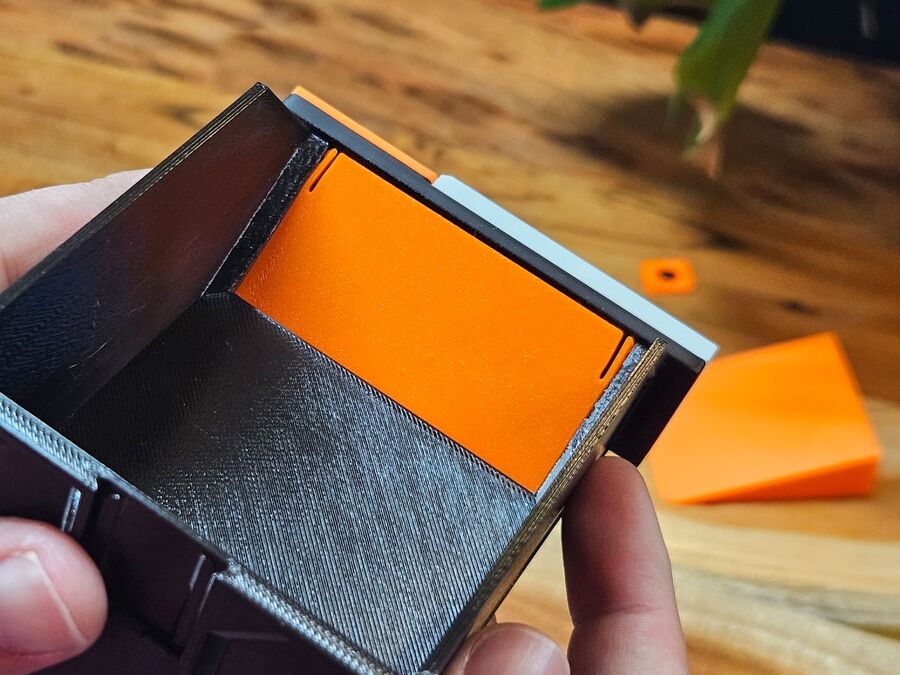
Insert the cover through the bottom slot with the arrow pointing forward and the BOTTOM text facing down, then guide it from the top until it snaps in. A bright, contrasting color makes the bin's contents easier to see.
Step 3 - Gravity Wedge + stoppers
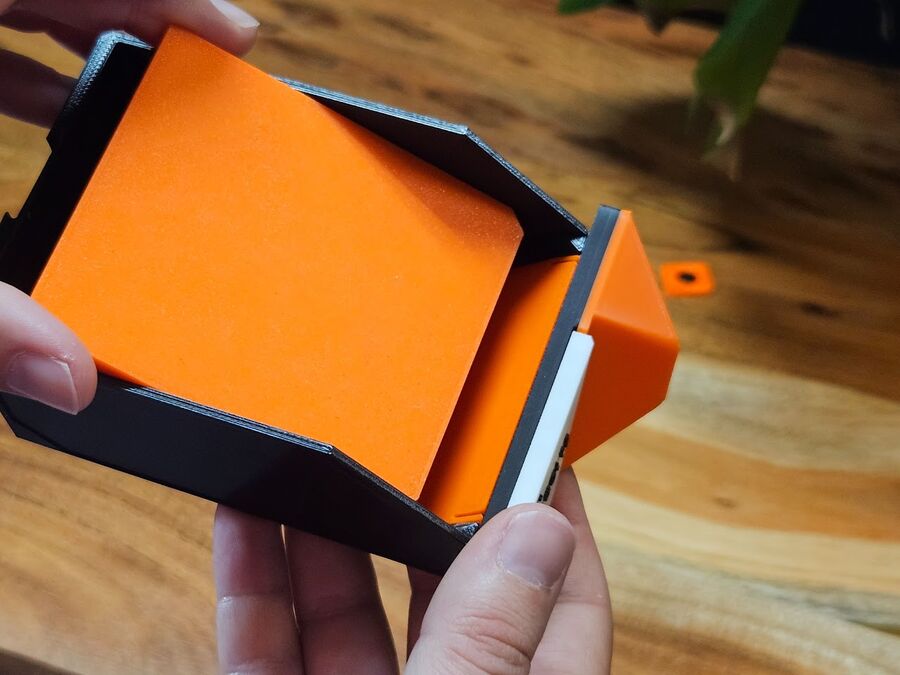
Drop in the optional Gravity Wedge so contents slide toward the opening. Stoppers go in the case, not the bin: if a drawer sits below this bin, snap a Left + Right pair of drawer stoppers into the floor slots of this bin's case, near the front, so that drawer can't be pulled all the way out.
Step 4 - Case hardware
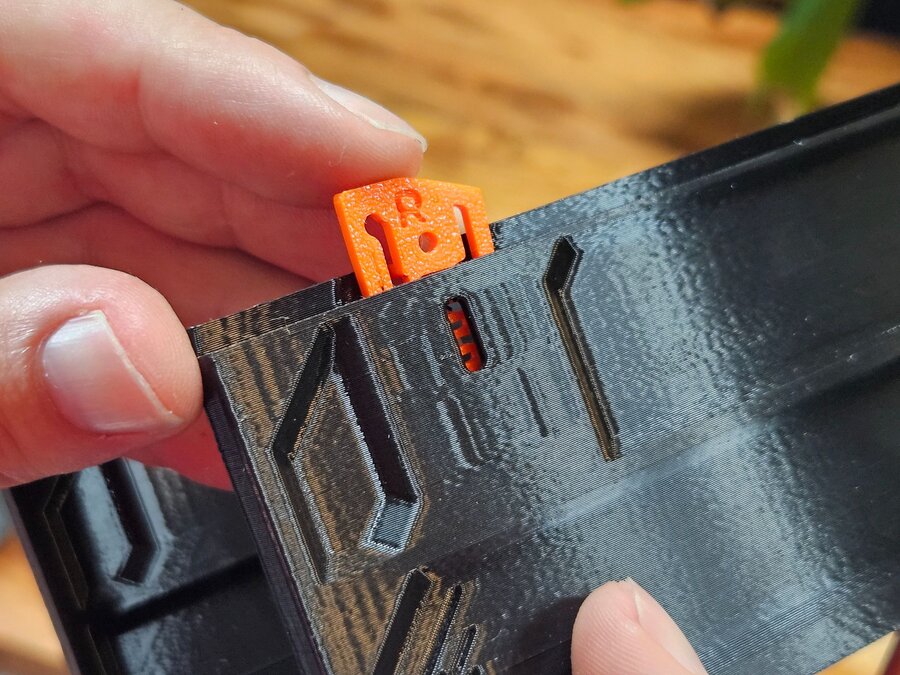
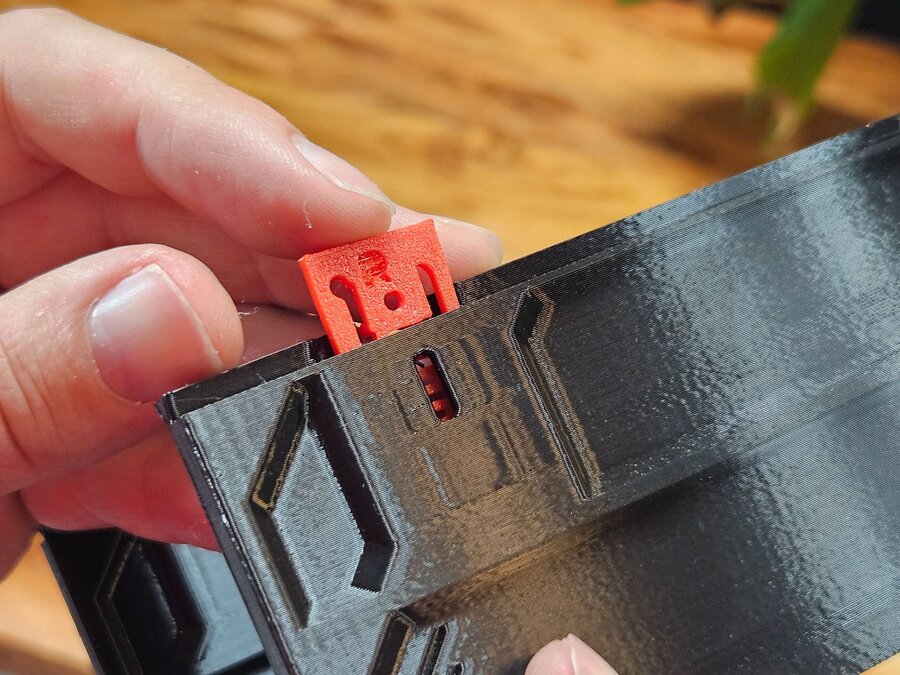
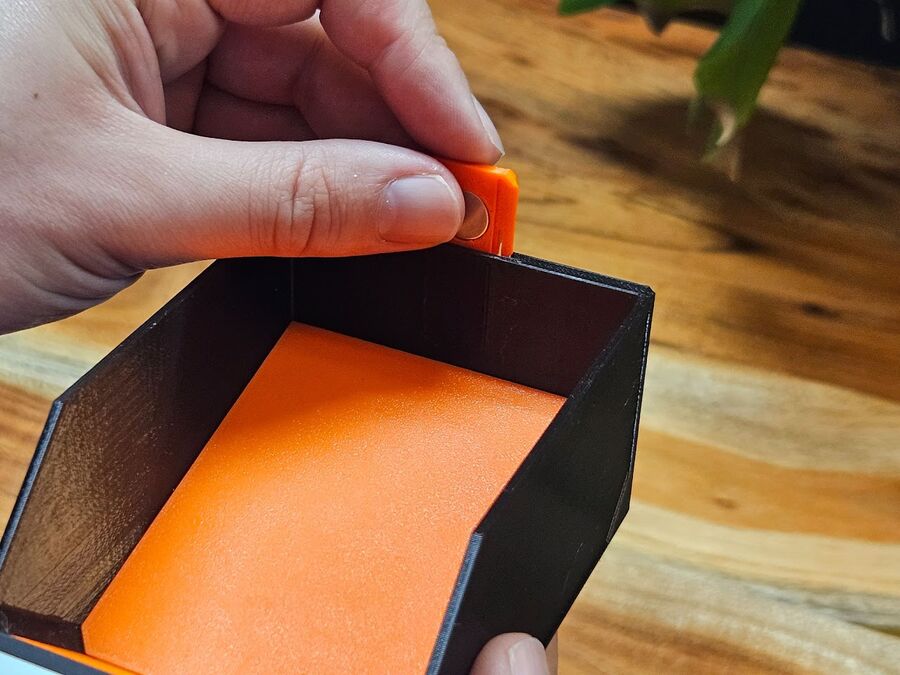
Install QuickLocks in the drawer case as usual. Stacking a shorter drawer under a longer one? That's what the Bi-Directional QuickLock (the red one below) is for. The magnetic closure works here like everywhere else - a magnet insert on each side.
Done
The assembled bin slides into Under-Table and Tabletop builds alike.