Rules for wall and under-table builds
Every hanging build carries its weight from a single top row: that row mounts to the wall or the rail, and each row below hangs from the one above. A few placement notes follow from that.
Sizes: W is width (1W = 88 mm) and H is height (1H = 56 mm, 0.5H is half of that). The collection number - 115, 185, 240 - is the case depth in mm.
Why is there no load rating?
No load rating is currently published. How much a hanging build holds depends on the wall, the anchors, the screw count and the quality of the prints themselves - so the system states the placement rules it can stand behind, not a number it cannot.
What you'll need
Quantities depend on your layout - the Planner works them out for your build, and every official kit lists them exactly.
- Wall Mount BracketsoptionalThe wall option - 1W, 2W and 3W tiles
- Under-Table Railschoose your collectionoptionalThe under-surface option
- Caseschoose your collectionArranged by the rules below
Each row supports the rows below
When mounted only at the top, each row hangs from the row above. So the bottom case supports its own drawer and contents, the middle case supports itself and the bottom row, and the top case and its mount support the whole stack.
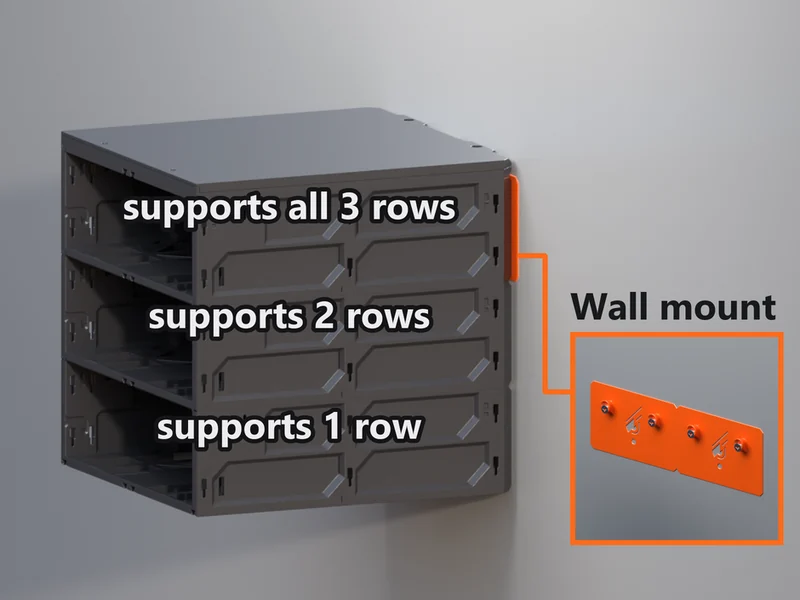 Everything hangs from the orange wall mount
Connected cases brace one another
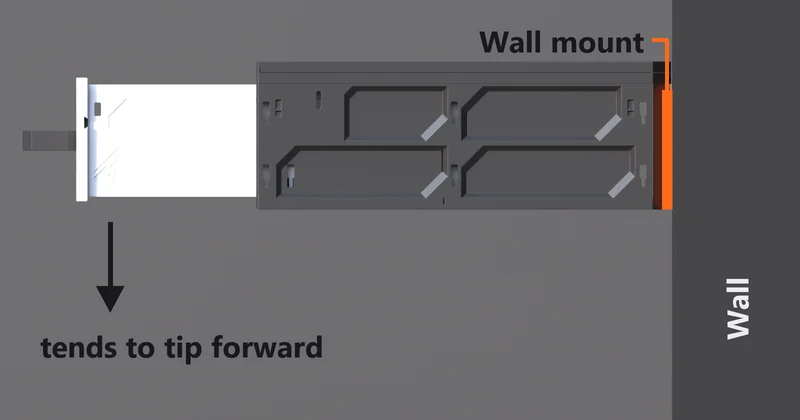
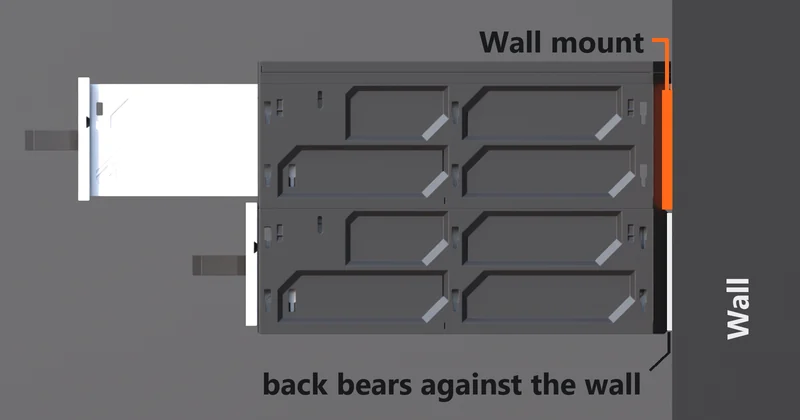
Connected cases brace one another. Adding a case below extends the structure downward, and the lower case's back bears on the wall, helping resist tipping when an upper drawer is opened. In a build mounted only at the top, the top mount still supports the weight of the whole stack.
Put narrower cases nearest the support
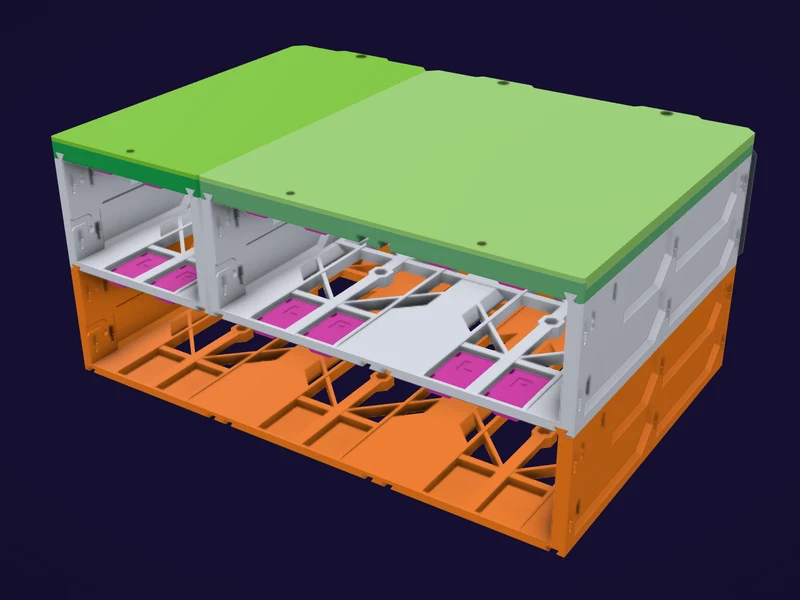
In a hanging build, put 1W and 2W cases in the top rows and 3W and 4W cases lower down. The walls of a case are its beams: a row of 1W cases has a wall every 88 mm, a 4W case only two, and the top row holds the whole stack. A tabletop build stands on its bottom row, so there the narrow cases go at the bottom. This matters for heavy loads. For light contents either arrangement works, and the choice is yours.
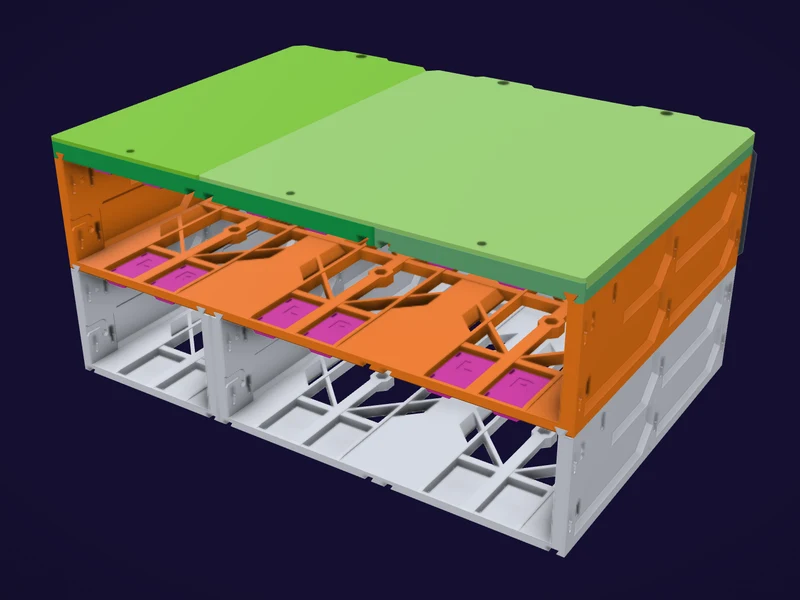
What the top row can be
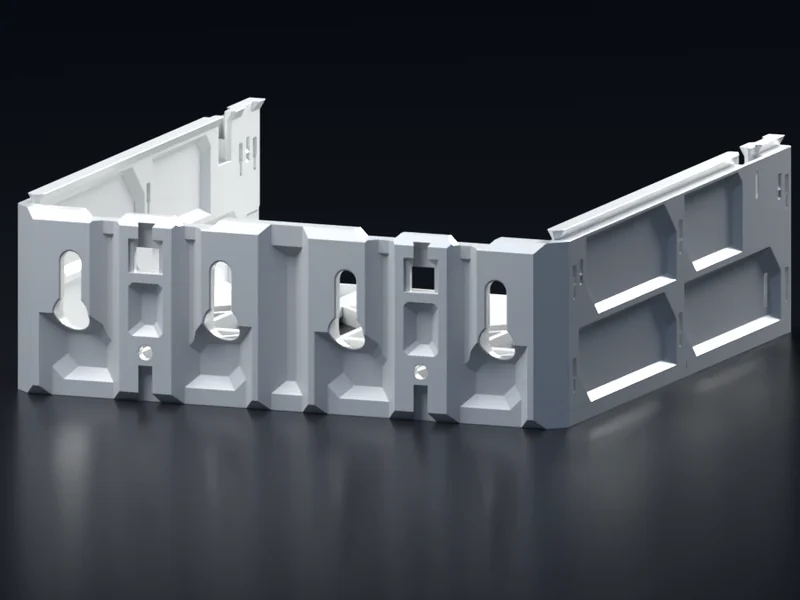
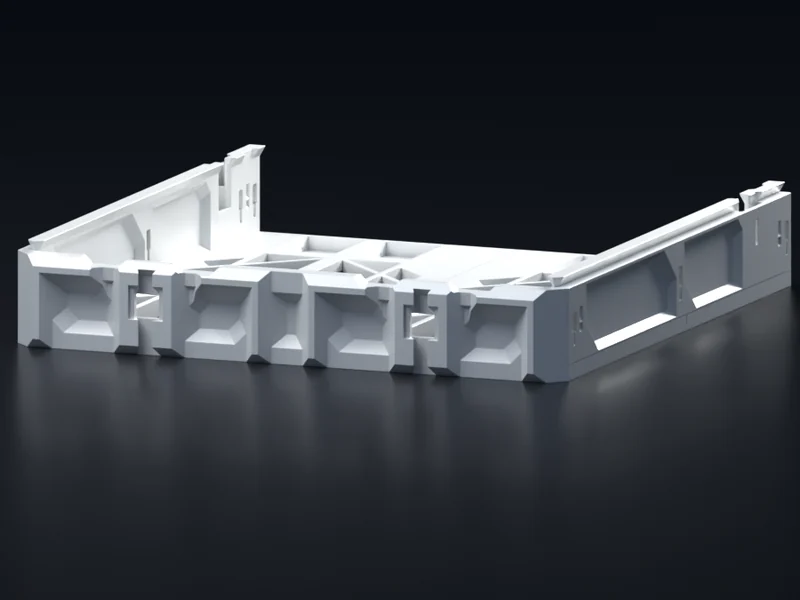
The mounted row starts at 1H or taller. A 0.5H case has no rear bracket interface, so it cannot hang on a bracket - it still belongs in a wall build, hanging beneath a wall-supported case of the same collection. A wall build is one Collection, and so one depth, from top to bottom.
Wall and under-table: shared and different
Both hang from one top row and obey the same placement rules. What differs is the mount: a wall bracket whose pegs the top row hangs on, or a rail screwed to the underside that the top row slides into - and the rail has drawer stoppers built in, so its top drawers need none.
The step-by-step installs: Wall Mount Lite and Under-Table Rails.
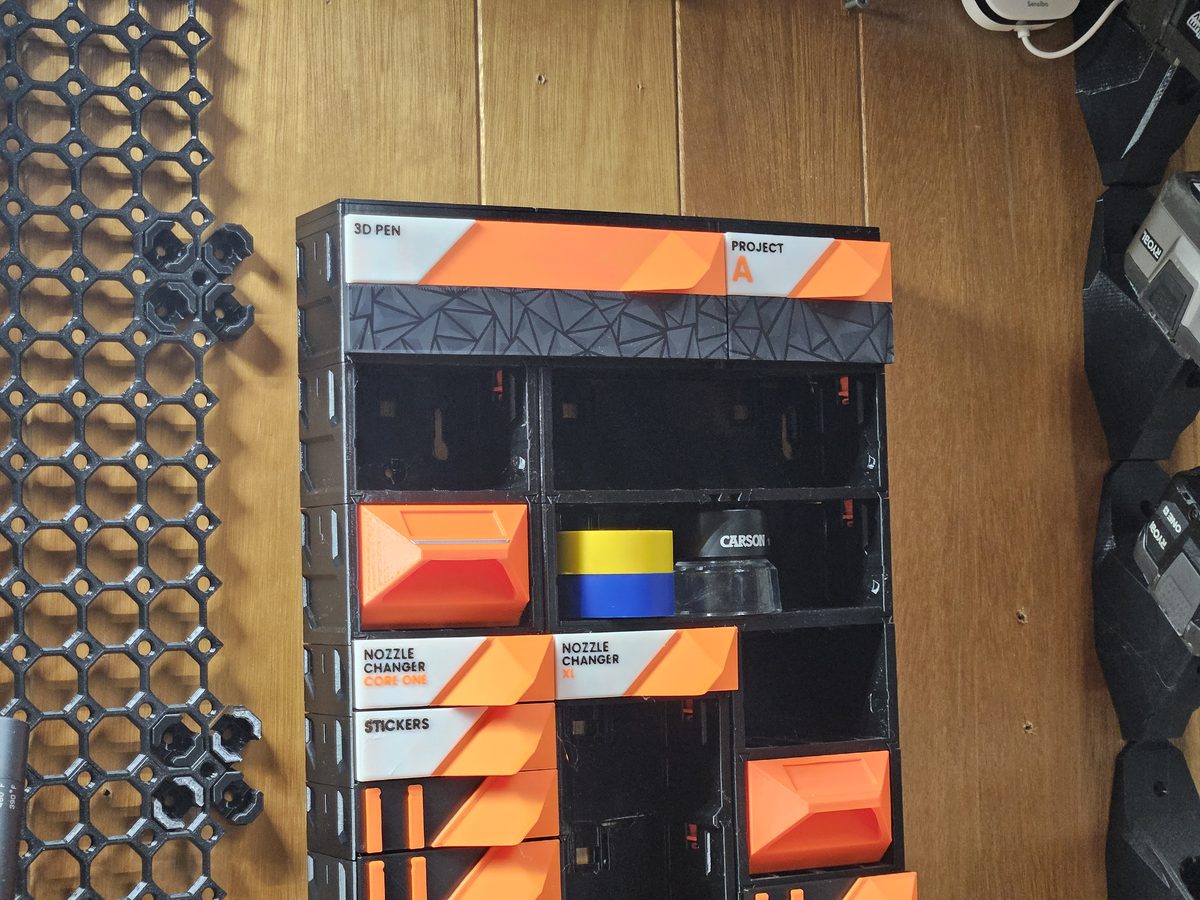 Photo · a wall build hanging from its top row