Wall Mount Lite
Fix the top row of cases to the wall - every row below hangs from it. One drill, five steps, and no screws between cases.
Sizes: W is width (1W = 88 mm) and H is height (1H = 56 mm, 0.5H is half of that). The collection number - 115, 185, 240 - is the case depth in mm.
Tools and preparation
- Drill + bit, screwdriver, and a level - the level is not optional here
- #6 or #8 countersunk wood screws, and anchors if your wall needs them - see the note below
Wall type and anchors
Use countersunk screws and anchors appropriate for your wall construction. Drywall almost always wants anchors; solid wood usually does not. The screws shown in the animations are an illustration, never a length spec.
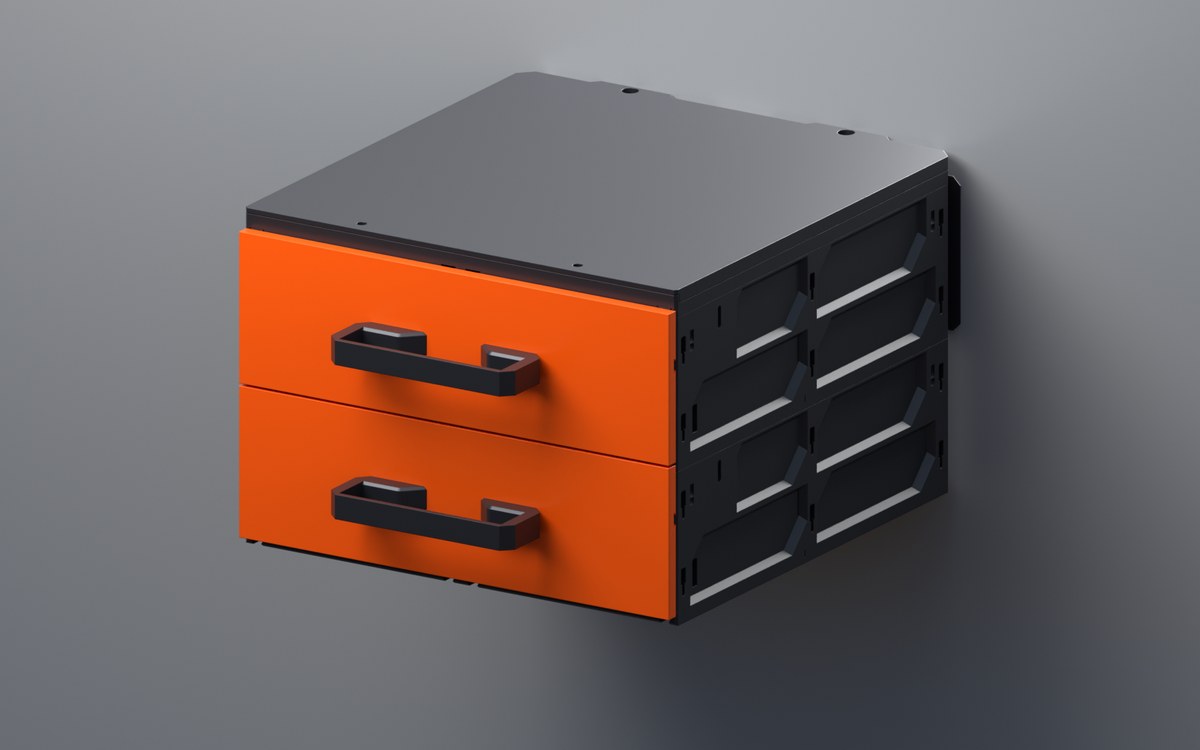
What you'll need
Quantities depend on your layout - the Planner works them out for your build, and every official kit lists them exactly.
- Wall Mount BracketsFix the top row to the wall1W, 2W and 3W tiles - there is no 4W bracket, so a 4W case takes 2W+2W or 1W+3W.
- Purchased HardwareWood screws, plus anchors if your wall needs themLength depends on the wall - see Tools and preparation.
- Caseschoose your collectionThe build itself
- QuickLockJoin each case to the one above it
- Coverschoose your collectionClose the top of the top row
- Drawer StoppersoptionalStop a drawer pulling all the way out
- Magnet InsertsoptionalMagnetic drawer closure - plus purchased magnets
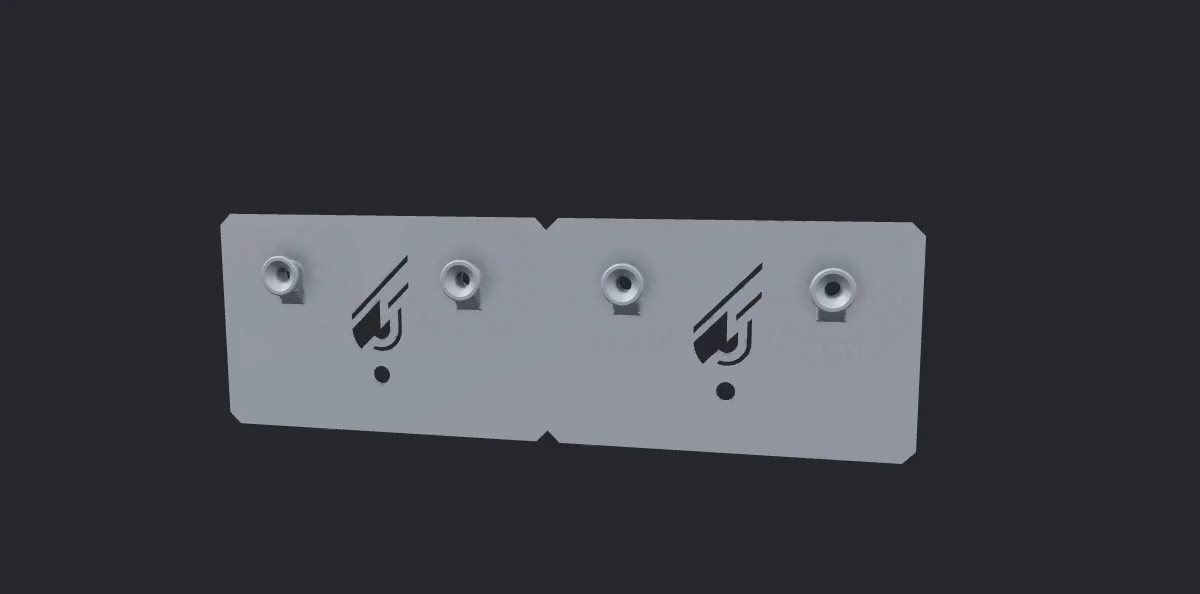
Level the bracket, then mark
Hold the bracket flat against the wall where the top row will sit. Put a level on it and get it true, then mark through the bracket's own screw holes and drill.
The bracket is its own drill template - there is no separate template to print.
Fix the bracket and screws
The bracket takes two screws for every 1W of width - six for a 3W bracket. Each one goes through a raised sleeve on the face of the bracket and seats fully inside it. Start them all before you tighten any, so the bracket can still settle, then check the level once more and drive each screw home.
Cover the top case
Do this at the bench. QuickLocks go into the top cases first. Slide the Cover Lower on from the back until the QuickLocks click. If you printed drawer stoppers, snap one Left + Right pair per top-row drawer into its outermost slots now. Then snap the Cover Upper on over it.
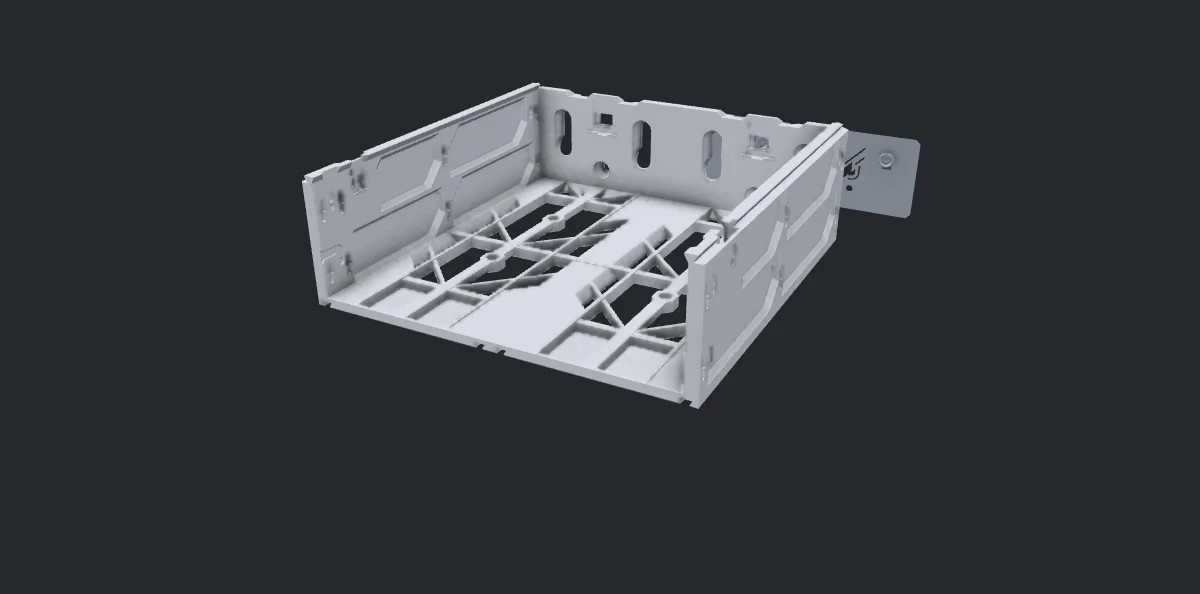
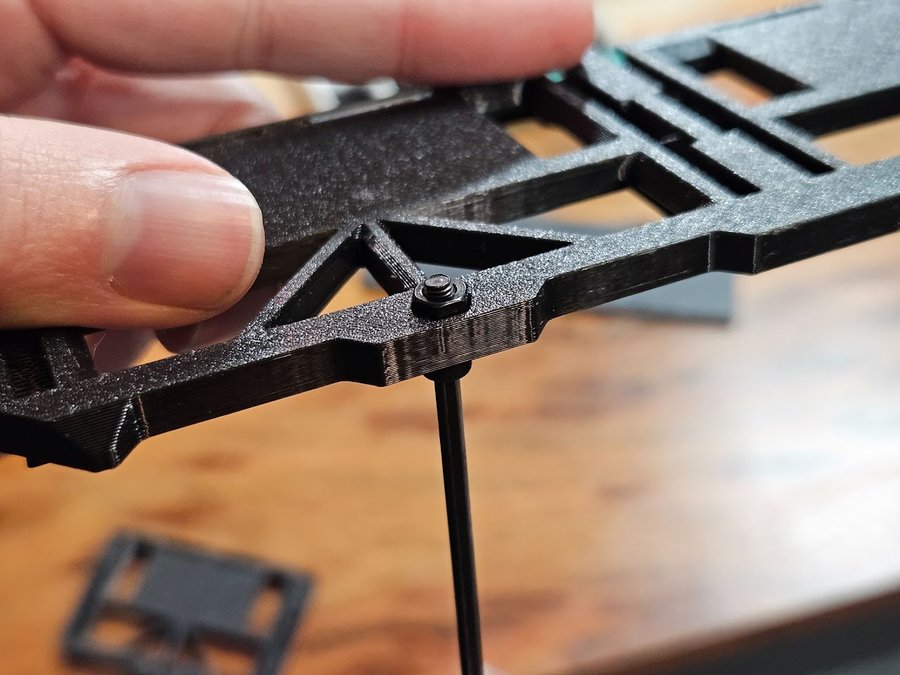 Photo · the cover layers in hand
Hang it on the pegs
Lift the covered case to the wall and lower it so the keyholes on its back slide over the bracket's pegs - the sleeves around each screw.
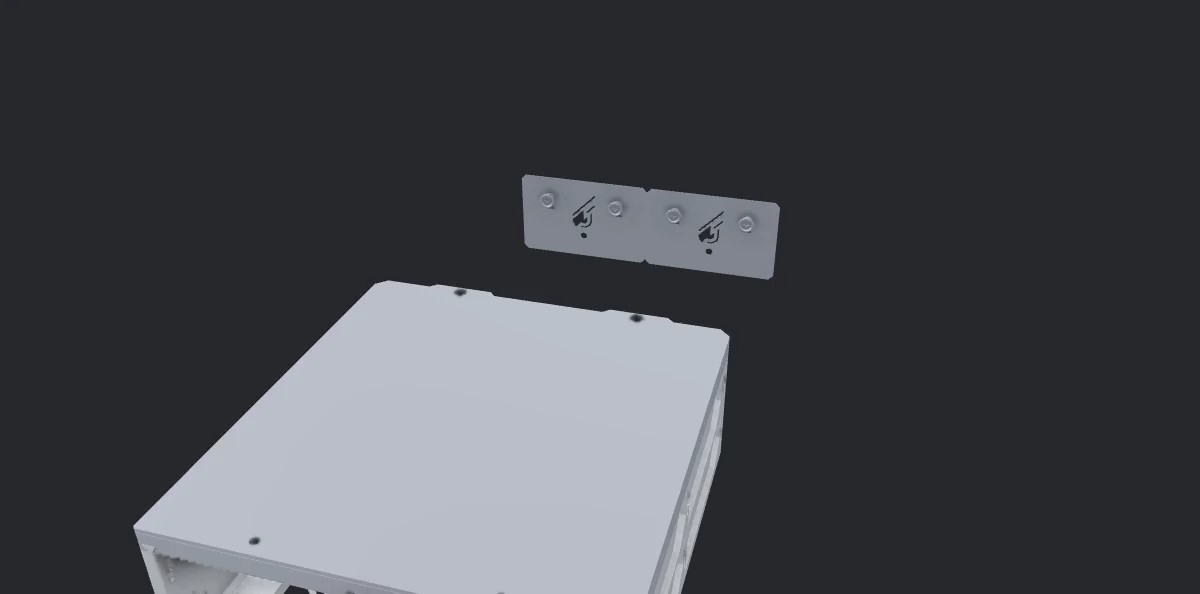
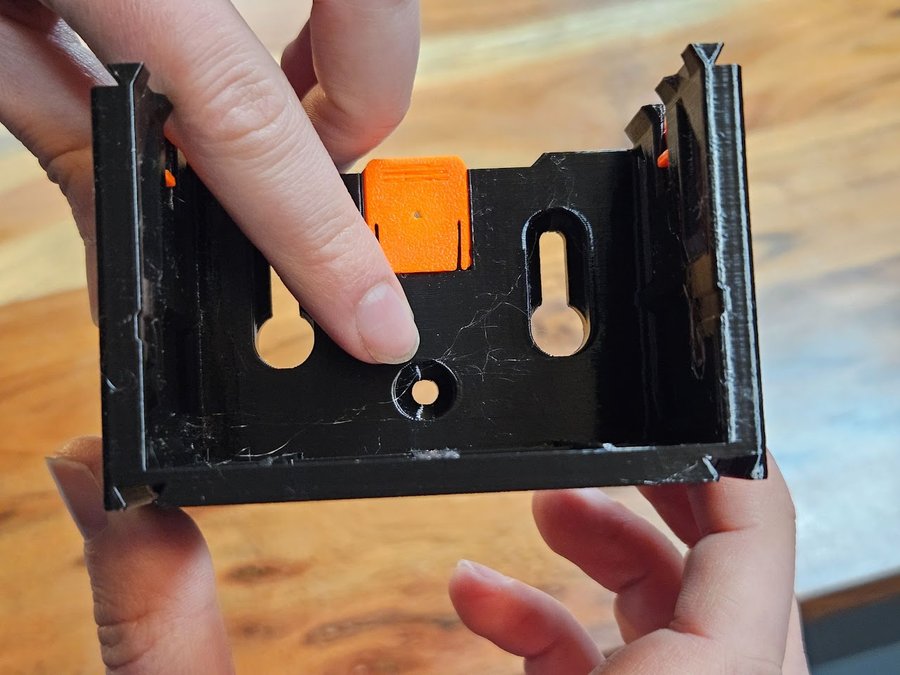 Photo · the keyholes on the case back
Hang the rows below
Slide each lower case straight in from the front - the QuickLocks click up when it seats. No screws between cases.
From here it is drawers and faceplates as usual - or open your own layout in the Planner for a guided 3D assembly of your exact build. Next: how the QuickLocks, stoppers and magnets work
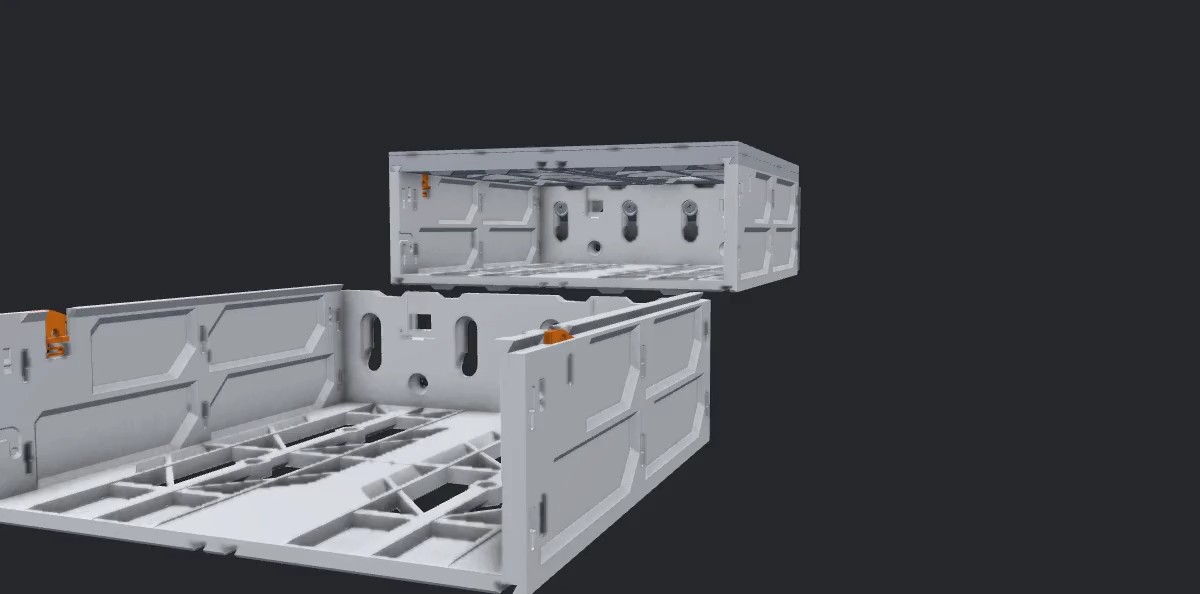
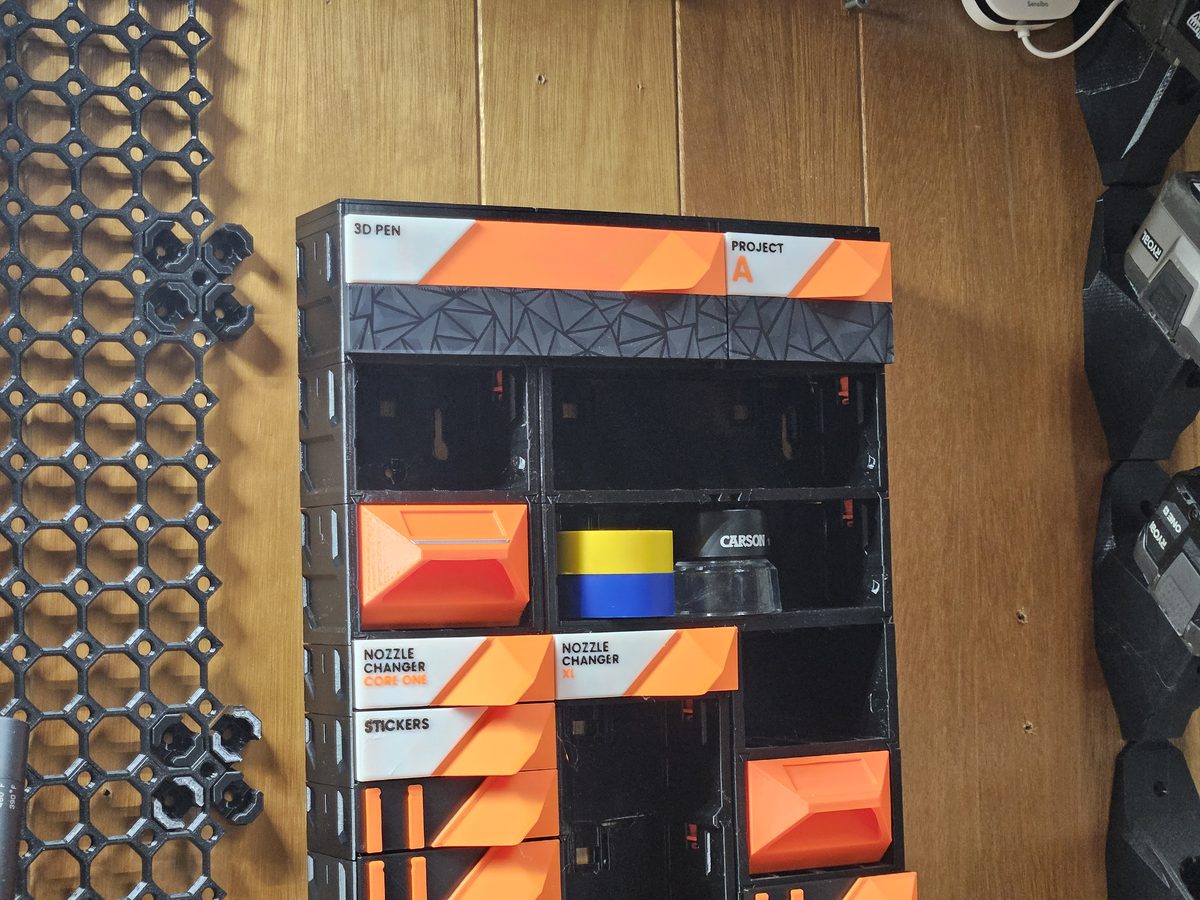 Photo · the rows hanging below the bracket
Optional: fasten a case to the wall
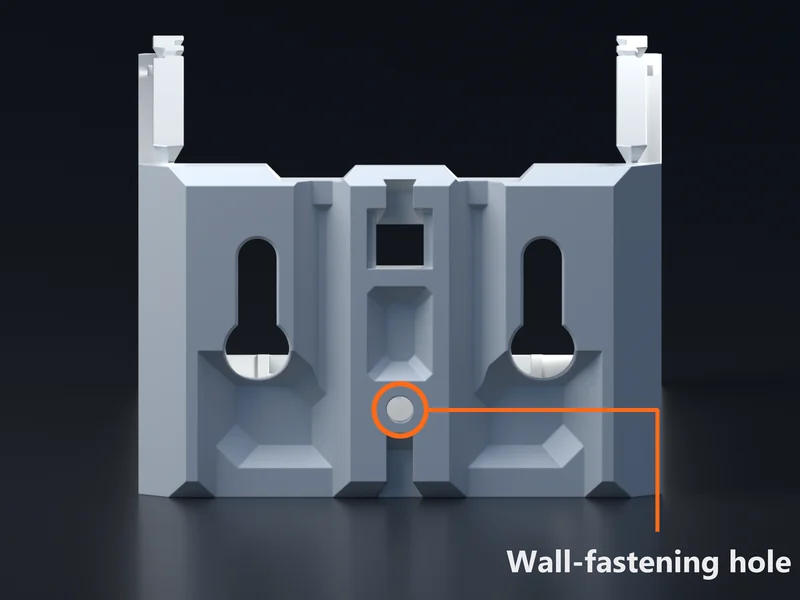
For a more permanent installation, use the additional screw hole in the back of a case to secure that case directly to the wall. Cases 1H and taller, and Case Extenders, have one in the center of each 1W column, low on the back wall. 0.5H cases do not have this hole. With the case hung and its drawer out, drive one of the same countersunk wood screws through the hole from inside the case. Seat the screw head in the inside countersink, and check that it does not interfere with the drawer.
 The back of a 1W-1H case