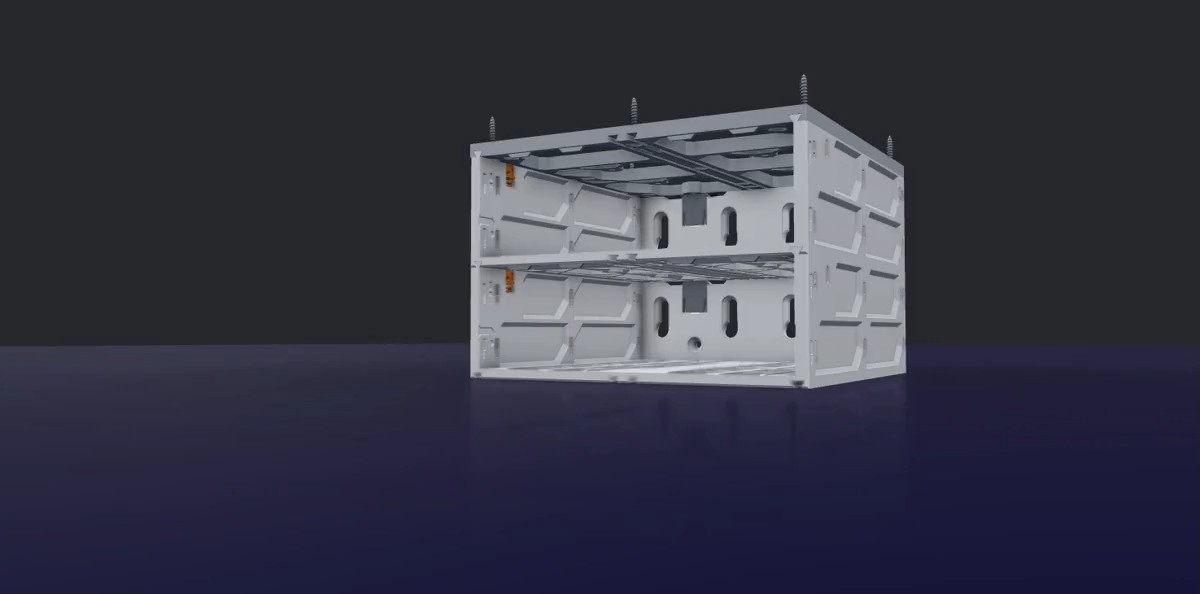
Under-Table Rails
Screw the rails to the underside of a desk or shelf - every case slides into them, and every row below hangs from the row above. Step 1 is the only step with screws.
Sizes: W is width (1W = 88 mm) and H is height (1H = 56 mm, 0.5H is half of that). The collection number - 115, 185, 240 - is the case depth in mm.
Tools and preparation
- Drill + driver, and an awl or punch if you plan to pre-drill
- Wood screws for the rail - see the screw note below before you buy
Surface thickness and screws
The default is a #6 × 3/4" wood screw. Check the thickness of your surface first and pick a screw that cannot break through the top. On hard surfaces it can help to pre-drill: mark through the rail holes, tap a small divot with an awl so the bit does not wander, then drive the screws.
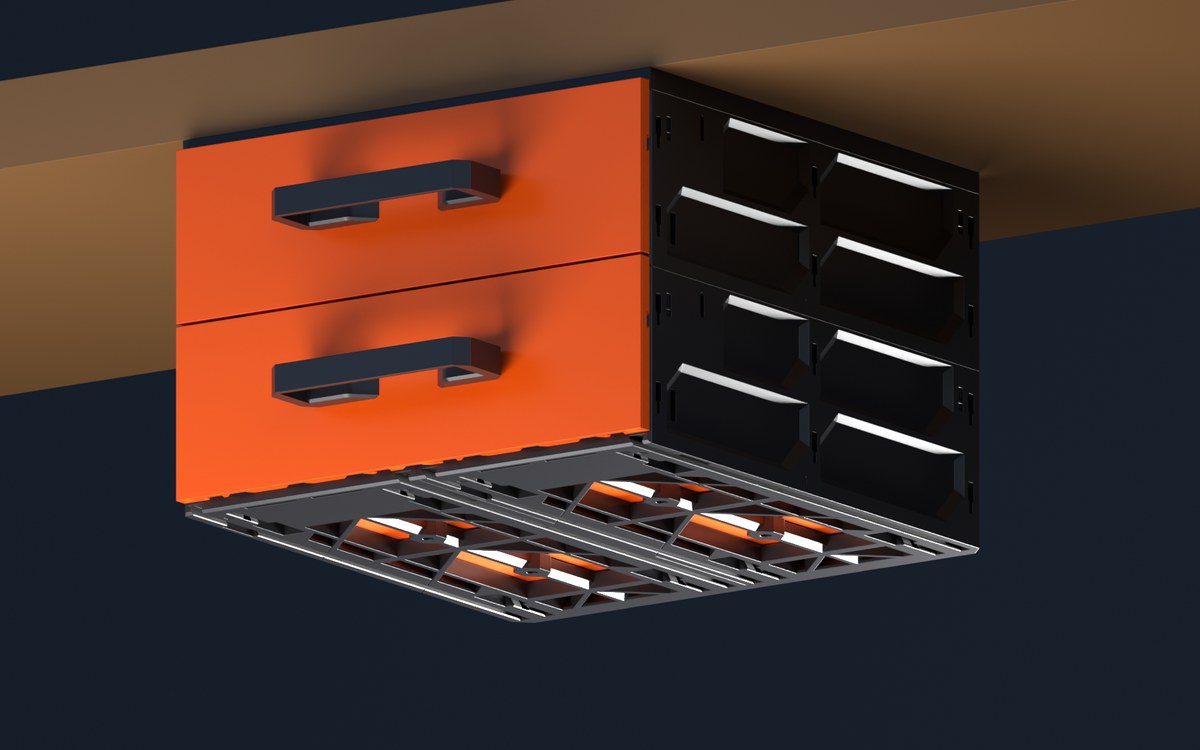
What you'll need
Quantities depend on your layout - the Planner works them out for your build, and every official kit lists them exactly.
- Under-Table Railschoose your collectionScrew up into the surface - everything else rides these
- Purchased HardwareWood screws for the railDefault #6 x 3/4" - check your surface thickness first.
- Caseschoose your collectionThe build itself
- QuickLockJoin each case to the rail and to the one above
- Drawer StoppersoptionalStop a drawer pulling all the way out
- Magnet InsertsoptionalMagnetic drawer closure
Mount the rail under the surface
Hold the rail against the underside and drive the wood screws up through its countersunk holes.
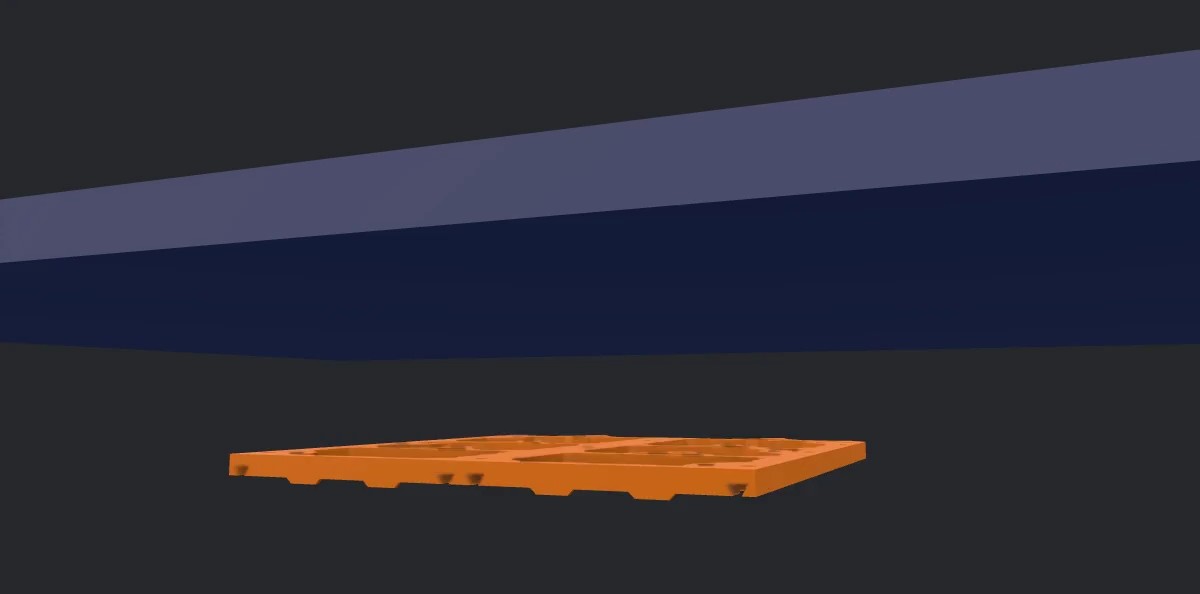
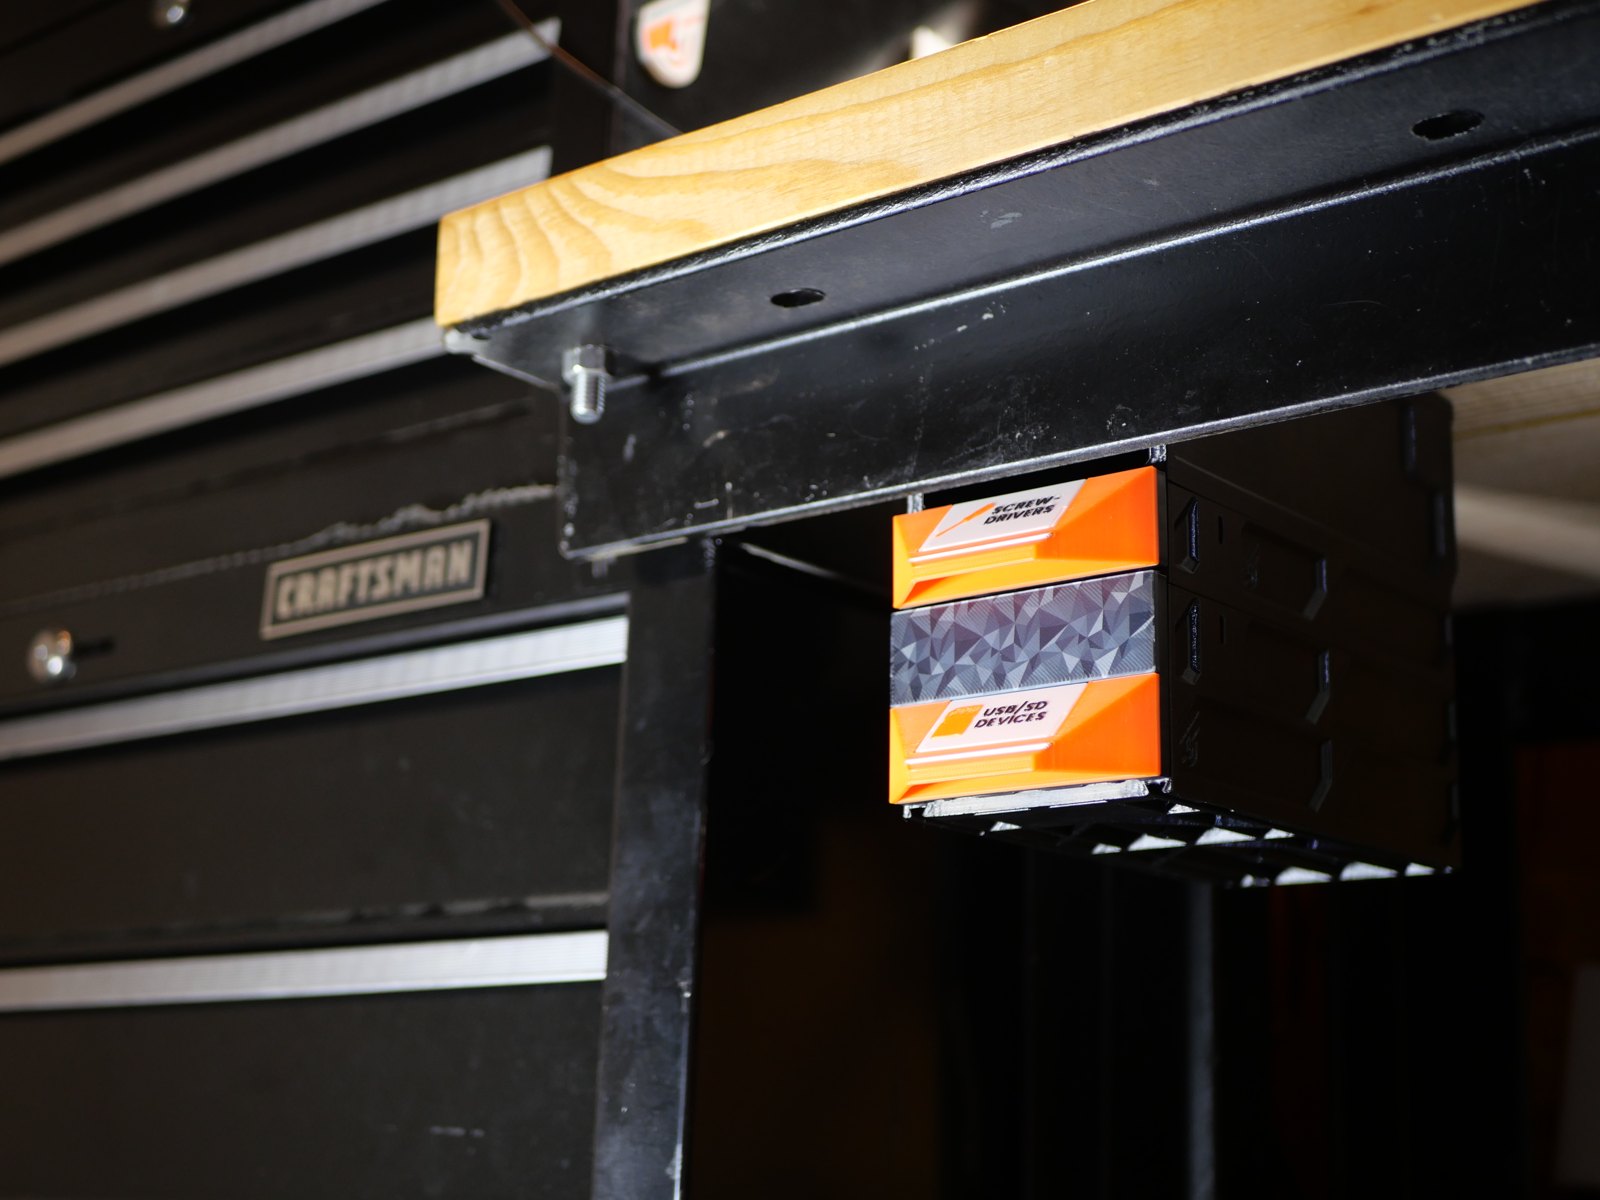 Photo · two drawers hanging from a rail under a workbench
Fit the QuickLocks, slide the case in
Drop a QuickLock into each side channel, then slide the case straight into the rails until both click up.
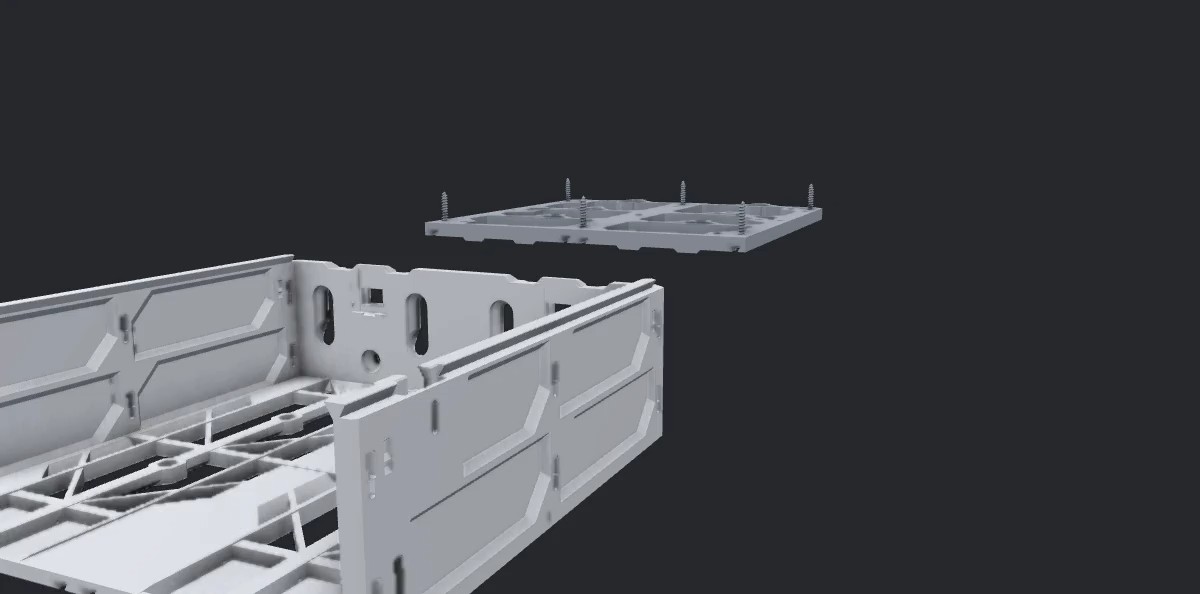
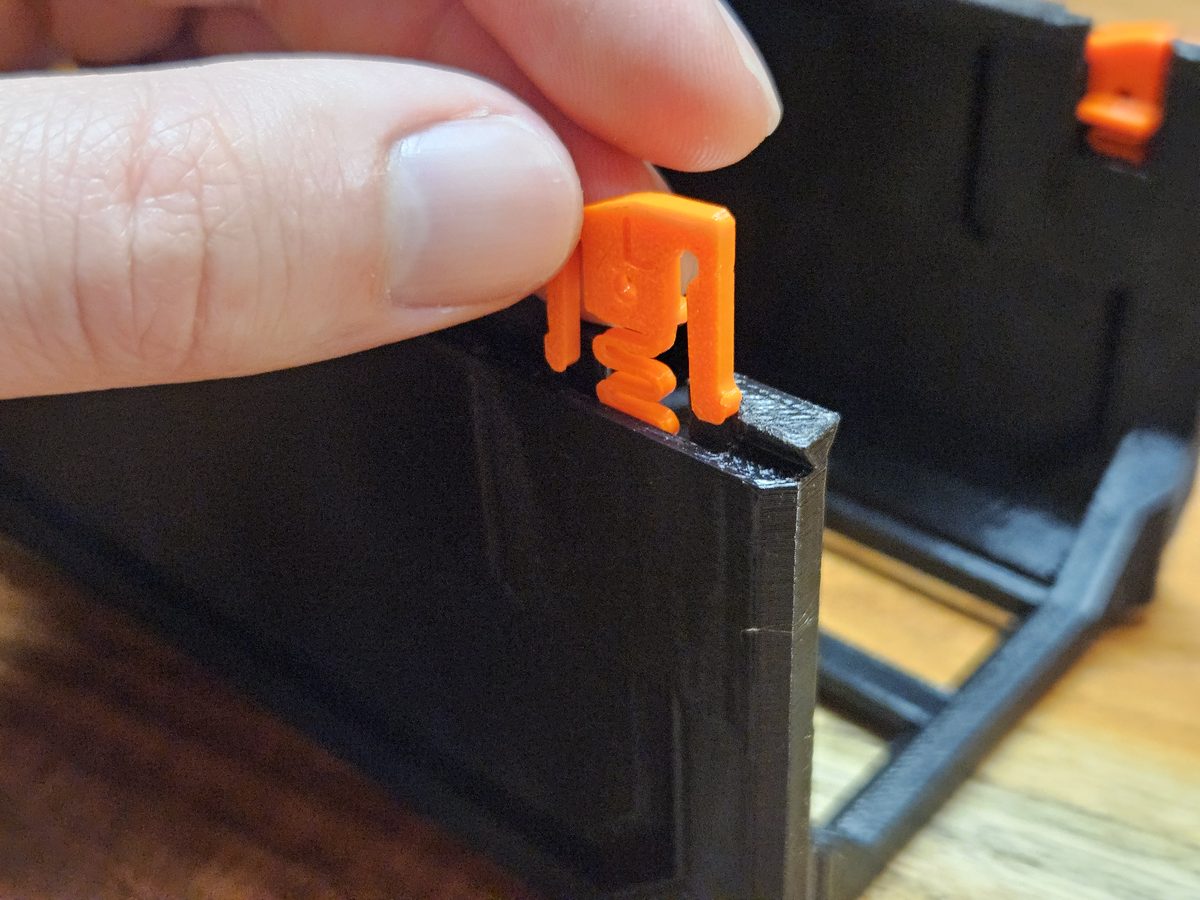 Photo · the spring end goes in first
Hang the rows below
The underside of every case carries the same grooves as the rails - slide the next case in exactly the same way. No screws between cases.
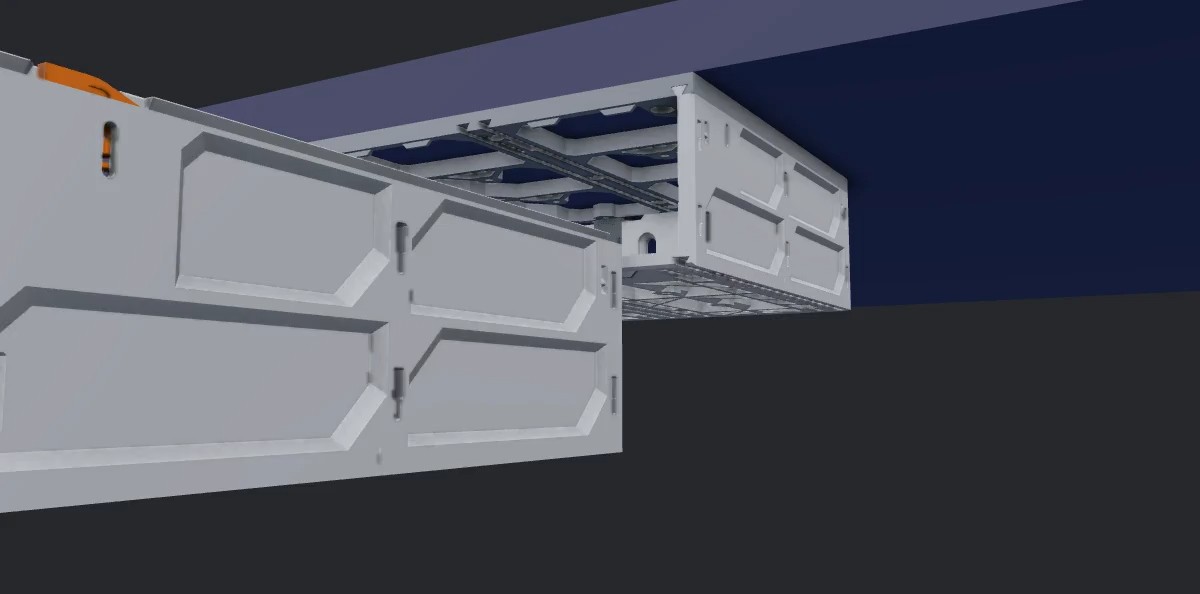
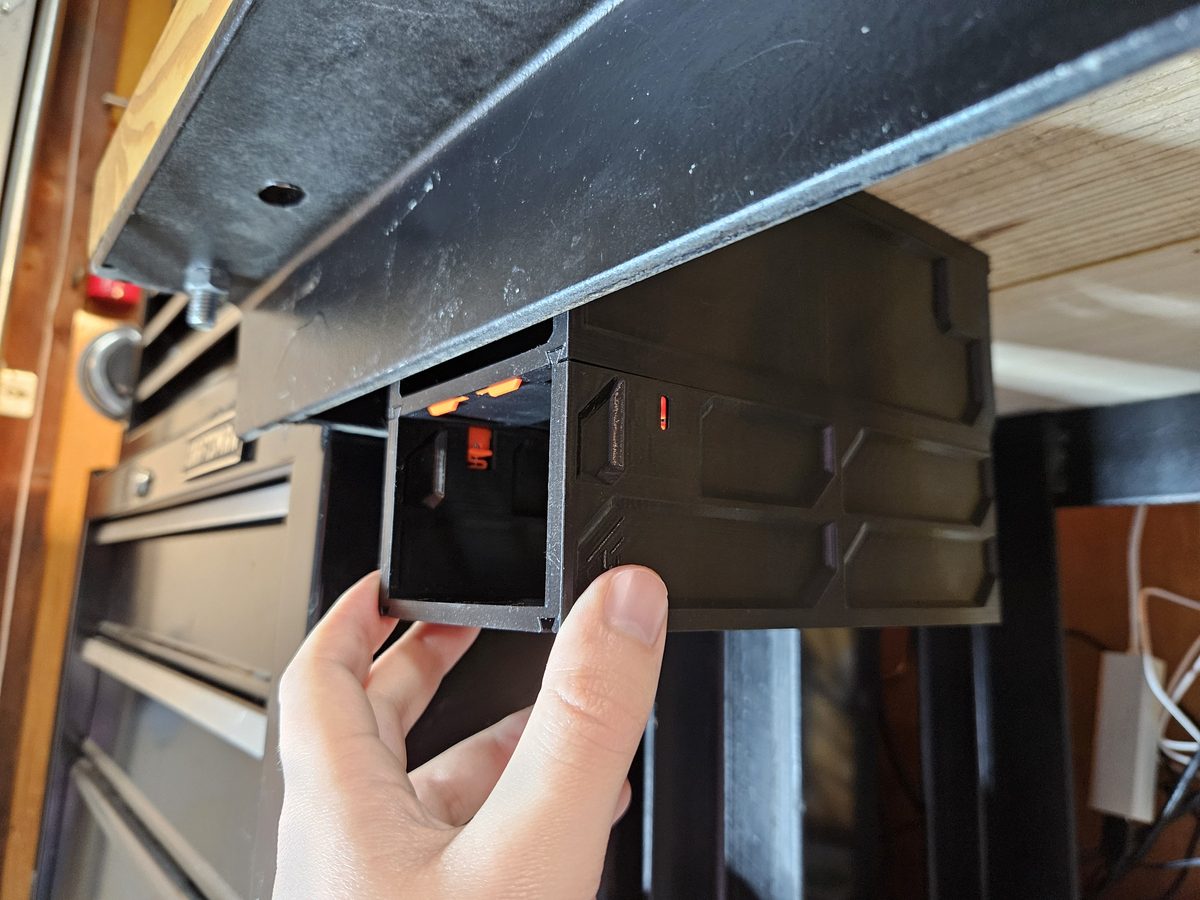 Photo · offering the next case up under the bench
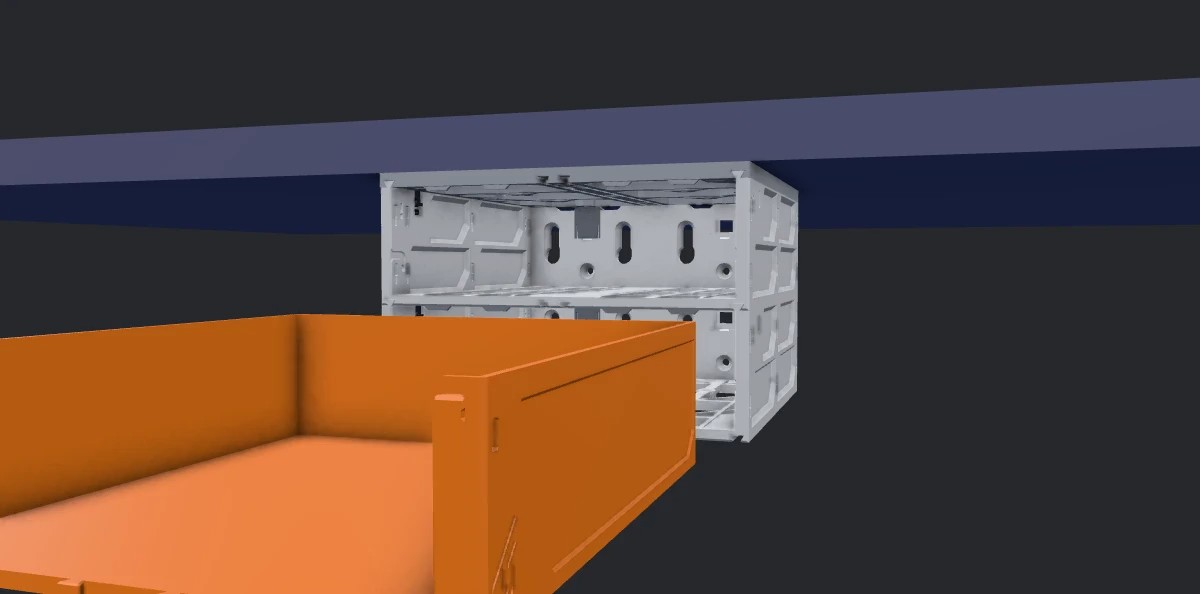
Drawers in
Tilt the front of the drawer up 20 to 30 degrees, start its back end into the case - that clears the stoppers - then level it out as it slides flush.
Removing a case
Take the drawer out, press both QuickLocks down, and pull the case straight out of the rails.
Open your own layout in the Planner for a guided 3D assembly of your exact build. Next: how the QuickLocks, stoppers and magnets work