Printing MODULITH
Materials, slicer settings, and orientation - one page before you commit printer-hours.
A full build is tens of printer-hours. These are the settings the parts are designed and tested with - nothing exotic, and nothing you need a tuned profile for.
Pick a material
- PLA - easy to print, and the right default for cases, drawers, covers and fronts.
- QuickLocks: PETG, always. A QuickLock is a spring - PLA loses its spring quickly and the lock stops holding.
- PETG for anything else - more durable, flexible, and slides smoother, but can warp. Worth it for heavily used drawers.
- TPU - only the feet use it, and any TPU works: the feet exist to stop the build sliding, nothing structural. Prefer not to print TPU? Adhesive rubber feet are a one-for-one swap - same count, same spots.
Filament economy: print the bodies in an economical filament and save the special spools for faceplates and accents - the fronts are what you see.
Slicer settings
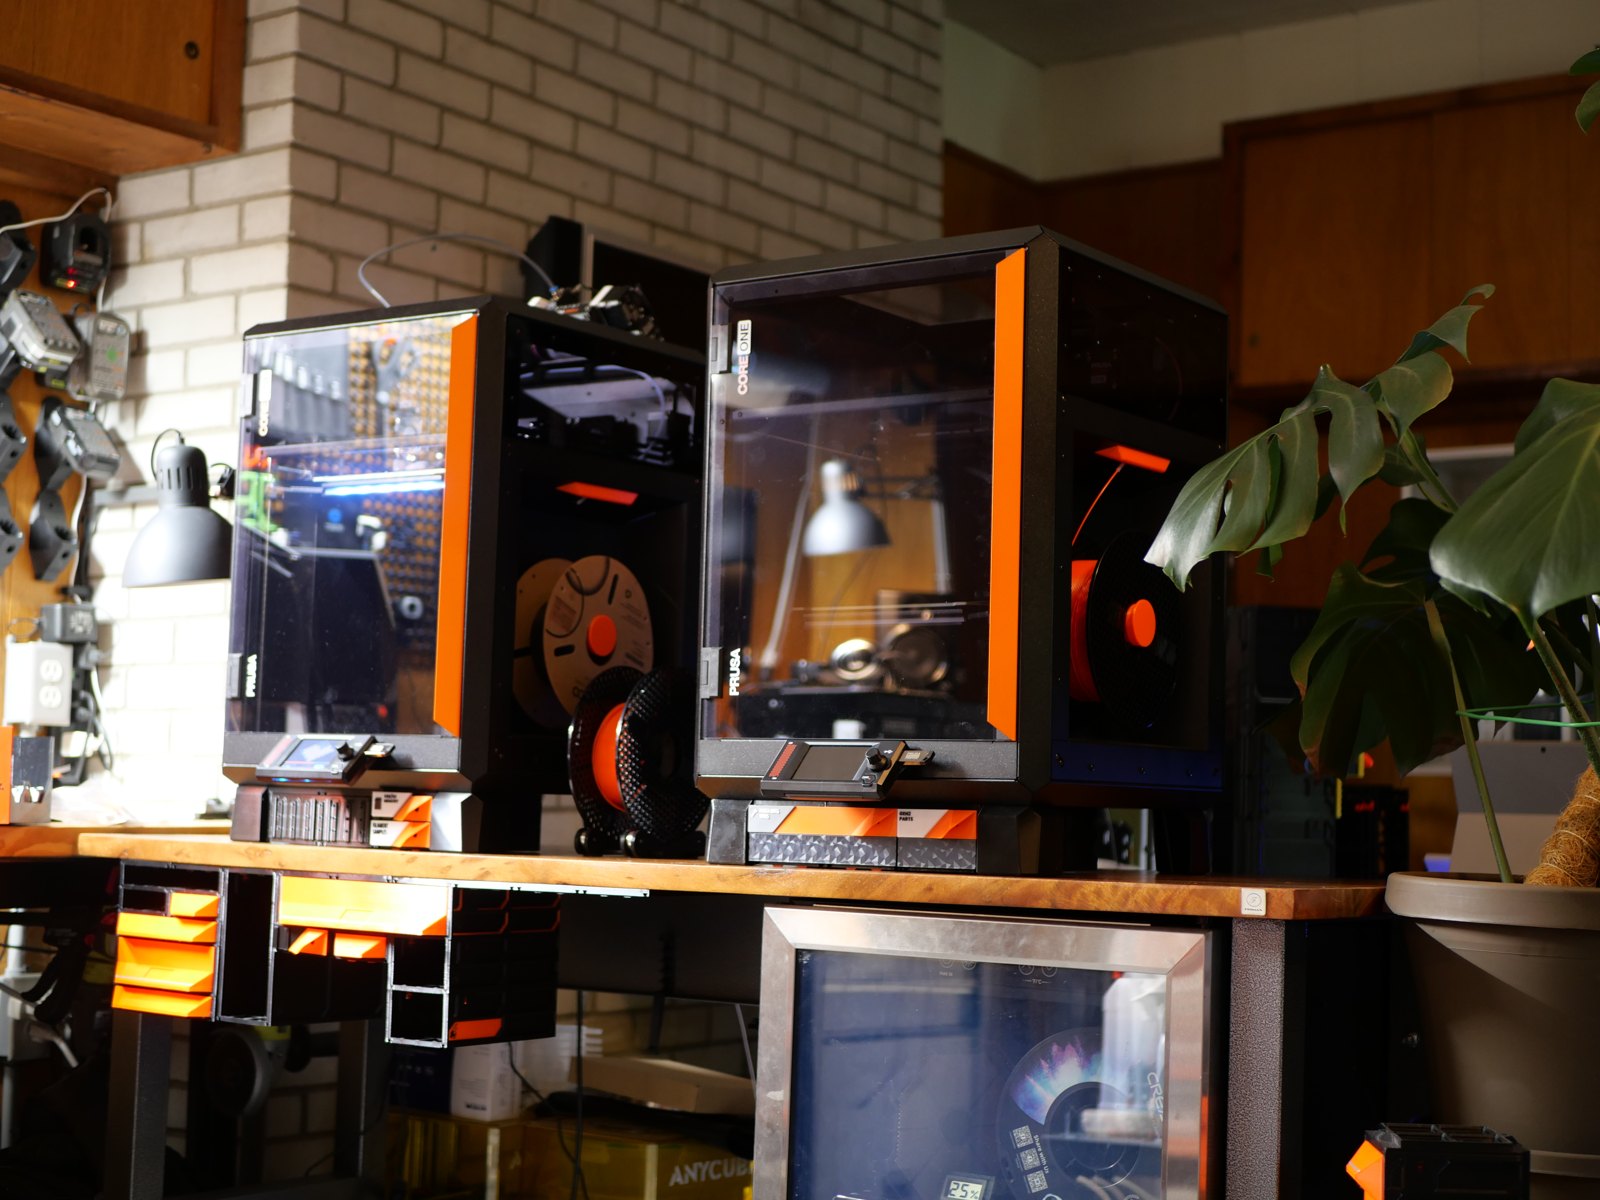
Start from your printer's stock speed profile - the defaults a modern printer ships with (the Prusa CORE One's, for example) are what these parts are designed around.
- 0.20 mm layer height with a 0.40 mm nozzle.
- 2 perimeters - use 3 where you want extra strength.
- 5 top layers, 3 bottom layers.
- Infill: the default grid works; gyroid or cubic are better.
Supports: leave them off
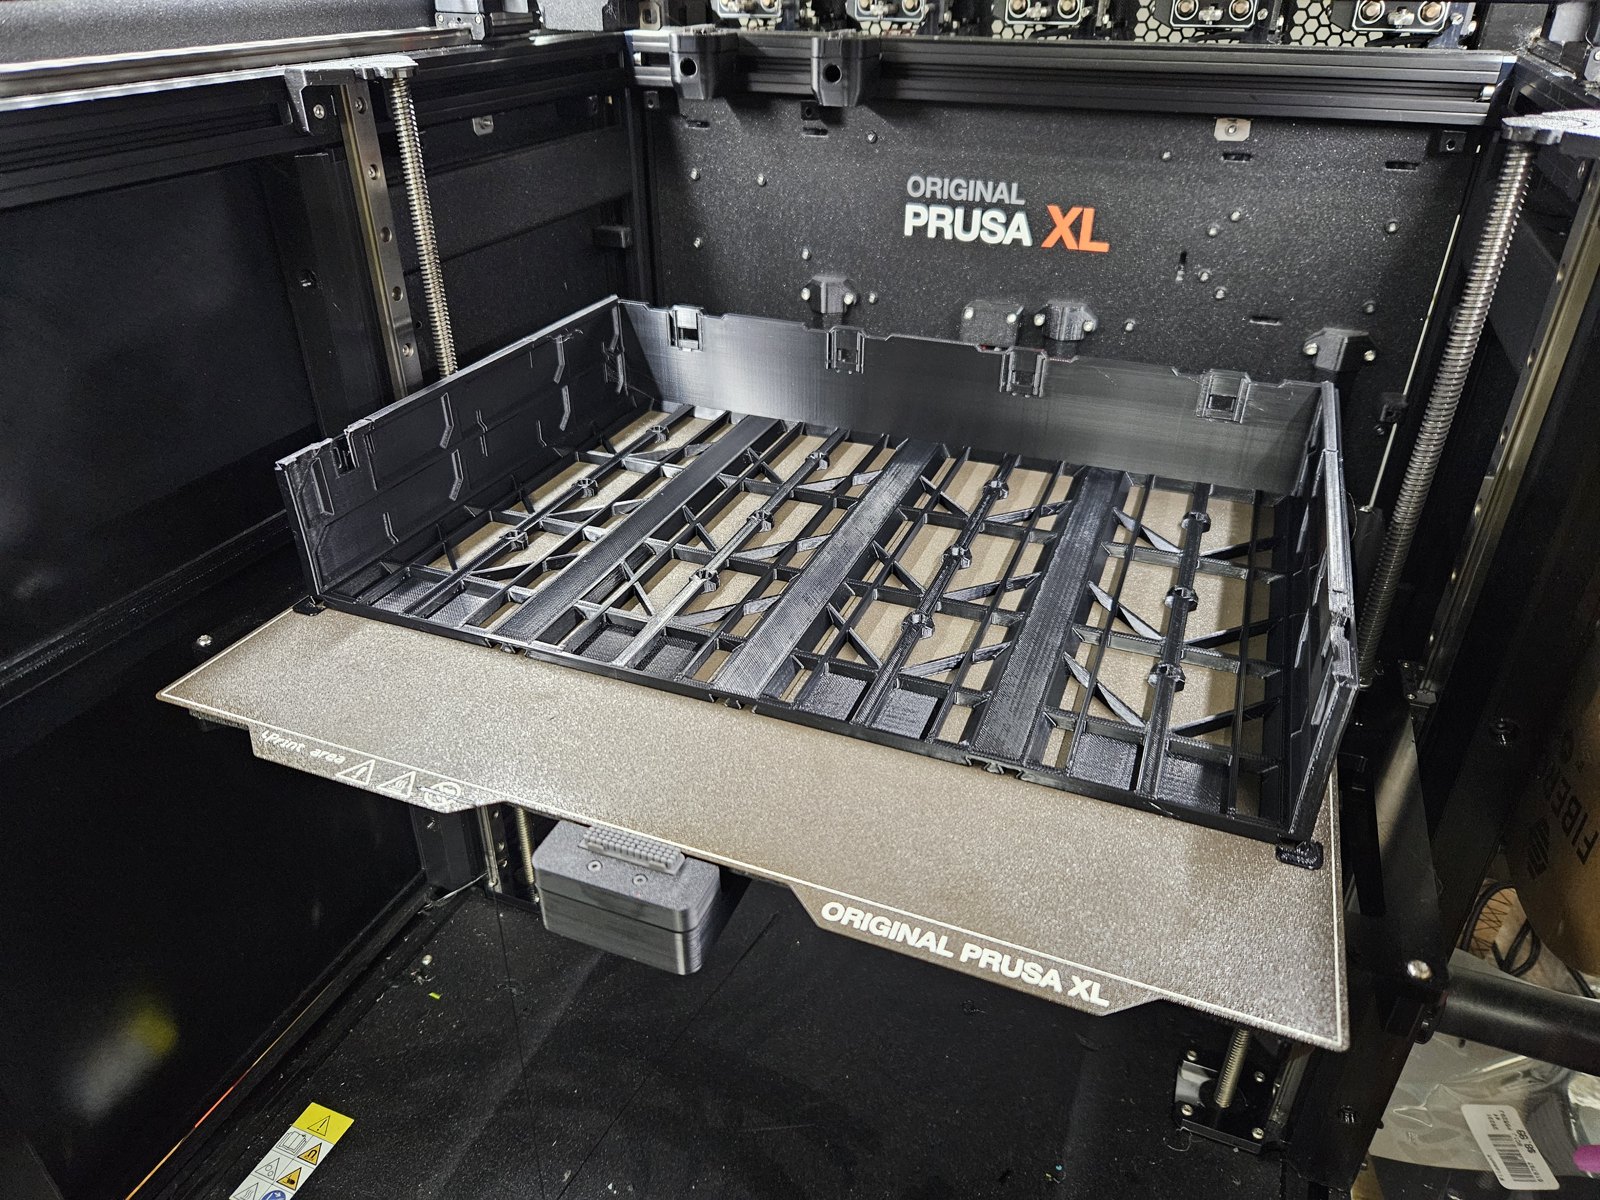
For the published files, leave slicer-generated supports off. Where a part needs help, the model already carries it - the 165 collection's cases, for example, print with small corner print aids you snap off afterwards (each listing also ships a version without them for printers that do not need them).
Orientation: as supplied
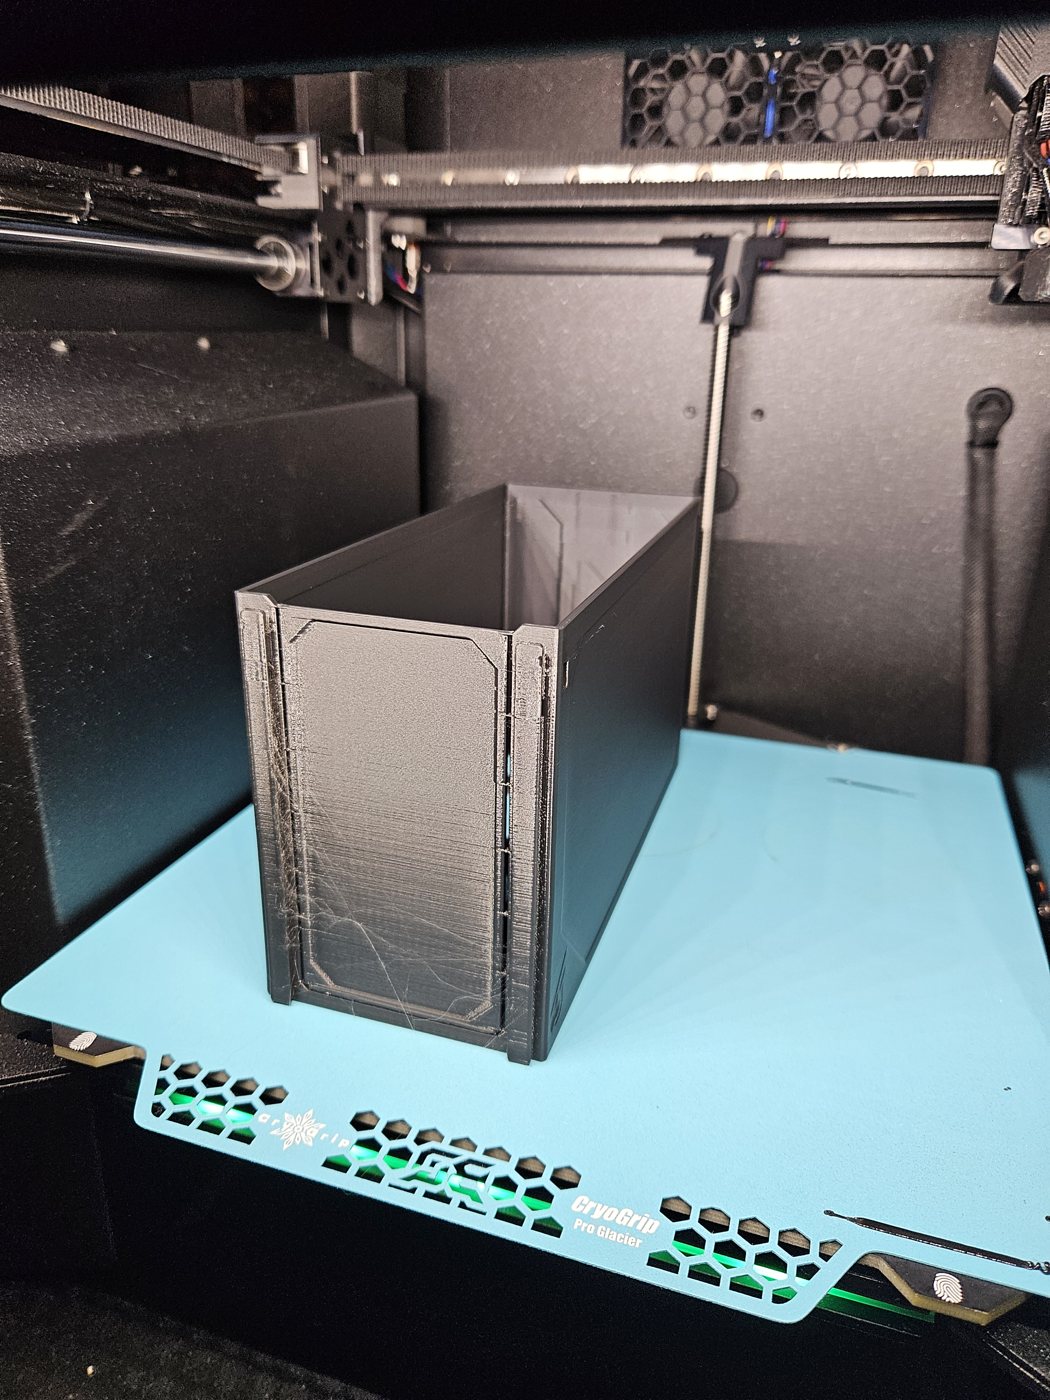
Every file loads the right way up for printing - do not change which face is down. Turning a part flat on the bed to make it fit is fine; flipping it is not. Curious how a specific part sits? Every part page's Plate view shows how it sits on your printer's bed.
Wide parts and your bed
Pick your printer on any part page and it tells you whether the part fits before you slice - 3W and 4W parts are the ones to check. The Plate view will rotate a part on the bed when that is what makes it fit, exactly as your slicer would.
Color and fronts
Decor accents print face-down on purpose: the visible surface takes the finish of your build plate. For multicolor lettering, the label generators and the slicer text workflow cover both multi-material printers and single-color color changes.
Buying hardware in the same order? The purchased-hardware list is everything the printer cannot make.