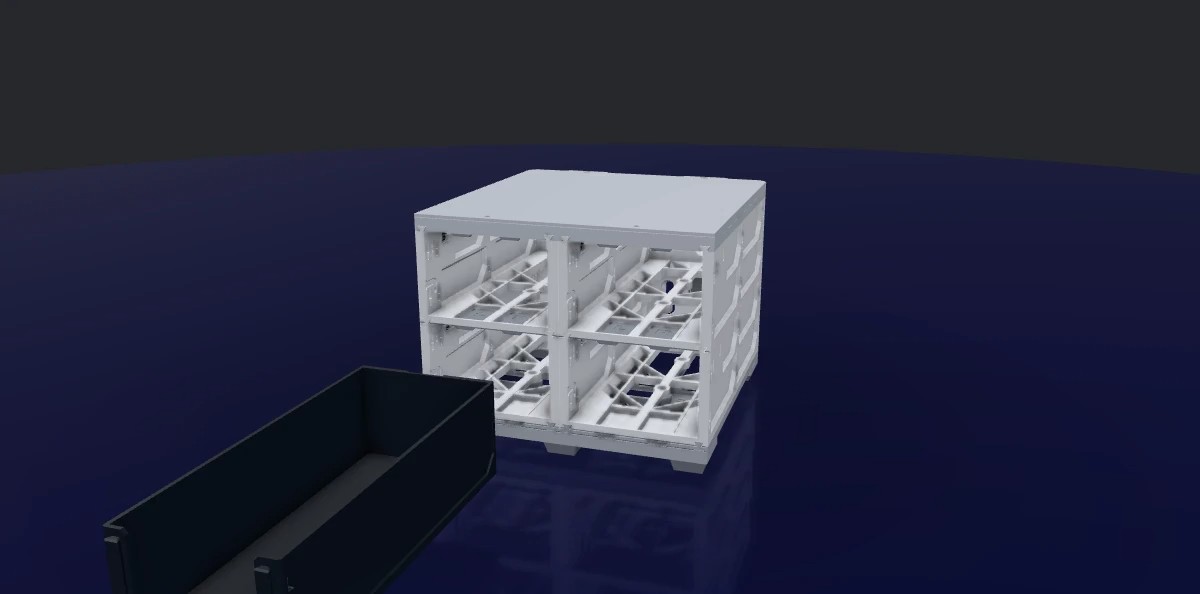
Tabletop Builds
Stand it anywhere flat: a rail-and-feet base under the bottom row, covers locking the top. No drilling, no tools, five steps.
Sizes: W is width (1W = 88 mm) and H is height (1H = 56 mm, 0.5H is half of that). The collection number - 115, 185, 240 - is the case depth in mm.
The three rules of a tabletop build
- Covers on top - the Cover Lower carries the stopper slots and dovetails, the Cover Upper locks over it - and every column must reach the same total height so the covers tie the build together.
- The base follows how many cases sit in the bottom row, not their width: one case takes feet in its own underside slots; two or more need the foot-rail sandwich.
- Put 1W and 2W cases at the bottom and 3W/4W cases on top. The walls of a case are its beams, and the most walls belong nearest the support - here that is the table, so it is the reverse of a hanging build. The 59 collection has no tabletop option at all.
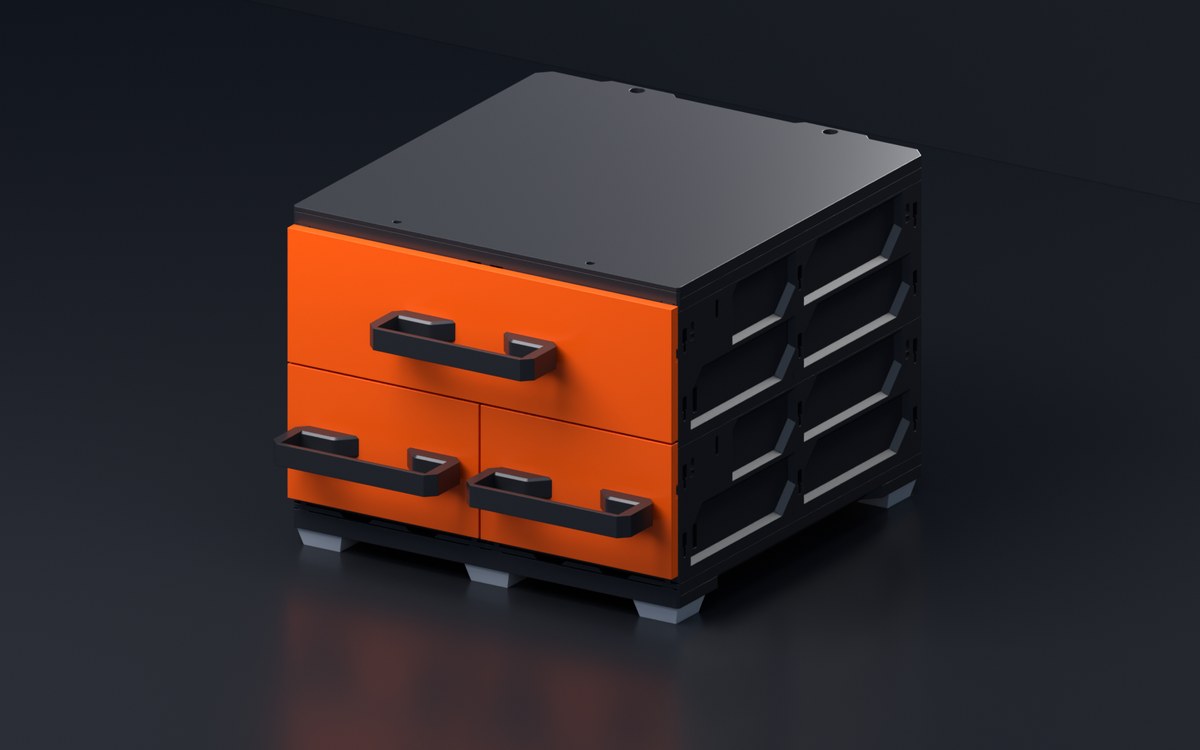
What you'll need
Quantities depend on your layout - the Planner works them out for your build, and every official kit lists them exactly.
- Foot Railschoose your collectionThe base under the bottom rowA single-case bottom row skips the rails - its feet go into the case's own underside slots.
- TPU FeetStand the base on the surface4 feet for a 1W-wide base, 6 for 2W, 8 for 3W, 10 for 4W. Printed TPU or adhesive rubber, same positions either way.
- Caseschoose your collectionThe build itself
- QuickLockJoin each case to the one above it
- Coverschoose your collectionLower and Upper, tying the top row together
- Drawer StoppersoptionalStop a drawer pulling all the way out
- Magnet InsertsoptionalMagnetic drawer closure - plus purchased magnets
Start the base: lower rail and feet
At the bench, find the lower foot rail: both rails are labeled, and only the lower one has foot slots, on its underside. Snap a foot into every slot. The pointed end of a dovetail rail is its rear end, so lay the rail with its points toward the back of the build.

THE BASE RULE
Both of these are two columns wide. The base follows how MANY cases are in the bottom row, not how wide it is.
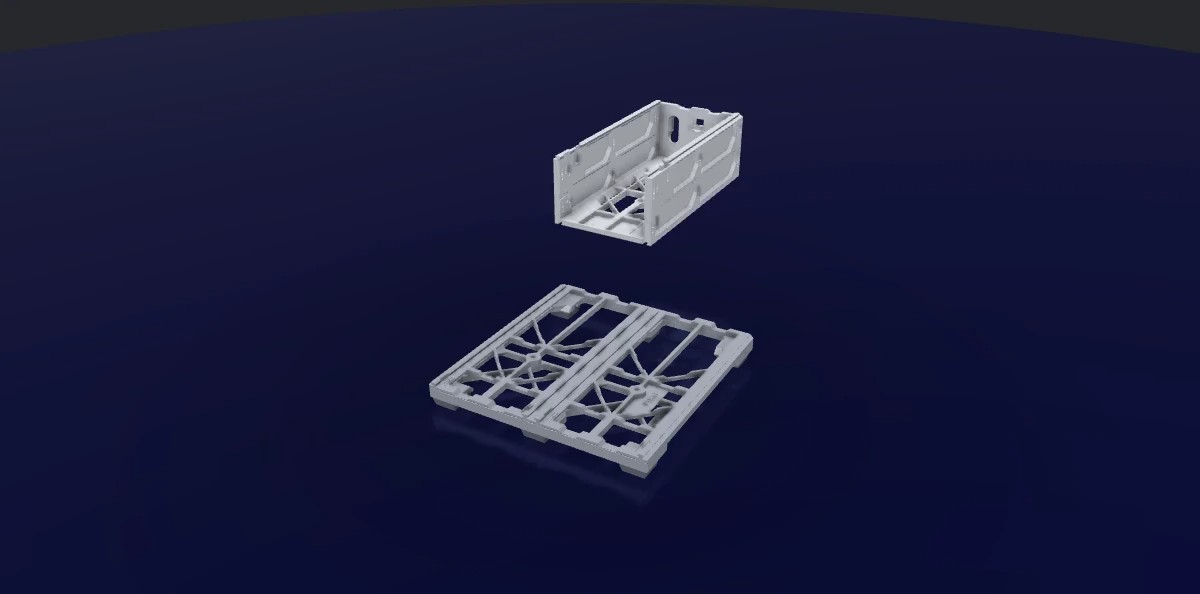
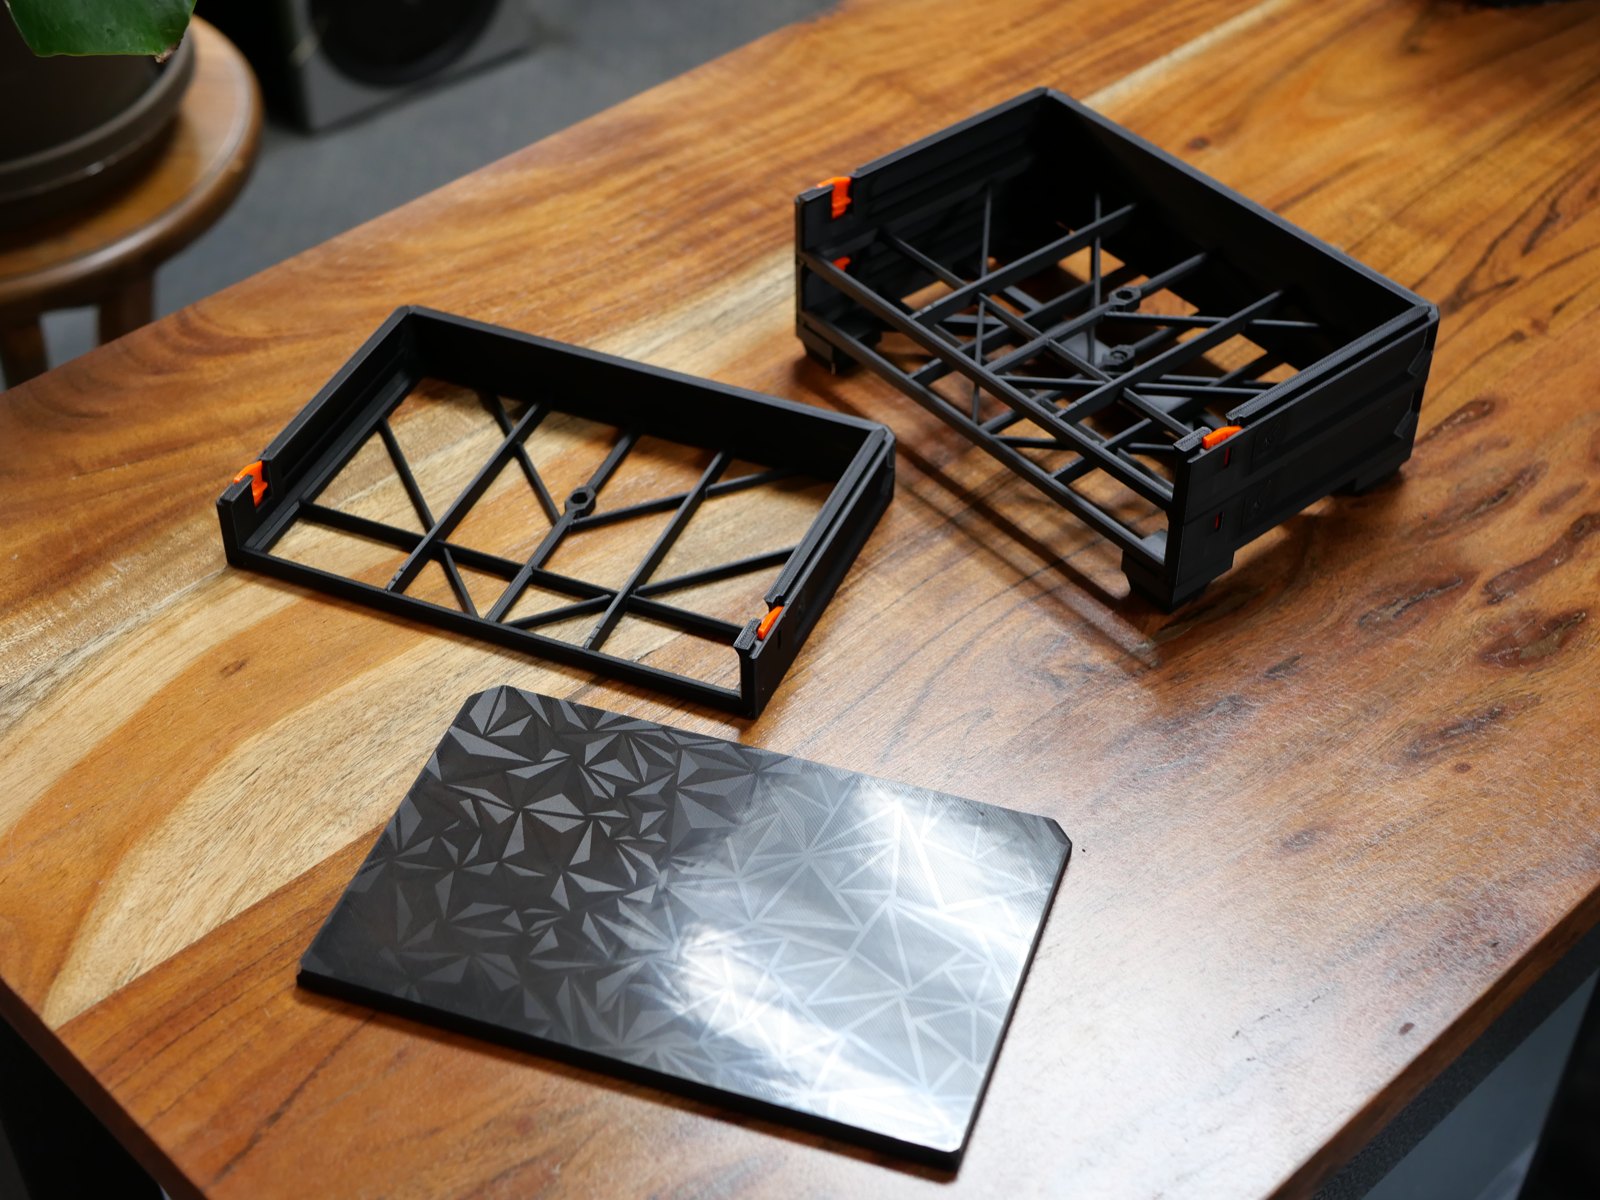 Photo · cases and a top cover, laid out before assembly
Set it down, lock the upper rail
Set the base on its feet where the build will live, then slide the upper foot rail over the lower to lock it.
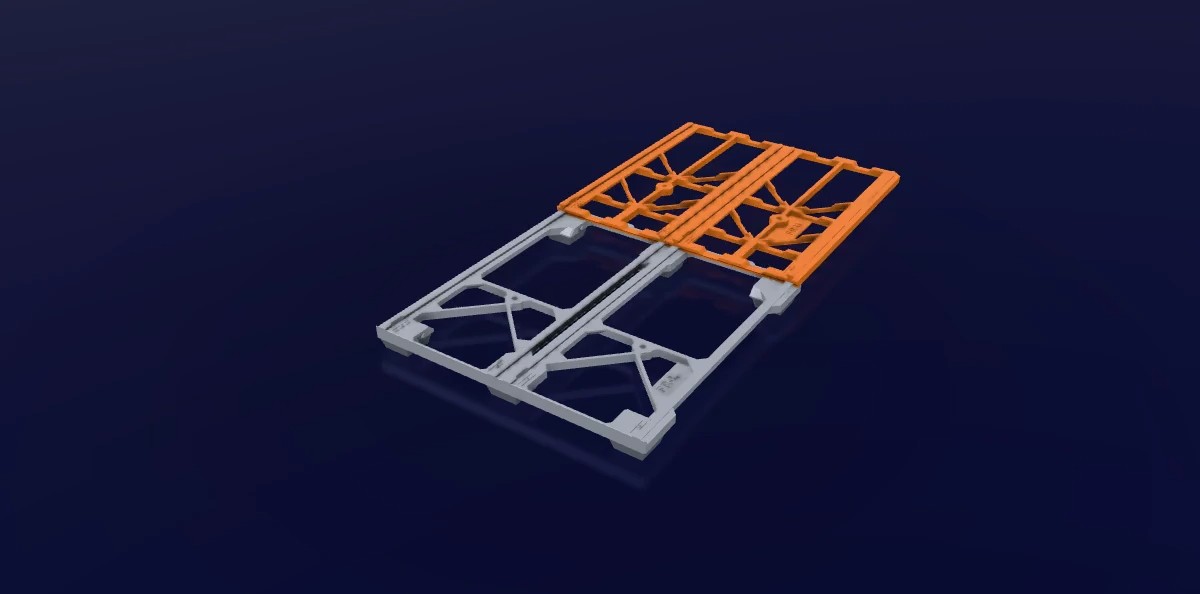
FOR BUILDS 3W AND WIDER
From 3W up, arrange the sections so no join in one layer lines up with a join in the other. Trace each join straight down - it must meet solid material, never another join.
Stack the cases
Seat the bottom cases on the base, drop QuickLocks into their side channels, and lower the next row into place - the QuickLocks click up as each case seats.
Cover the top
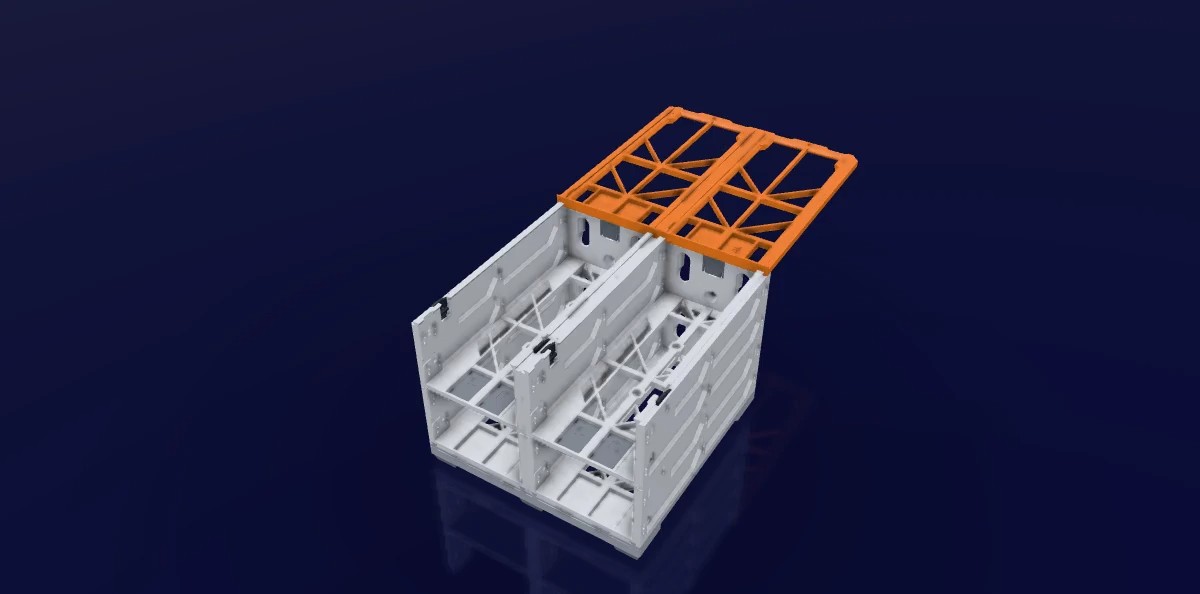
QuickLocks go into the top cases first. Slide the Cover Lower on from the back until the QuickLocks click. If you printed drawer stoppers, snap one Left + Right pair per top-row drawer into its outermost slots now. Then snap the Cover Upper on over it.
FOR BUILDS 3W AND WIDER
The covers stagger like the rails do. Same test: trace each join straight down and it must meet solid material in the other layer.
Drawers, faceplates, done
Slide the drawers home, then add the faceplates, handles and labels for your chosen configuration.
Open your own layout in the Planner for a guided 3D assembly of your exact build. Next: how the QuickLocks, stoppers and magnets work