Connect cases and drawers
Every MODULITH build uses the same few mechanisms. Read this once before your install guide: QuickLocks, stoppers and magnets work the same way in every build.
Sizes: W is width (1W = 88 mm) and H is height (1H = 56 mm, 0.5H is half of that). The collection number - 115, 185, 240 - is the case depth in mm.
What you'll need
Quantities depend on your layout - the Planner works them out for your build, and every official kit lists them exactly.
- QuickLockOne Left and one Right per case
- QuickLock Bi-DirectionaloptionalOnly for a shallower case beneath a deeper one, under a table
- Drawer StoppersoptionalKeep a drawer from pulling all the way out
- Magnet InsertsoptionalMagnetic closure - plus purchased magnets
Seat the QuickLocks
A QuickLock is a sprung clip that locks a case to whatever sits above it. Every case takes one pair. Facing the open front of the case, drop the L QuickLock into the slot in the top of the left wall and the R into the right wall - coiled spring end down, the L or R mark facing outward. If the spring catches on the inside edge, guide it in with a finger. Then slide the case into place from the front until both QuickLocks click up.
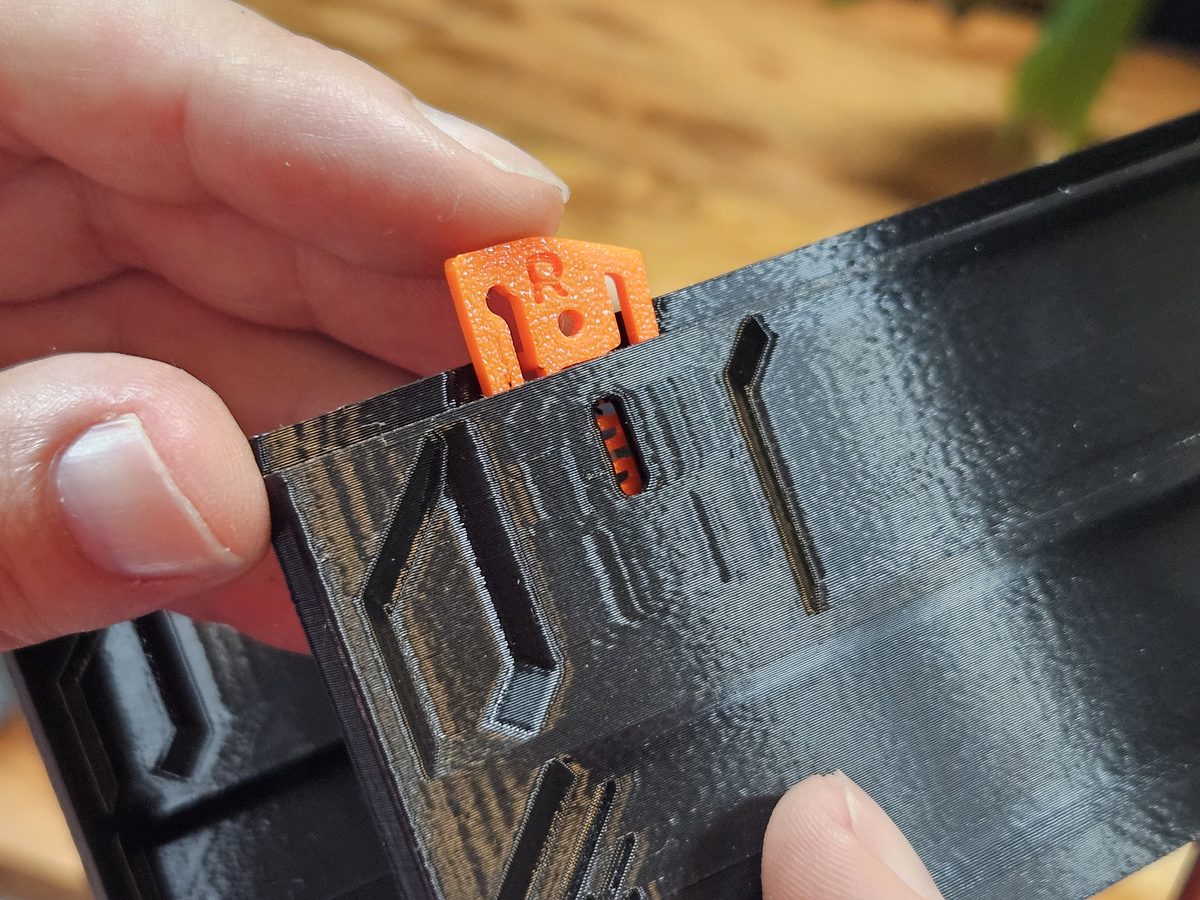 Photo · the R QuickLock going into its wall slot
Release and rearrange
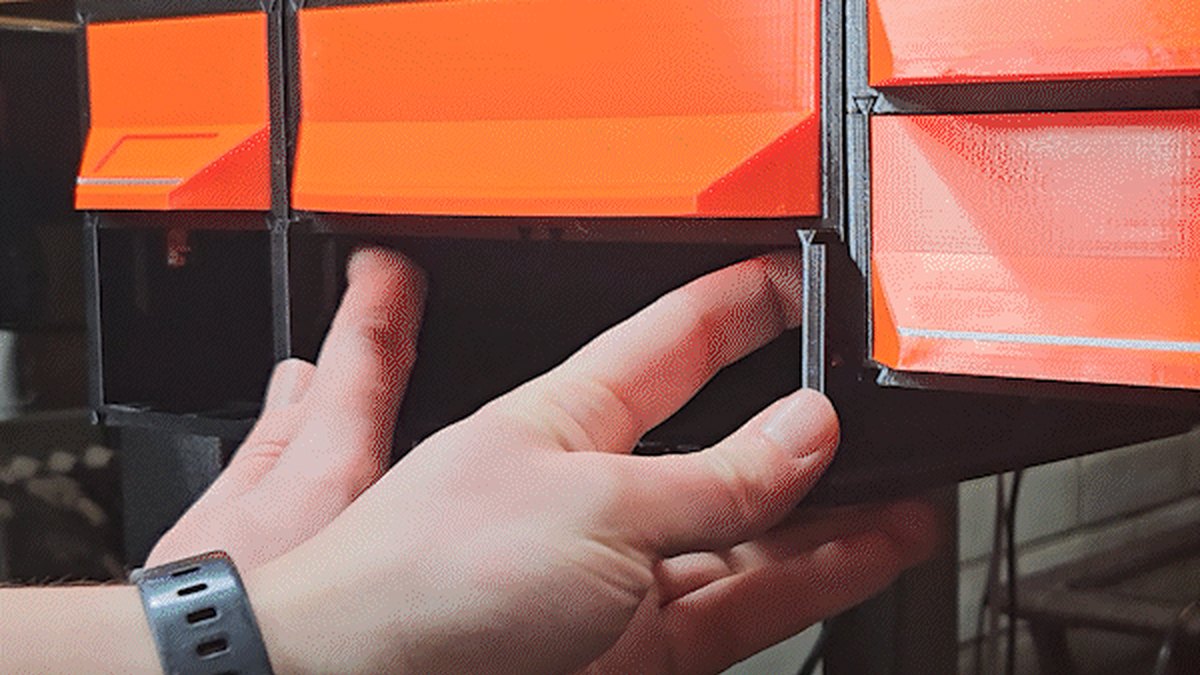
Take the drawer out. Reach inside the case, pull both QuickLocks down with your fingers - one at the top of each side wall - and in the same motion pull the case toward you.
The Bi-Directional QuickLock
One job only: it locks a shallower case beneath a deeper case or a deeper under-table rail, where the standard pair would keep sliding. It goes in as a pair, in the same two wall slots as a standard Left + Right pair: squeeze each one by hand, drop it in and let go. It then locks in both directions.
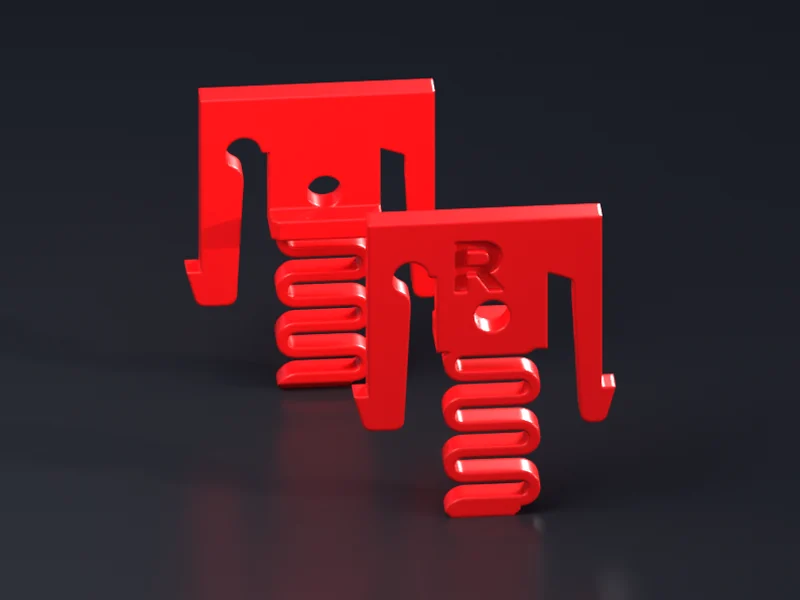 The Bi-Directional pair, Left and Right
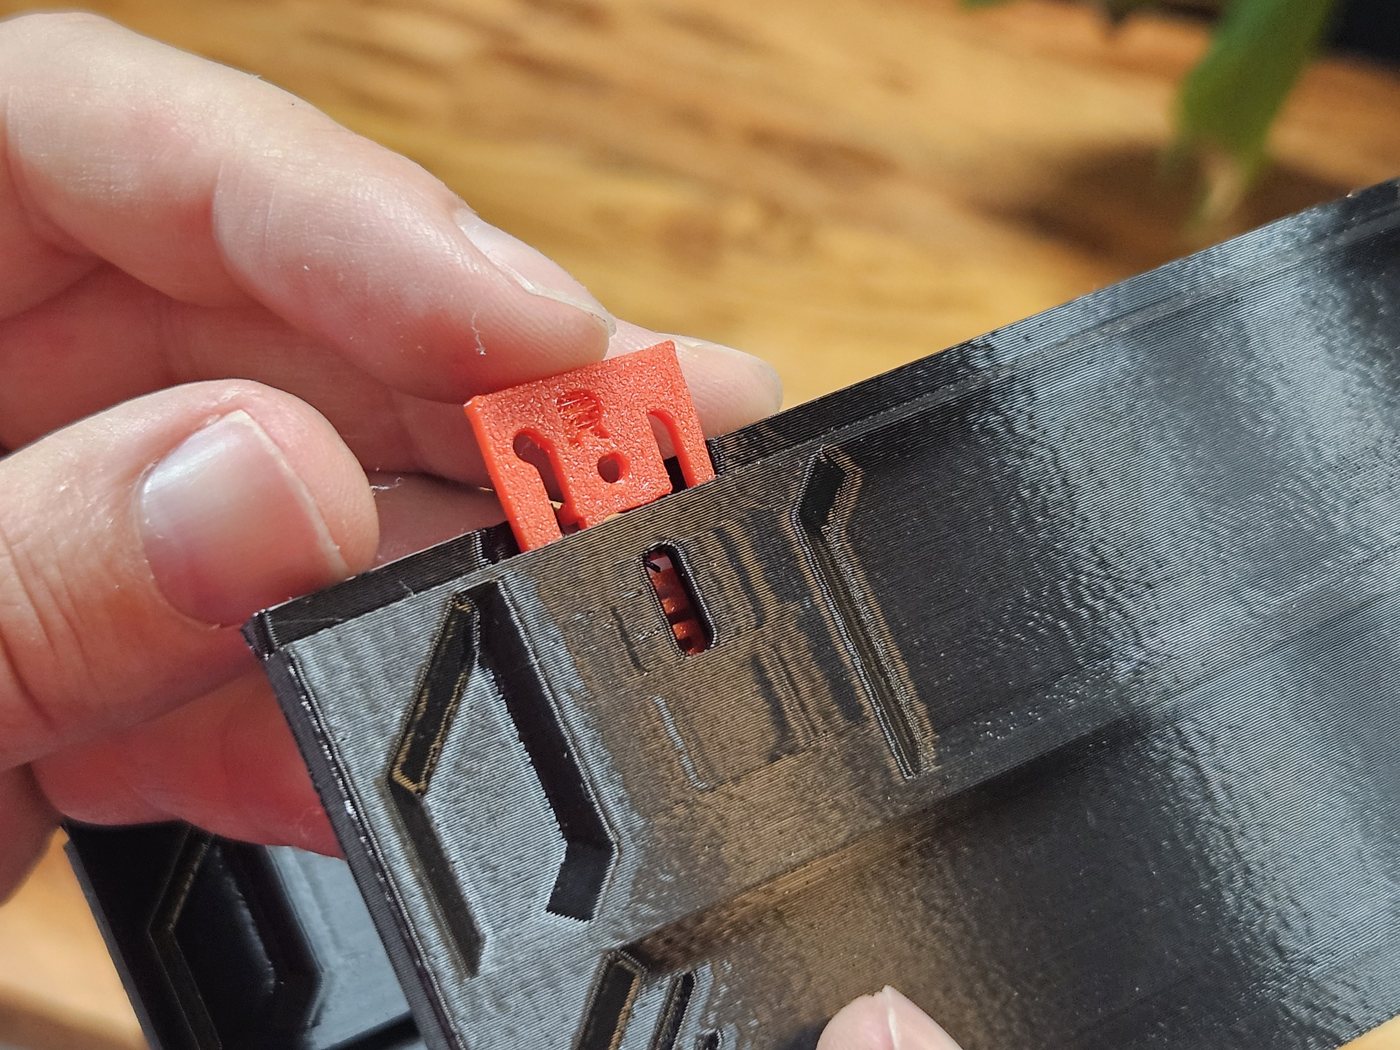 Photo · a Bi-Directional QuickLock going into the case wall
Drawer stoppers
Snap one Left + Right pair into the outermost floor slots of the case ABOVE a drawer - or into the Cover Lower over a top row. They stop that drawer at full pull.
The pair snaps into the unit above; it stops the drawer below.
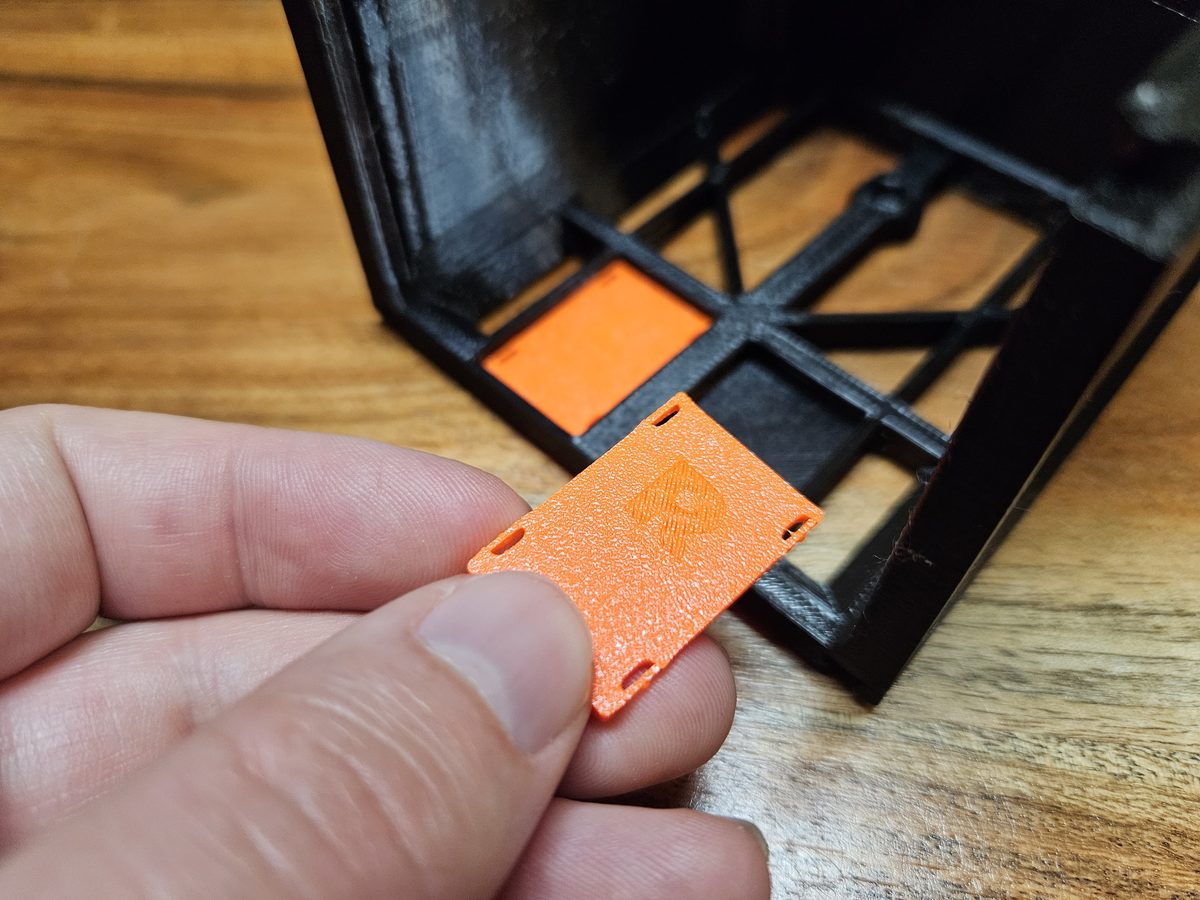 Photo · an R stopper in hand, its partner already in a floor slot
Magnet closure, and polarity
A closure is one magnet in the back of the drawer and one facing it in the back of the case. Snap a magnet insert into each, then press a purchased magnet into each insert. The first magnet you seat sets the direction for the whole build: before you press in any other, let it snap onto that first one and keep the same face out, so every pair attracts.
Where each mechanism goes in a full build: the tabletop, under-table and wall guides pick up from here.
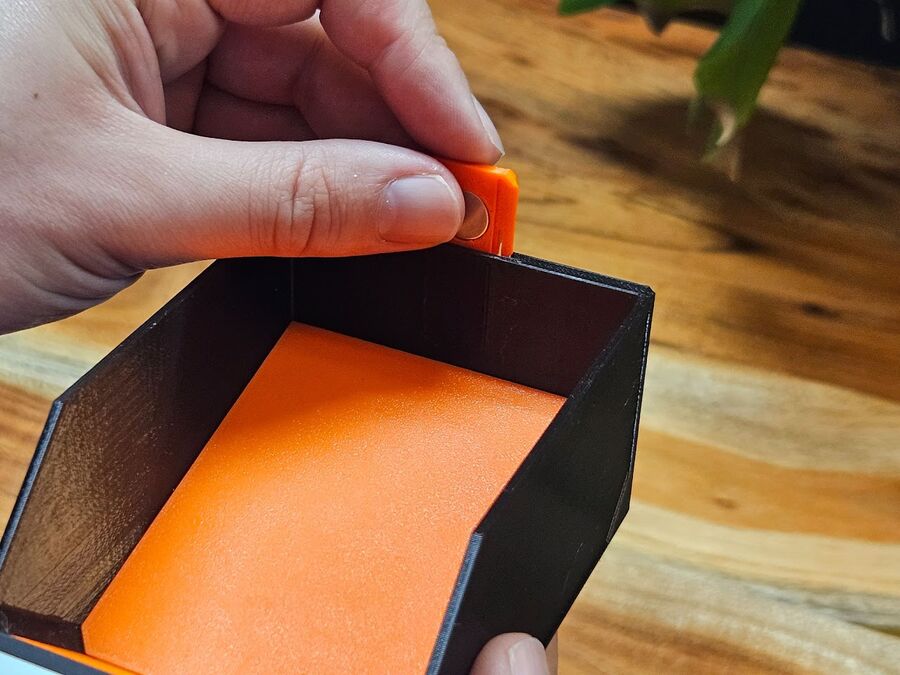 Photo · pressing a magnet insert into its slot
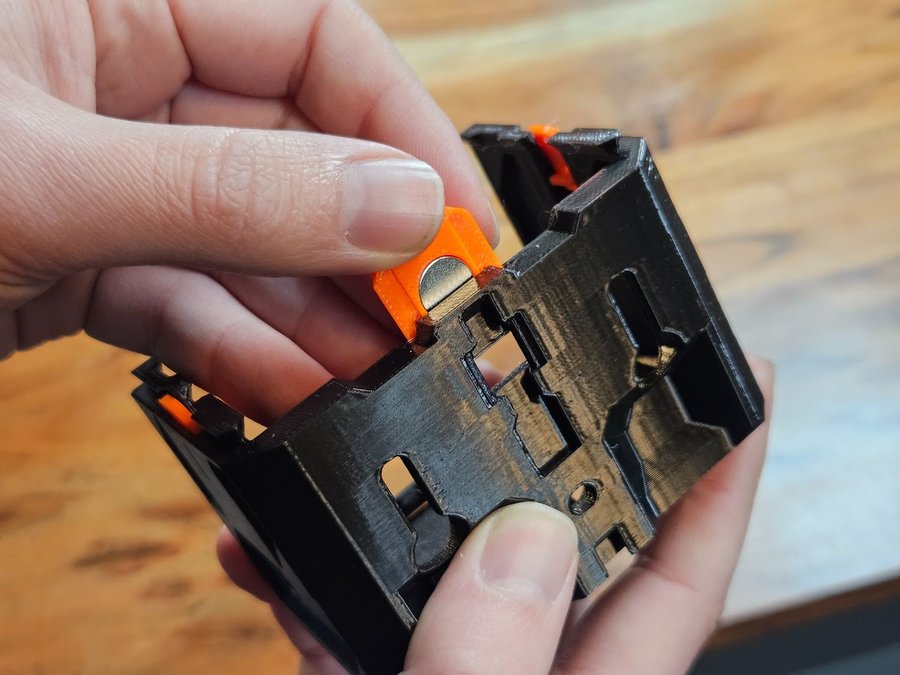 Photo · the case side: a magnet clip going into a 59 1W-1H case